$7 DIY Plant Stand & Outdoor Bar
As promised, here is part 2 of our backyard beautification project on Sunday. While taking out the trash on Saturday, Walker and I saw a piece of furniture left out by the dumpster to be thrown away. Granted it was ugly and wobbly but it was also free and had a lot of potential! So we grabbed it and decided to give it a makeover so it could be used as backyard storage. I think we made a big difference…
It is obviously a huge change so let me break down the steps we took to give this little TV stand a new identity as a backyard plant stand!
First things first, I sanded the unit down to make sure we could paint it. I discovered that the dark paint was already its first makeover… it was originally white! But it sanded down well and I loved the multiple layers of paint that will inevitably show when it begins to age. So I decided to forgo primer (which I would ordinarily use on something this dark) so that the dark paint would show through a bit. I applied the first coat of lime green paint (leftover from my first accent wall in the bedroom) on Saturday afternoon and let it dry overnight.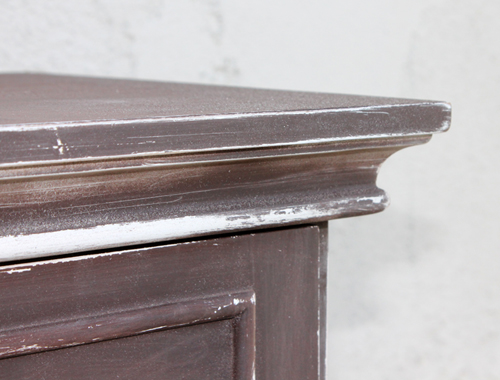
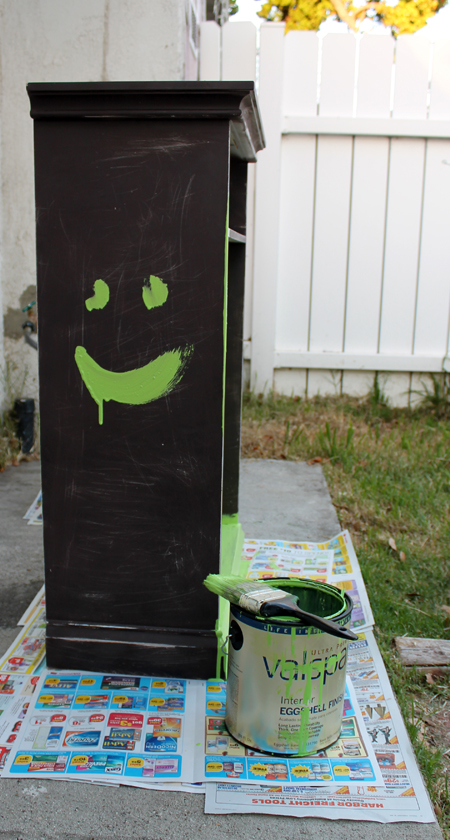
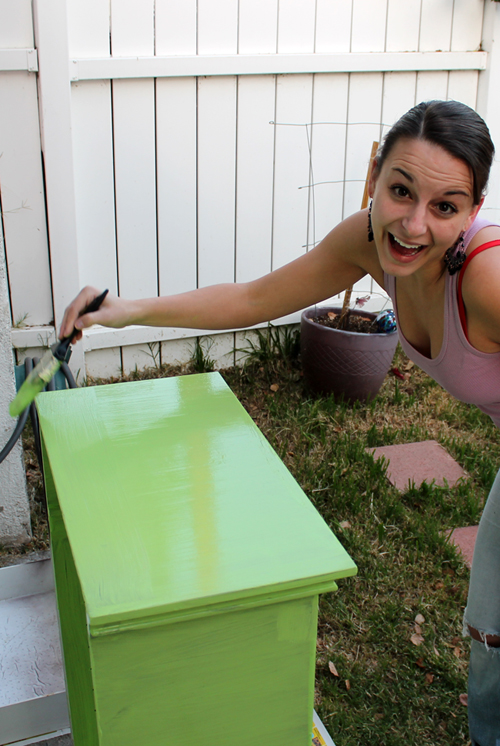
Obviously I was happy about this project… haha! The next day I applied a second coat of paint, which made the finish mostly smooth (there are still some visible brush strokes and dark paint). If I wanted to have the finish more even, I would have had to apply at least one more coat. But since I was hoping the dark paint would begin to show underneath anyway, I figured I would help it out by applying one less coat! :)
Once the second coat of paint was dry, it was time to make the stand more sturdy. I started by tightening all existing hardware but it was still pretty wobbly. My original idea was to get a piece of wood cut for the back to make it more sturdy but I really loved the open shelves. So instead I opted for installing 4 flat corner braces (totaling about $7 from Home Depot) to give it more support. It seemed to do the job just fine (though I wouldn’t necessarily recommend putting anything too heavy on it like a human or an anvil).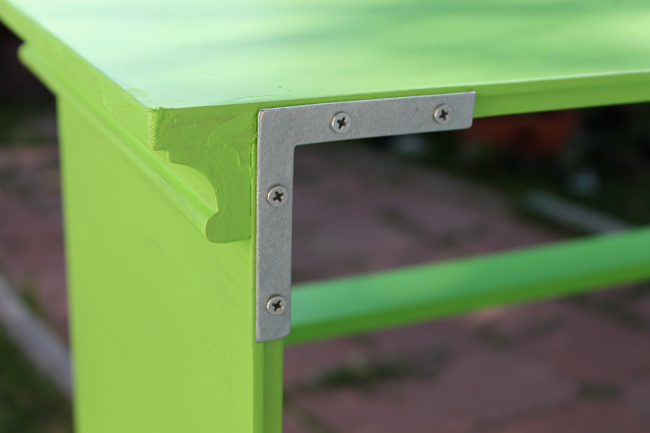
Now that we were painted and sturdy, I decided to put some fun detail on the drawer. Using painter’s tape as a guide, I measured out diagonal stripes on the drawer front. A helpful hint: use the tape as a reference for the space between the stripes you end up taping off (and just remove it before you paint obviously) to keep things nice and even. I used a can of white spray paint I had in the garage to spray the stripes onto the drawer.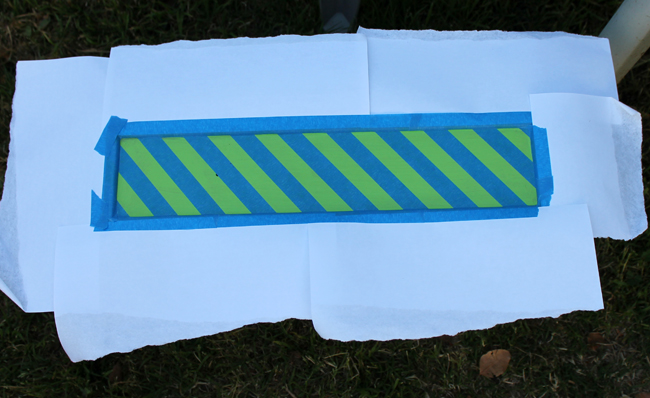
After the white paint was dry, I removed the tape and put the drawer pulls back on. I had to touch up one little area where the white paint got out of the lines also… but let’s pretend it came out perfectly the first time. :)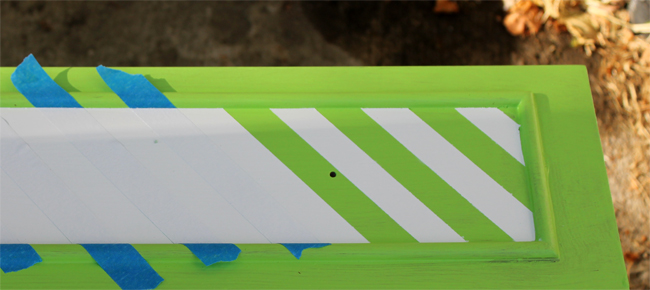
The final step was two coats of polyurethane spray to protect the wood (follow the instructions on the can to make sure you do this properly). I mean I want it to age a little but I also still want it to be standing next week! The polyurethane will slow down the impact of the elements on our little backyard TV plant stand. Since I already had all of the supplies for this project except the braces, the entire makeover only cost a whopping $7!!
Once everything was totally dry, we were able to put our new wooden crate planter box on top (with some cut up pieces of wine cork underneath to raise the planter a bit and a piece of plastic to protect the top of the stand from the planter’s water drainage). We decided to only use one of the shelves to allow more space for our tall succulents. Lastly, we placed all of our gardening supplies into the drawer for convenient access!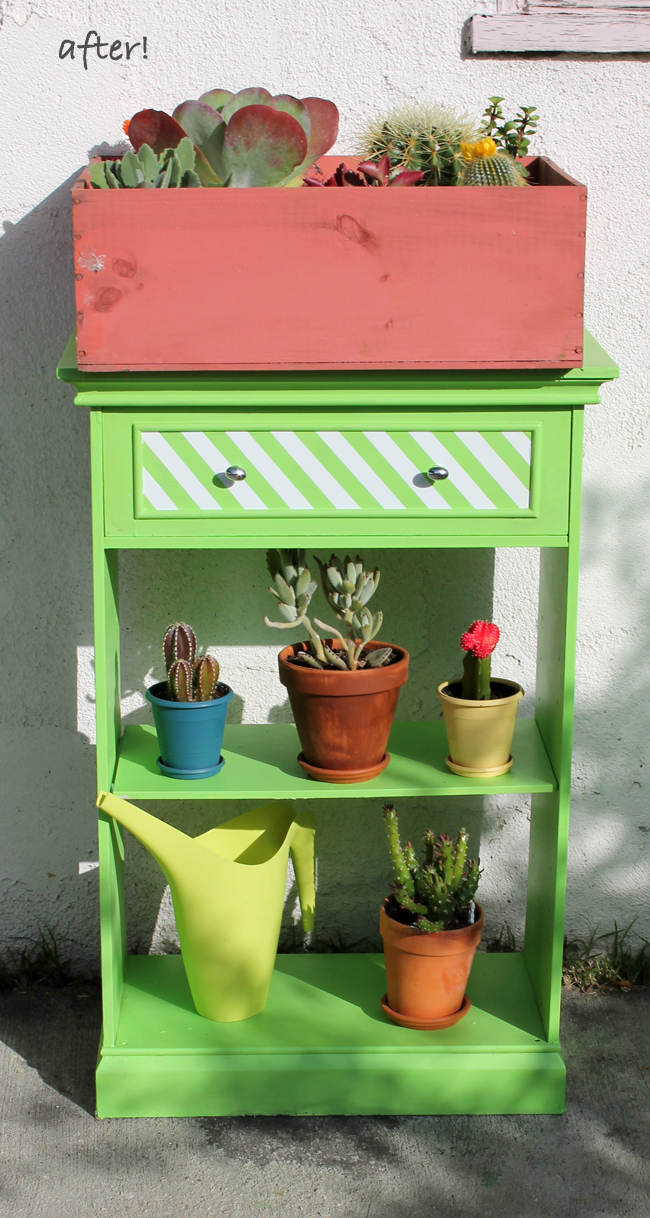
The best part is that we can always remove the planter crate and use this stand as a bar when we entertain! WOO! Who want’s to come over for backyard cocktails?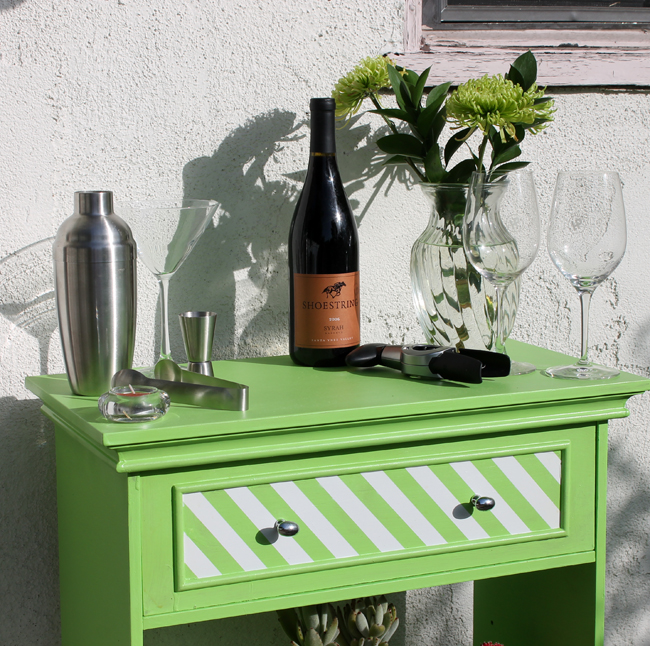
One last little thing, as I mentioned in Saturday’s post if you like reading Our Cozy Cubbyhole, please vote for us in the Apartment Therapy Homies 2012 Awards. We would LOVE to stay on the board to gain more readers! Your support means a lot to us!! YOU ARE THE BEST! xoxo

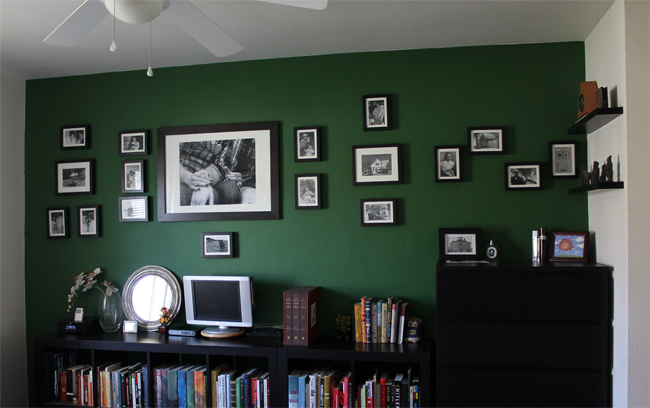
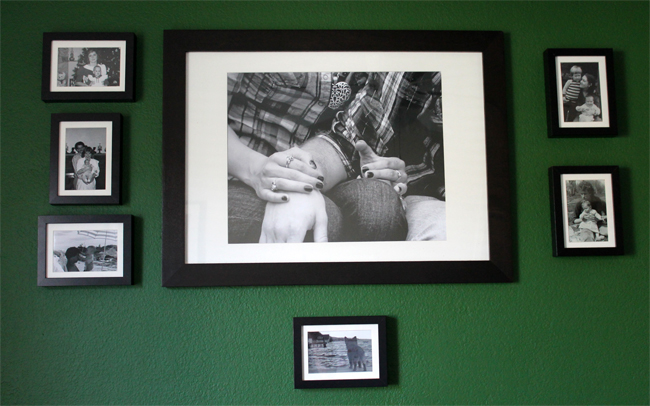
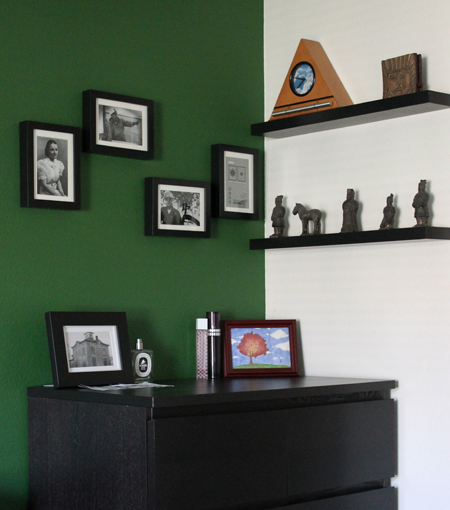
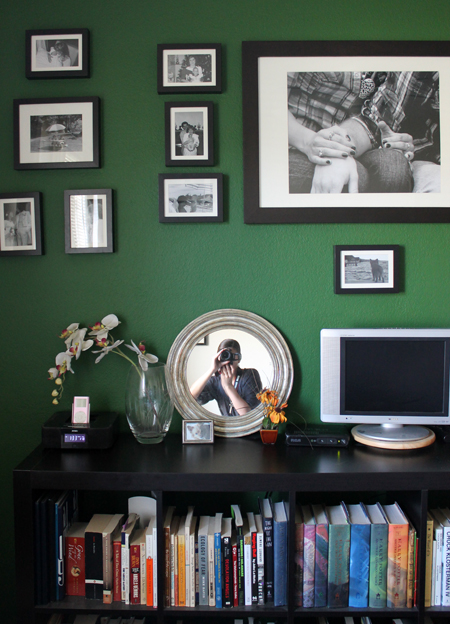
 We decided to keep the black & white idea to some extent but wanted to change the accent wall and add more colors to the room’s accessories. So we went with “Vineyard” (how appropriate for us winos) green paint by Behr. We liked the idea of green but wanted something darker and more cozy. To keep the black & white theme going, we blew up a photo my cousin took of us holding hands and made it the centerpiece of a black & white photo gallery wall.