Juniper’s Big Girl Room
Hello all! I hope everyone is staying safe and well out there… and STAYING HOME! We are living in strange and scary times, but I am trying to enjoy the little bubble of uninterrupted home and family life. Sure, there are days we feel a little stir crazy around here but we are generally homebodies anyway, so we like being home all together. The other silver lining is that we have been spending a lot more time and energy finally giving our house some attention for the first time since we moved in. Since we have no budget at all due to current circumstances, we are working entirely with what we already have to make our space feel more homey and happy.
One of the rooms that has been given very little attention since we moved in is Juniper’s room. While a lot of her stuff worked great in her nursery in our Pasadena apartment, for some reason a lot of it didn’t translate here as well. Or more likely we needed those things for other spots in the house because we came here with 820 square feet worth of stuff to try and fill a 2400 square foot house! We haven’t had the means to do any furniture shopping yet, so a lot of things are filling temporary roles in other rooms.
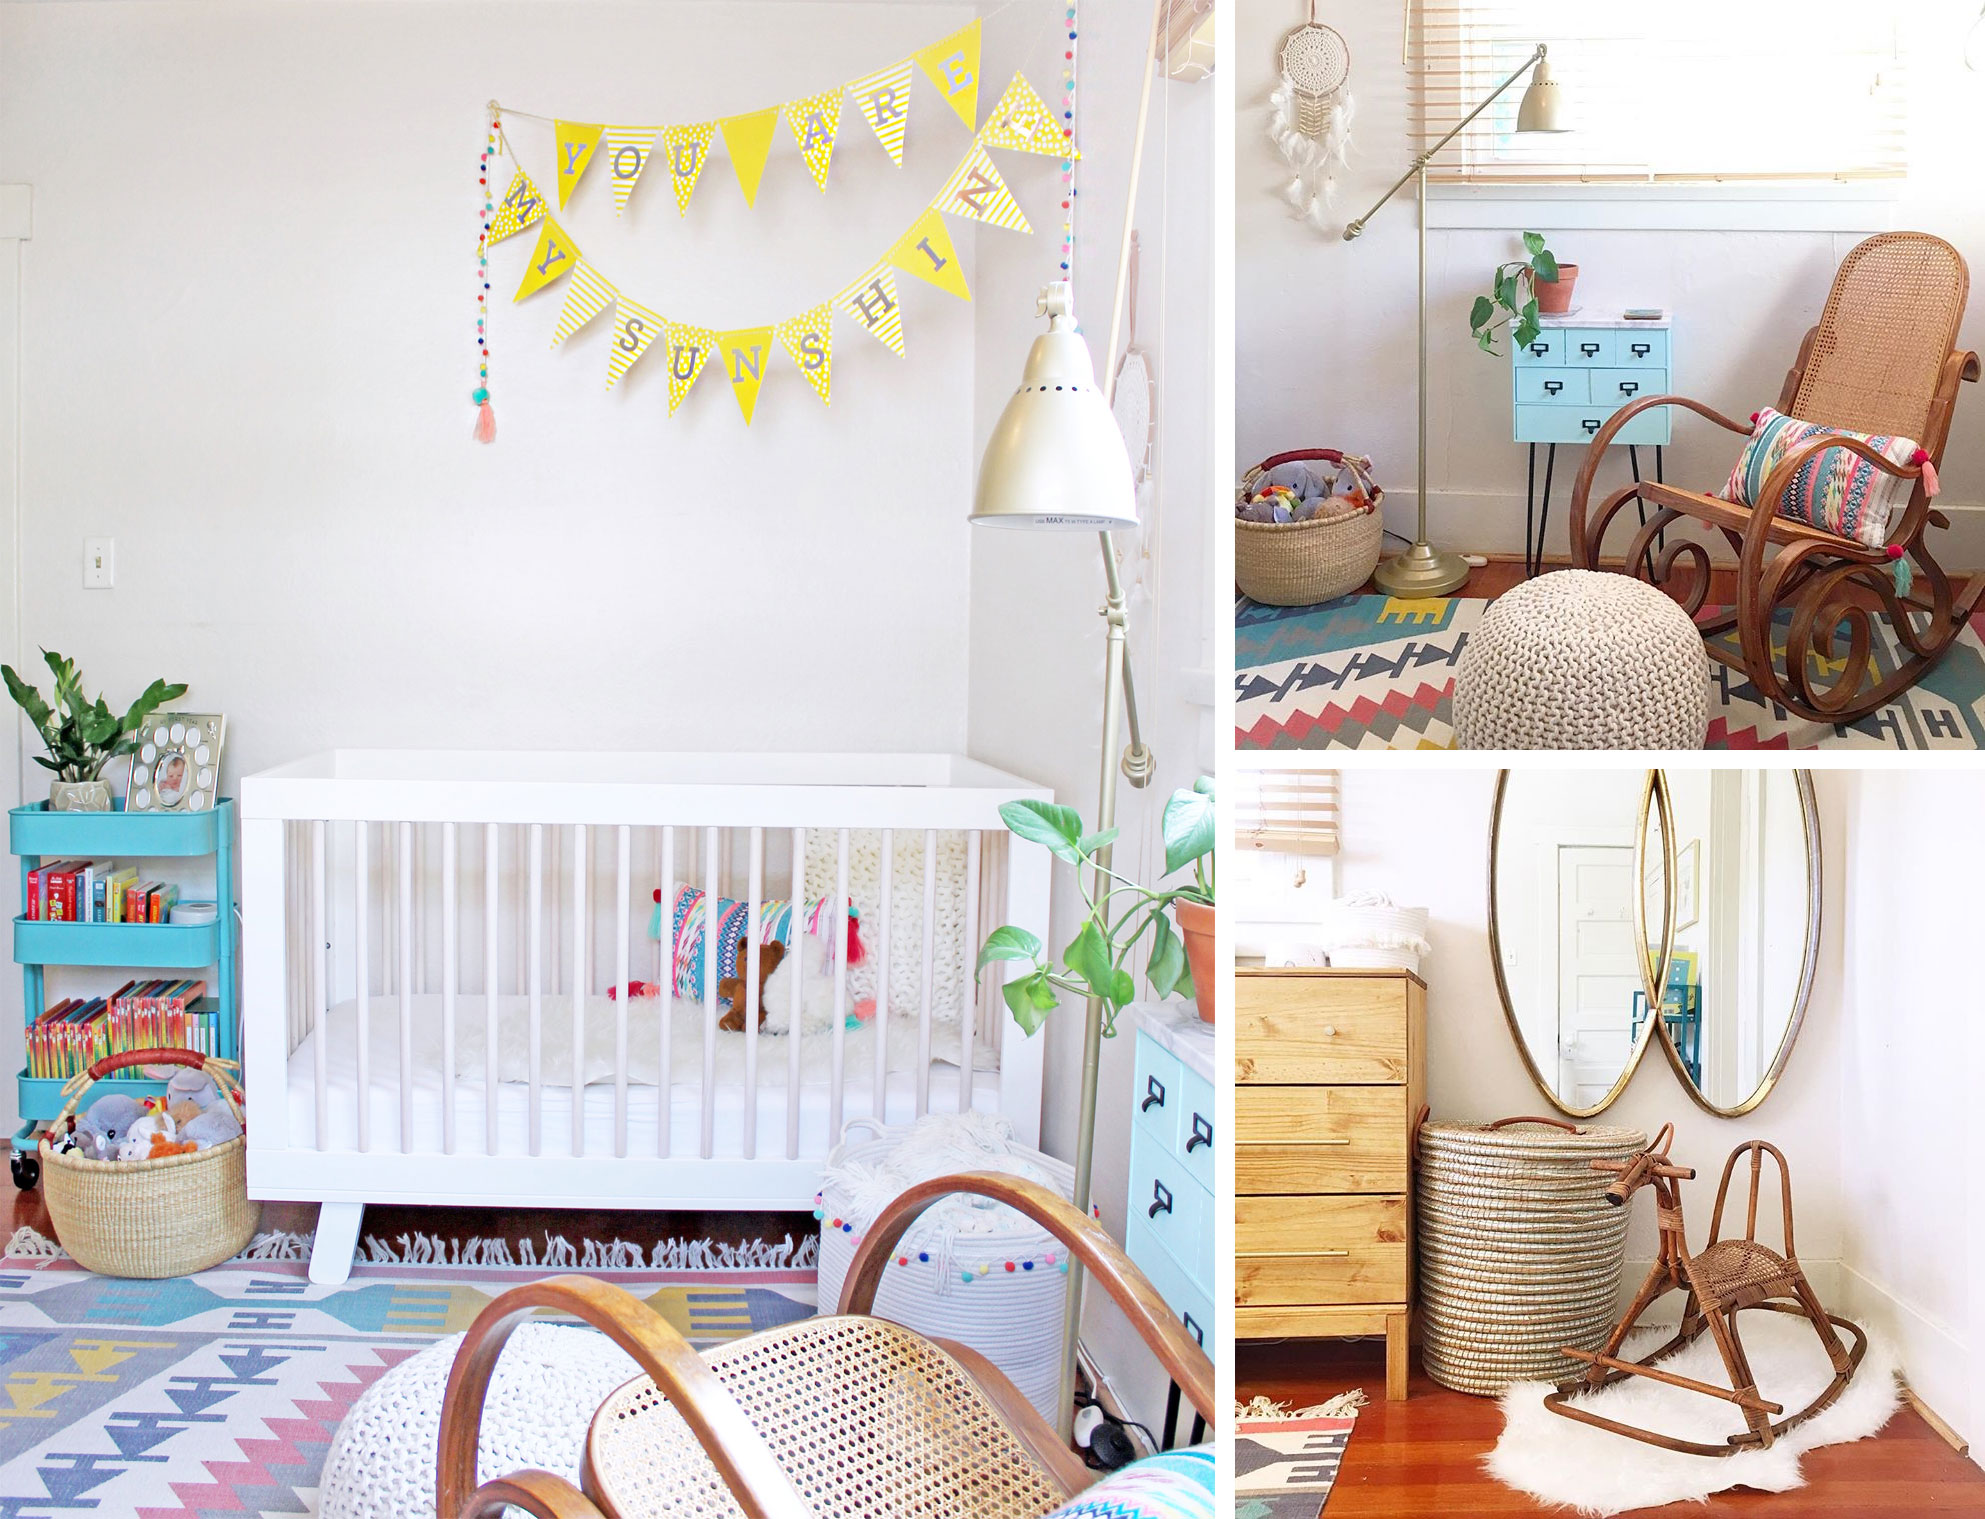
Remember Juniper’s cute little nursery in Pasadena? Loved that space!
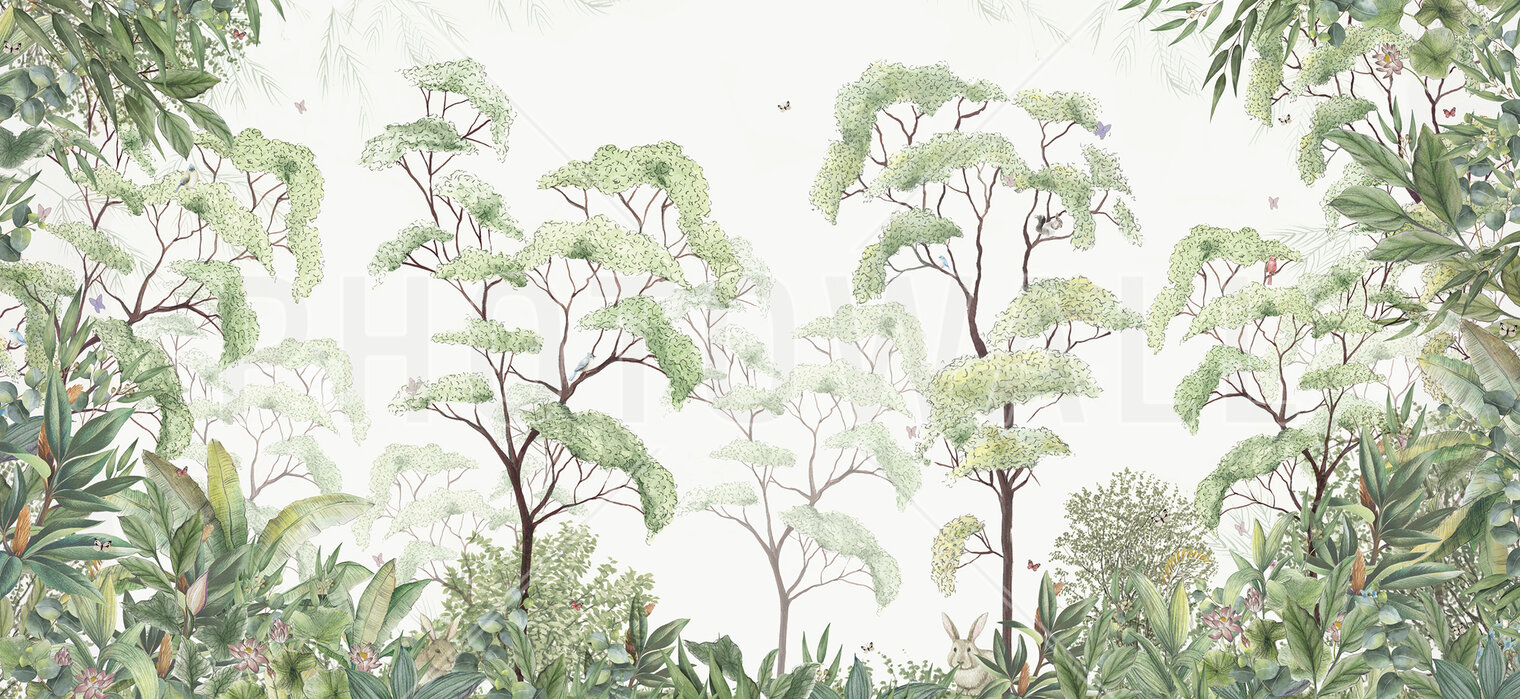
Anyway, I digress. Back to Juniper. She has been going through some major “big girl” milestones lately, the newest of which was potty training (wooo! She did such a great job! If there is one thing quarantine is perfect for it’s potty training!). So when Photowall reached out to me a few weeks back, kindly offering to gift us an accent wall of wallpaper, I knew immediately that I wanted to give Juniper a big girl room makeover to celebrate all of her hard work and big milestones. I have always dreamed of doing a wall mural behind her crib, so I got incredibly excited to start designing! It took me a long time to pick out the mural (designer paralysis is a real thing, guys. When interior designers work on their own spaces, we CANNOT make up our minds. I am so decisive when it comes to clients but not when it comes to our house. Ask my poor husband… he finally made me start hanging a picture on the wall each day just to give me a deadline hahahaha!). I knew I wanted something nature-inspired, illustrated (rather than a photo), and not too childish (so it can grow with her). As soon as I saw the little bunnies at the bottom of this Forest wall mural, I knew it was perfect since Juniper is obsessed with bunnies.
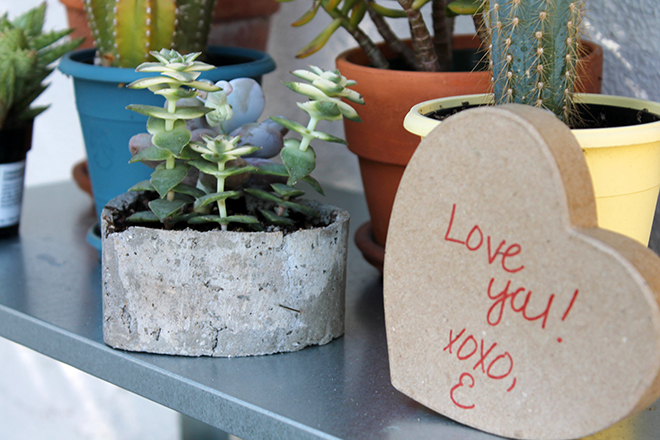
Case & point… her birthday bunny party from last year:
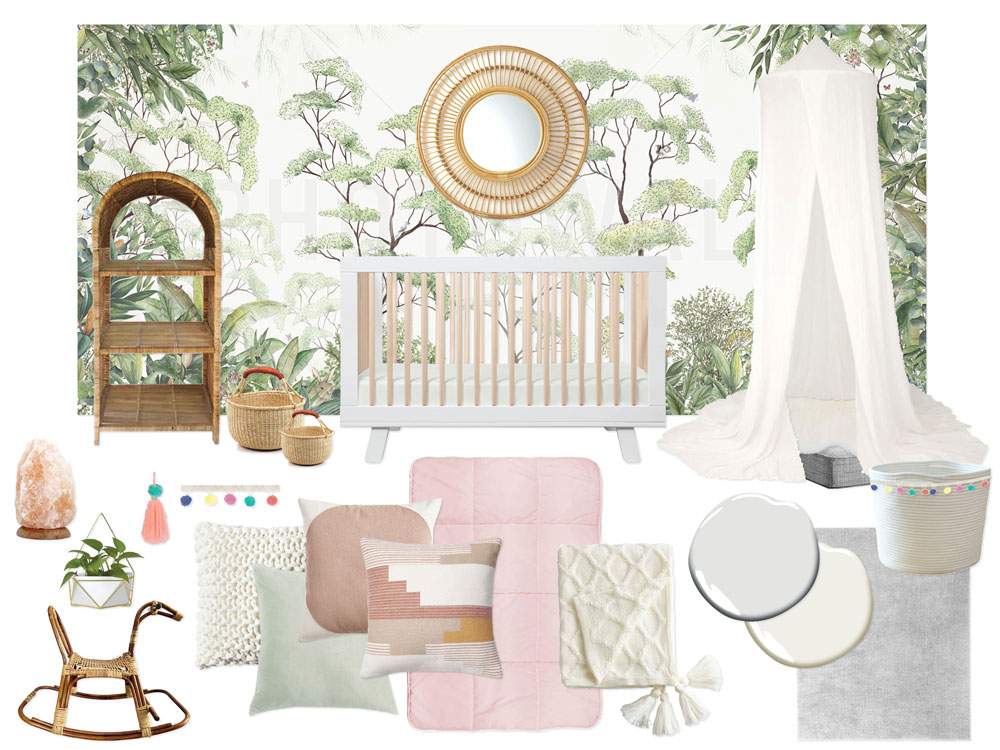
Once I had decided on the wall mural, the rest of the design was easy, mainly because we had no budget and planned to work almost entirely with what we already have! Here was my original idea mood board for the space:
And here is where we started when we moved in:
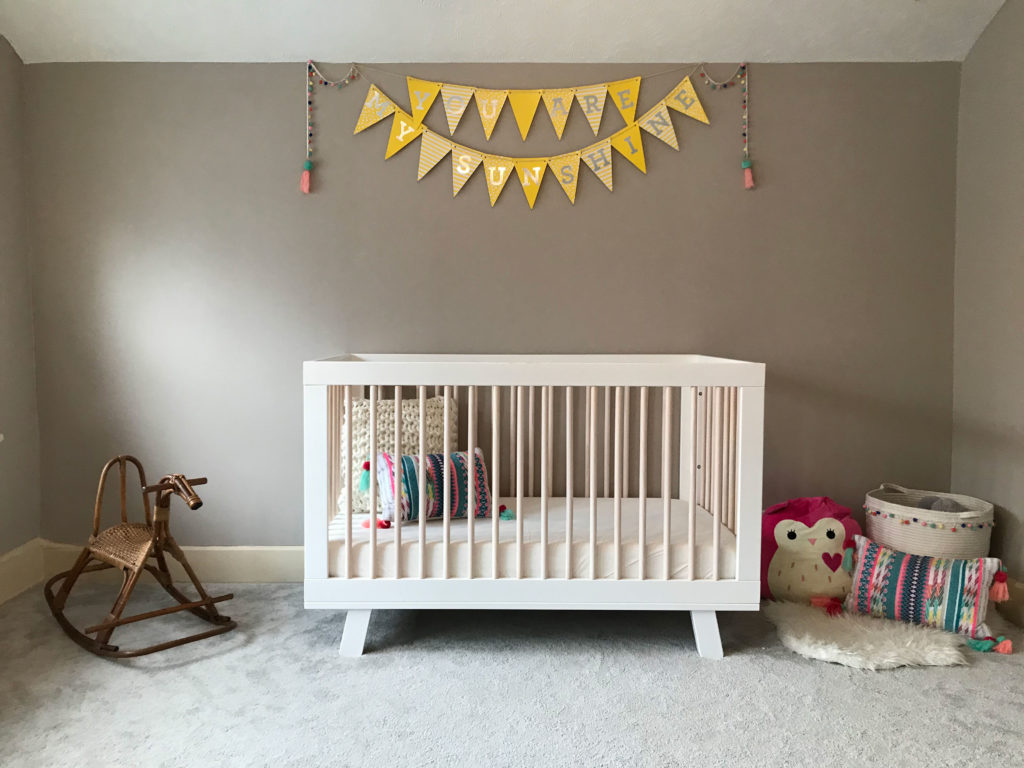
The “Before”… just super empty!
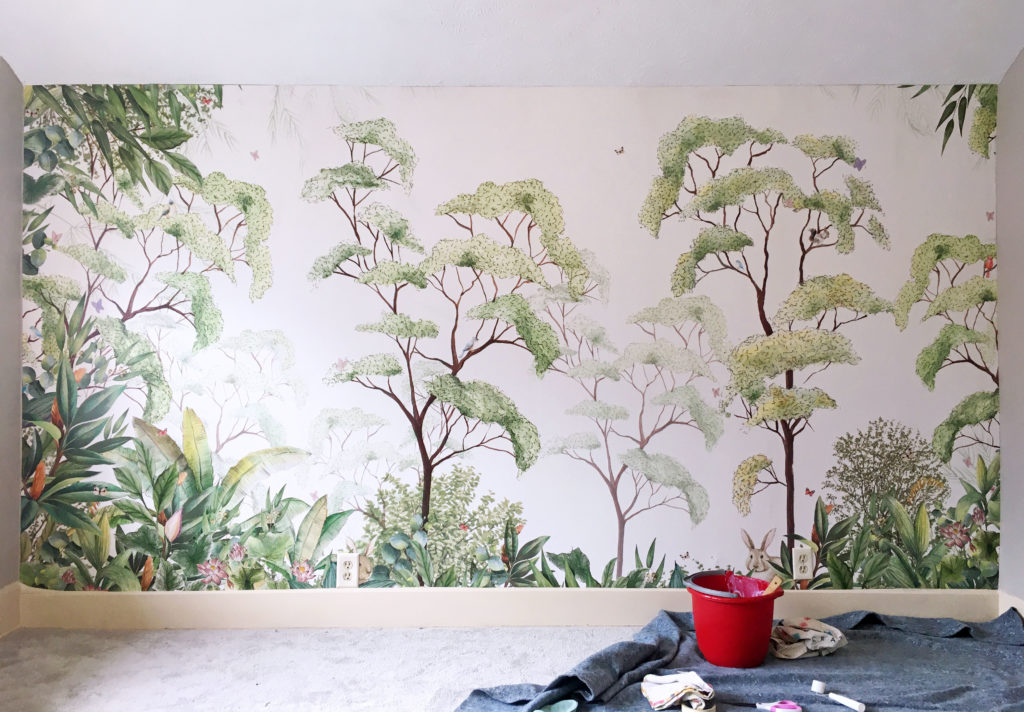
The wallpaper arrived, and I will admit that I was a bit intimidated at the prospect of installing it, especially as it was not pre-pasted paper. However, it came with really clear instructions and a wallpaper installation kit with all of the tools I needed… plus I watched this super helpful installation video like 100 times! I planned to share a little time lapse video with you of the installation but about 5 minutes before I planned to start (i.e. the paste was already setting up and there was no turning back), I managed to drop my phone in the toilet (uggghhhh!), so it spent the next two days in rice (it lived though!).
So my words will have to suffice haha! It wasn’t too difficult but it also wasn’t a walk in the park. Some things were really easy and straightforward, like the actual pasting, smoothing, etc. What was really tricky was getting the first panel hung level in our 110 year old very un-level house. I had to remove and readjust panels 1-3 three times just to get things going correctly. Ugh! But once that was done, the others were quite easy to line up and install. The only really big issue I had with installation were a couple of the seams at the very top. Since we have an angled ceiling, we had to tape the excess wallpaper to the ceiling because it kept trying to curl and fall down. So it was pulling away from the wall at the top 2 inches or so as I installed the rest of the panels. Once I trimmed the excess, I had to go back and re-paste the top few inches of all panels to get them to stick correctly. Oddly enough, this caused some annoying gaps at the top of some of the seams (how?! The rest of the seam is perfect so this makes no sense to me!). Only one is really visible but it is the one right in the center and on a pure white background so I can’t stop looking at it haha! Pro tip: murals and wallpaper with a lot of pattern hide seams WAY better than areas of solid color. Anyway, it’s not perfect but I am SO proud of the way it turned out!
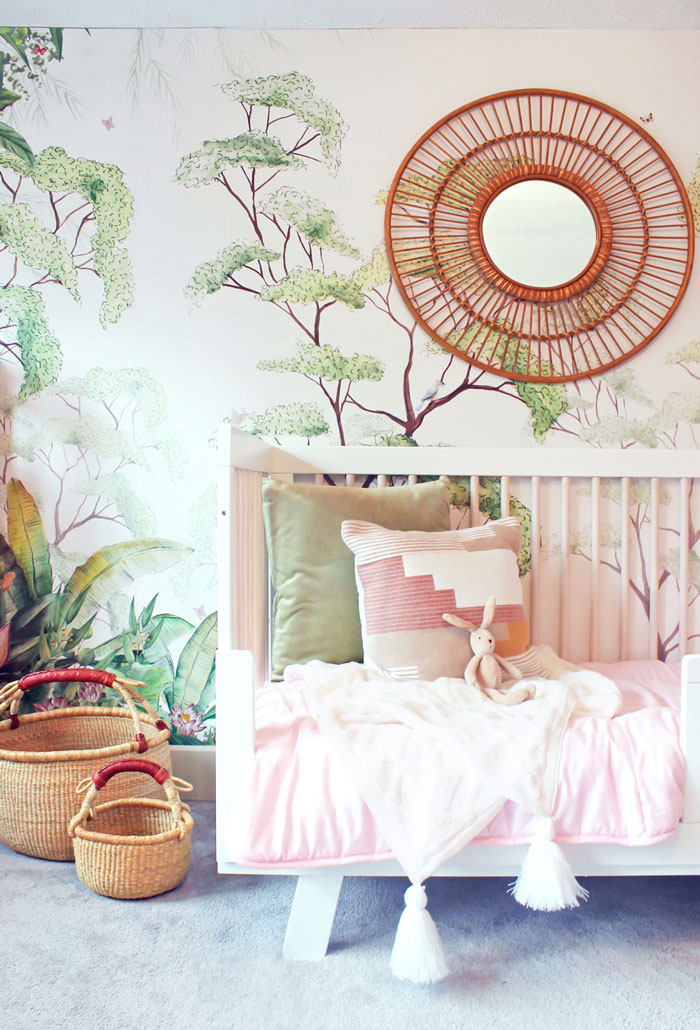
Once the wallpaper was up (phew!), the rest of the design was simply pulling from things we already had in the house! And so, the moment you’ve all been waiting for…

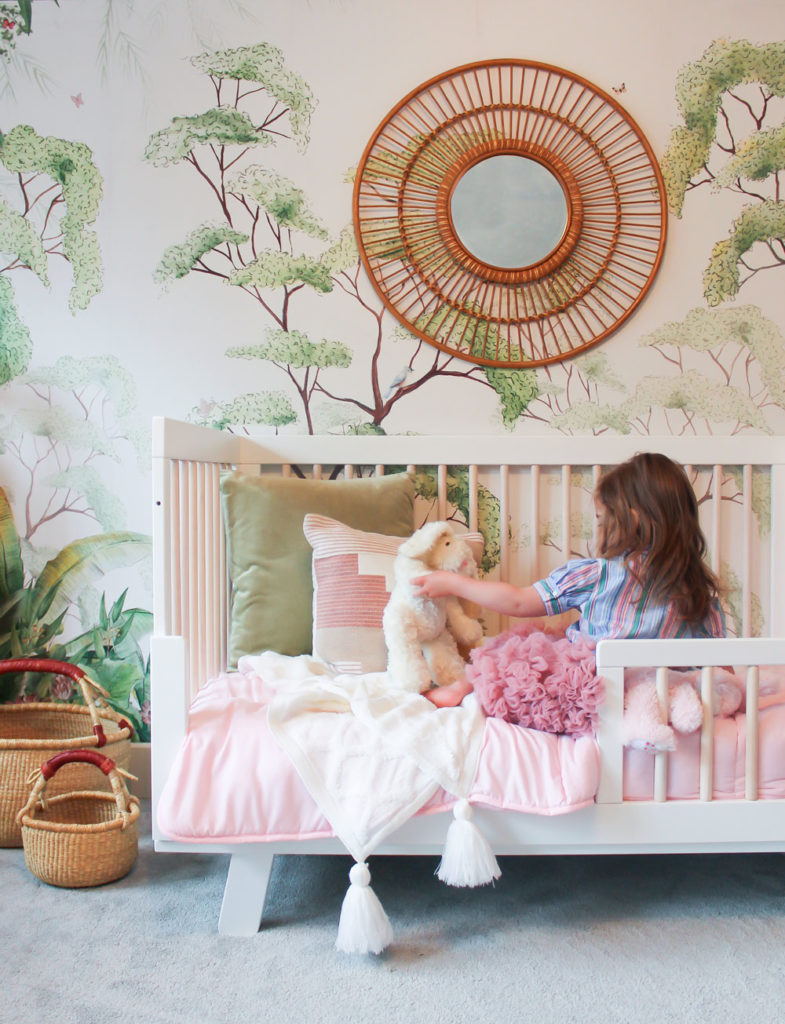
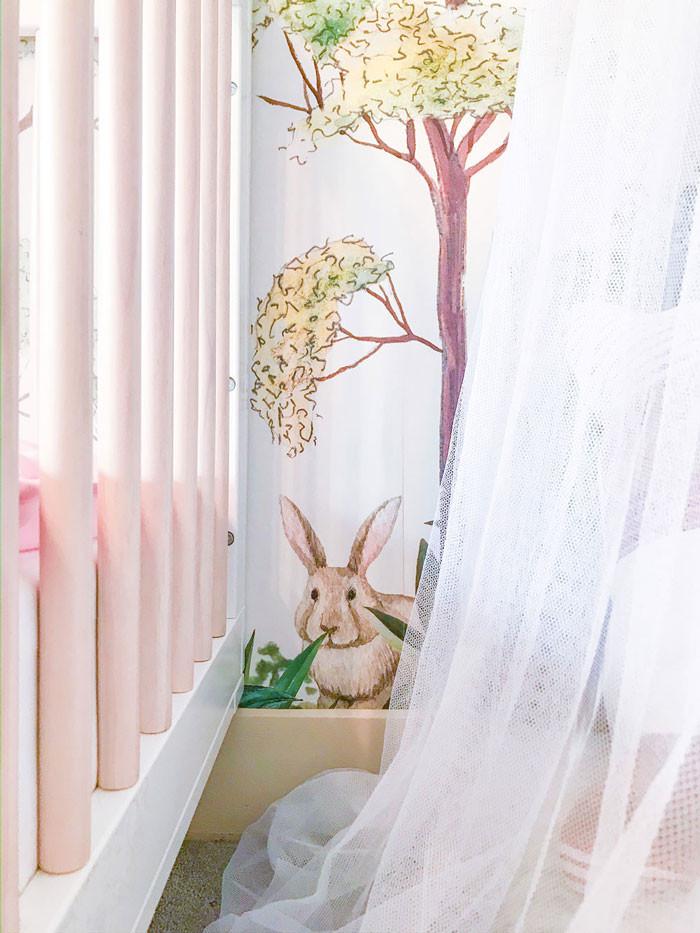 In case anyone was wondering where the bunny ended up! June loves that it is peeking out from between the crib and canopy tent! Not an accident, mind you. Math for the win.
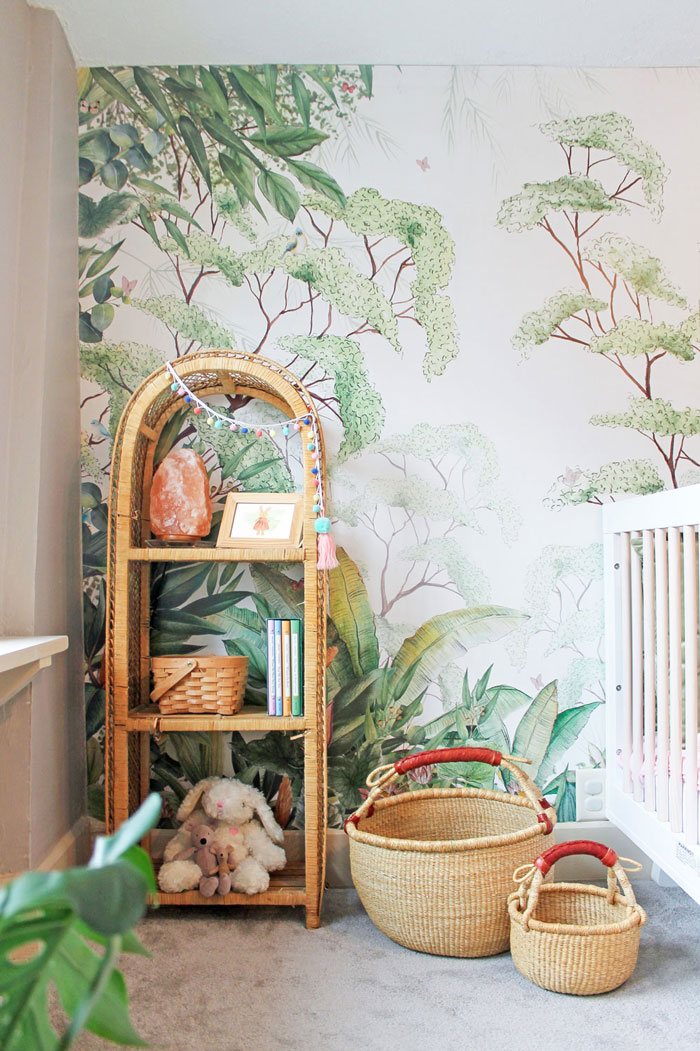
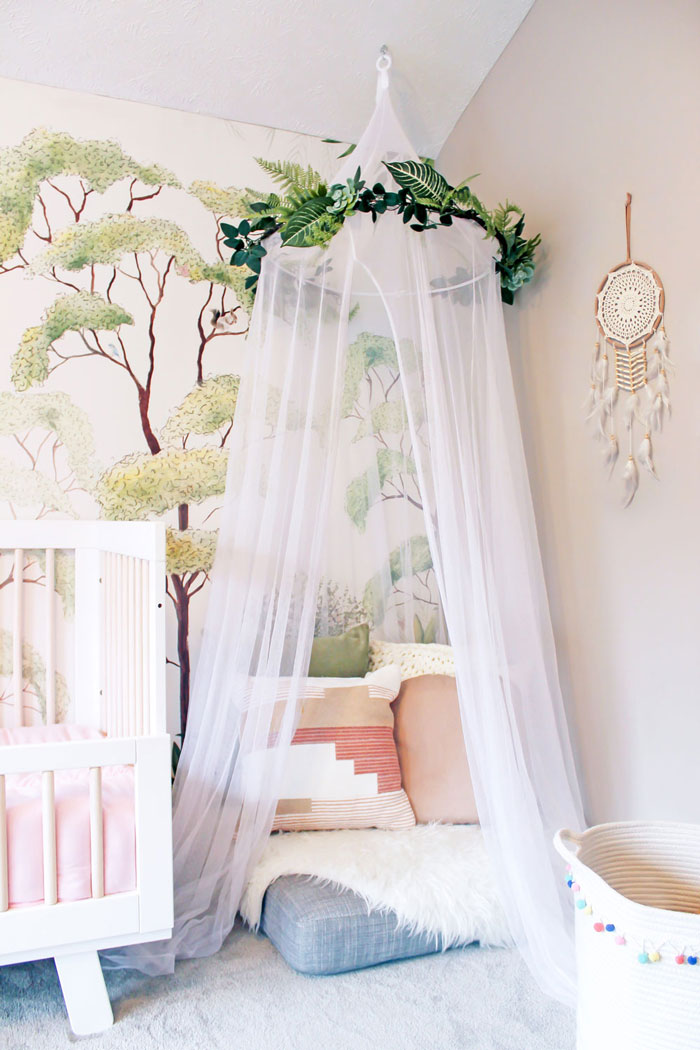
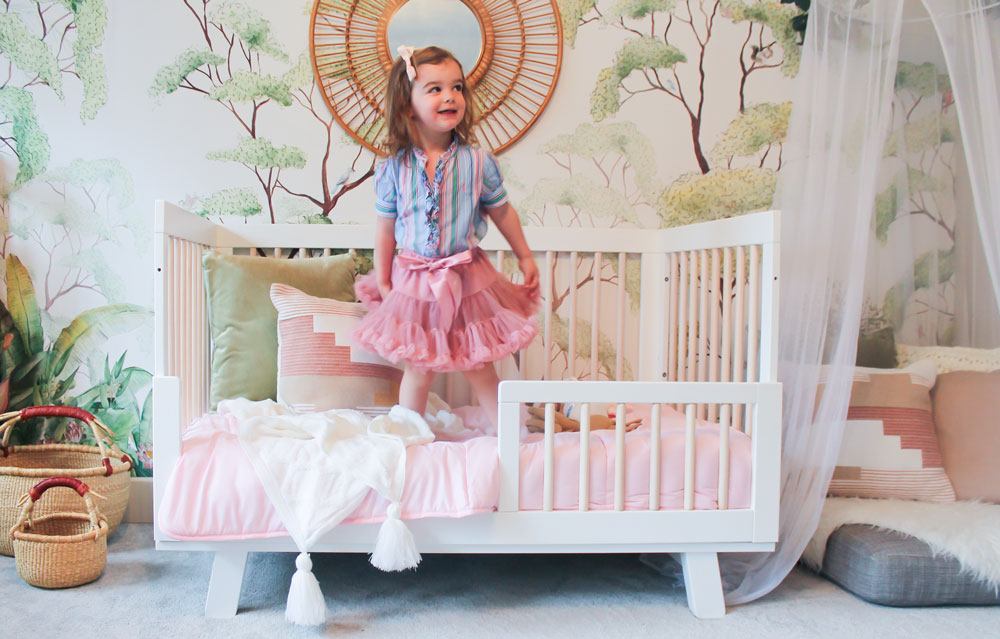
TA-DA! Juniper’s new big girl room! We are all so thrilled with her new magical forest space. As far as the details in the space, I bought the awesome vintage rattan shelf from my neighbor for $2 (!!) in the fall and a couple months later bought the secondhand canopy tent from another neighbor for $5! The canopy had a bunch of hot pink ribbons hanging off of it, and while it was cute, it wasn’t exactly what I was going for. So I removed them and repurposed the greenery garland from Juniper’s first birthday party to hang around the hoop. The mirror was thrifted for $4 but was originally from Target and, in my opinion, really completes the space! I really debated whether to put it up there because I didn’t want to put a hole in the beautiful wallpaper, but I couldn’t resist… and I am so happy I did it! The pillows and throw were all swapped out for ones we already had, most of which were originally from Target, Pier 1 (store closing sale – got a pillow and throw at 95% off or about $4 TOTAL for BOTH!!), or HomeGoods. Finally, we used an extra sofa cushion (since our whole sectional doesn’t fit in our new living room) for the floor cushion under the tent.
The only thing we bought new for this project was the new pink comforter for the bed. Until recently, Junie has been using a baby blanket but she had majorly outgrown it, feet sticking out and all! So we had plans to get her a real comforter anyway and when I found this one for only $20, I knew it was a perfect fit. So even if I include the secondhand/older purchases from the past few months into this budget, we made over this whole space for only $35!!! Insane.
That being said, the real star of the show here is the incredible wall mural, which was generously gifted by Photowall. They are such a cool company, focused on environmental and social responsibility issues related to the production of their products, which includes using natural biodegradable (or recycled) materials where possible, recycling all waste material, and printing to order (rather than stocking) to reduce waste in the first place. Plus, every purchase supports their work to plant 5000 trees every year in the area surrounding Lake Victoria in East Africa. As an environmentalist, this all makes me so happy and proud to support a company making efforts to take care of our Earth and take accountability for their environmental impacts. Plus, their vast catalog of options is GORGEOUS. It’s not my fault that it took me forever to choose haha! On top of their generous gift of our mural, Photowall has also kindly offered a discount code for my readers in case you also want to tackle a quarantine house project! Use code erikadale2020 to get 25% off of your purchase now through May 25, 2020. And definitely get the wallpaper hanging kit… lifesaver. Thank you times a million, Photowall!
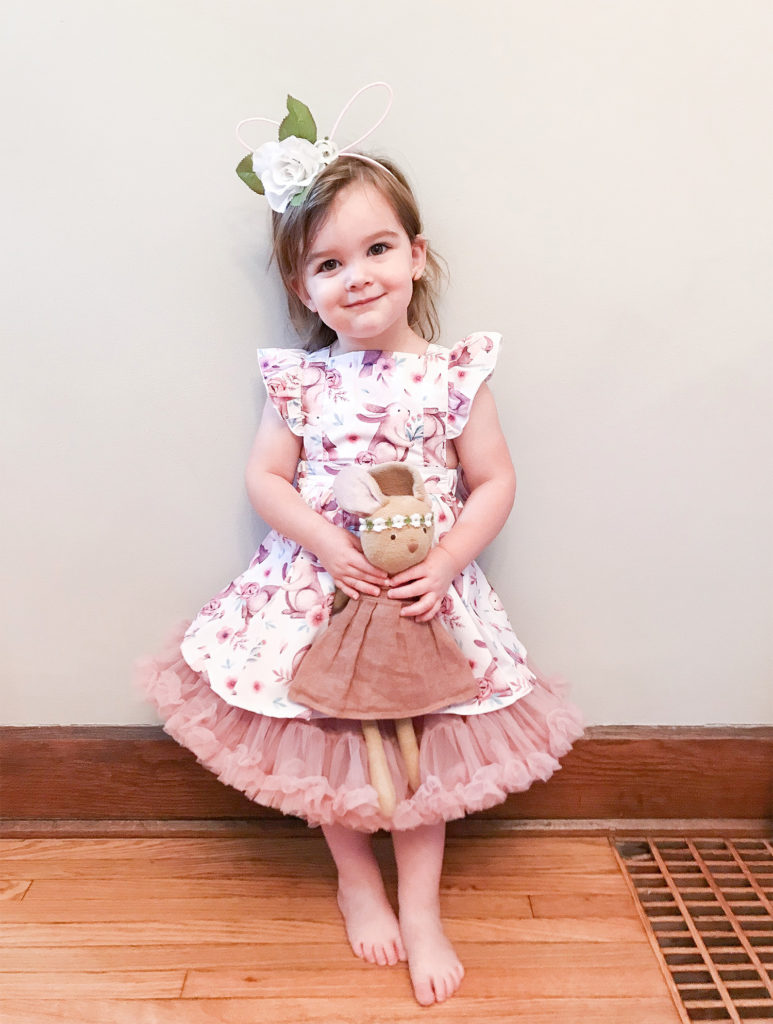
I will leave you with a few photos of our big girl enjoying her new room in her Easter dress (also repurposed haha!) on Sunday! She’s so fun and free… right at home in her new wild forest. Have a great week!
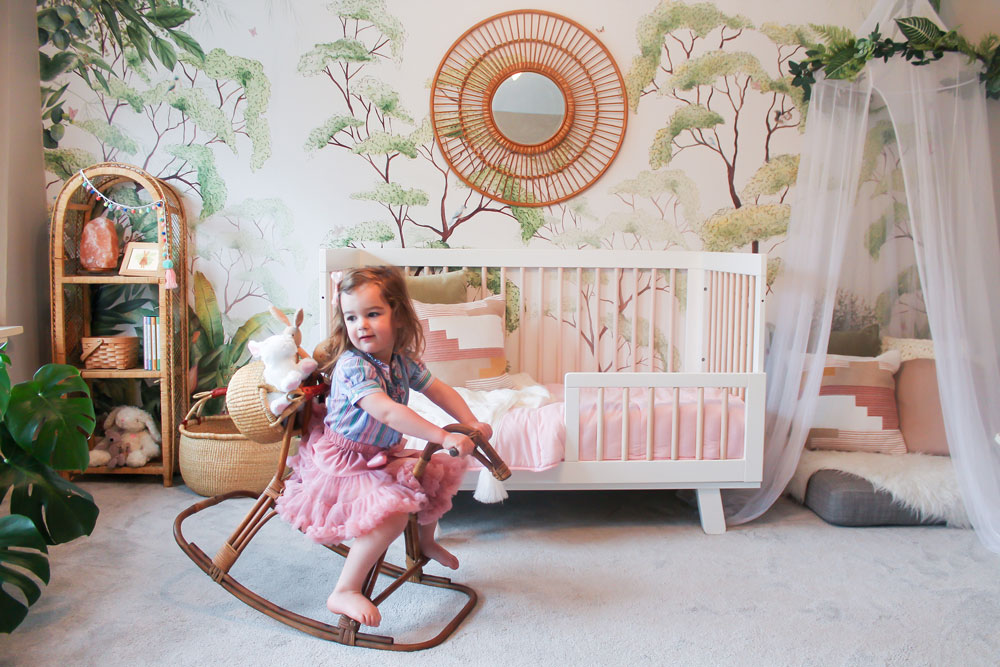
Riding her horse with a basket full of bunnies on the back. Typical.
She looks SO big here!
Such a sweetie.
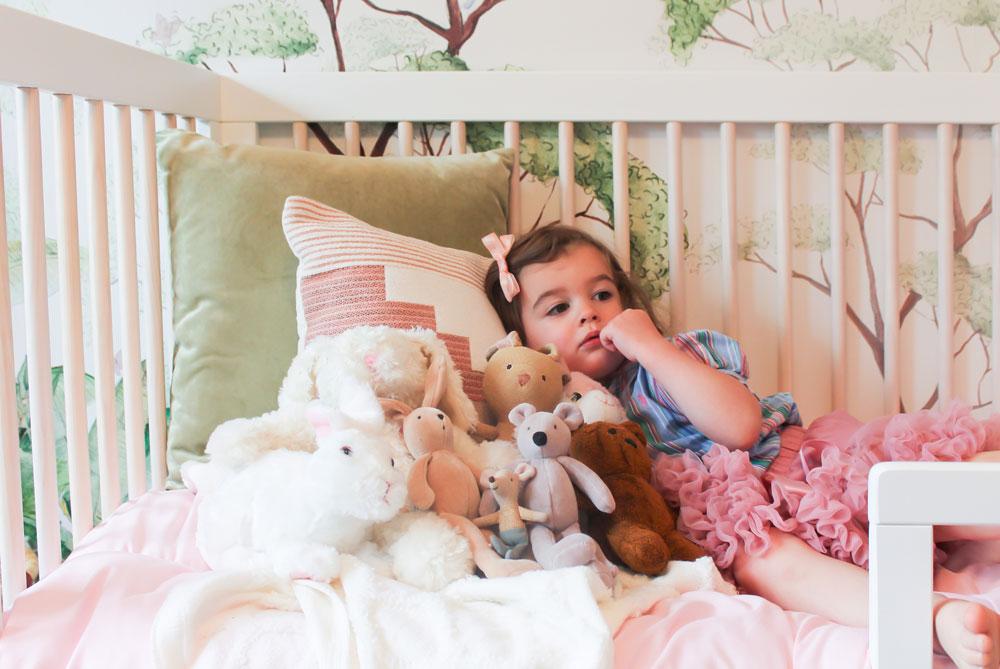
A more accurate number of bunnies and friends in reality!
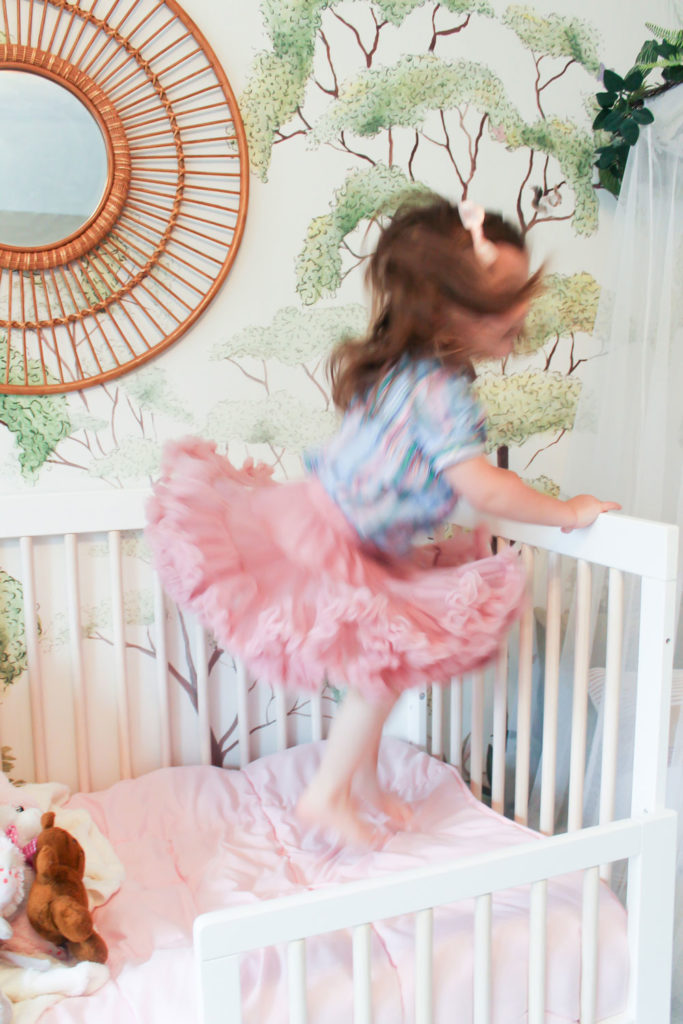
Love this little blur of a human!