I Am Thankful For You!
During the Turkey Day season, it is so easy to get wrapped up in making sure the house is decorated, the dinner is prepped, and travel plans are in place. But sometimes we just need to take a minute and really think about what we are thankful for (just like they used to make us do in elementary school, remember?). While there are a lot of things in my life that I am grateful for, the first one is the group of people with which I surround myself.
So I thought it would be fun to tell them how much I appreciate them with some handmade cards!
This DIY card is super easy! Here are the basic steps:
I Am Thankful For You Card


Supplies:
White card stock – either flat or fold over
Custom Stamp Setting Kit – I got mine from Michaels a while back
Ink pad
Pen or marker – I used a Sharpie pen (super fine Sharpie markers)
Ribbon
Artificial fall leaves
Glue gun (pre-heated)
1. Using the stamp setting kit, spell out “I AM THANKFUL FOR” backwards (haha seems like simple logic but I learned that the hard way!) and stamp onto the upper-middle part of the left side of the card stock.
2. Write the word “YOU” under the stamp in cursive with your pen or marker.
3. With a hot glue gun, run a thin line of glue along the back of the card stock (about an inch or so from the bottom) and glue on your ribbon, leaving plenty of room on either side for the front side and tying the bow.
4. Flip the card over and run a thin line of glue along the bottom left side of the card, all the way from where the ribbon folds around the side of the card to where you would like the bow to be. Keeping the ribbon taut, start from the fold over on the left side and press the ribbon down. Repeat this step on the right side, gluing only to the bow location.
5. Tie a bow with the remaining ribbon and trim the ends to size. Use a lighter to quickly seal the edges if the ribbon is fraying.
6. Run a thin line of glue down the center vein of the leaf and glue it to the card stock, slipping the stem under the bow as you go. Add thin lines or dots of glue to the underside of the leaf to keep the sides of it attached to the paper.
7. Finally, add a dot of glue under the bow and press it down to keep everything in place.
Add a little message to the back (or inside if you used a fold over card stock) of the card and send it off to someone you love. I know I would be so blown away to receive this wonderful sentiment via snail mail!

Here is one for all of you: my loyal blog readers. I am thankful for YOU!
P.S. On Monday I will be sharing this craft with Dare to DIY: Be Thankful hosted by Decor and the Dog. Make sure to stop back and check out lots of other Thanksgiving DIYs!
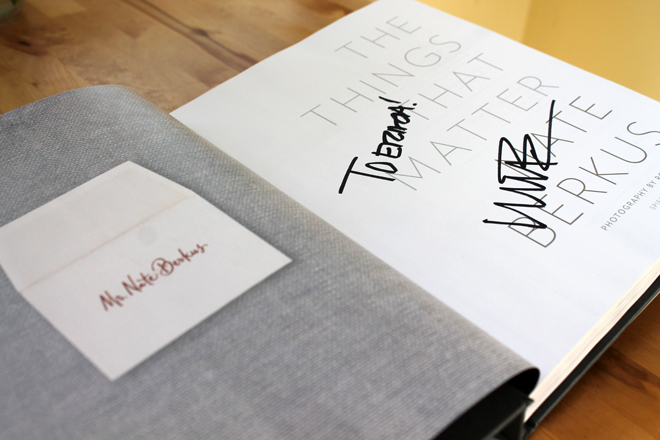
P.P.S. Don’t forget to enter the signed Nate Berkus book giveaway!
Today is the very LAST day to enter! :)
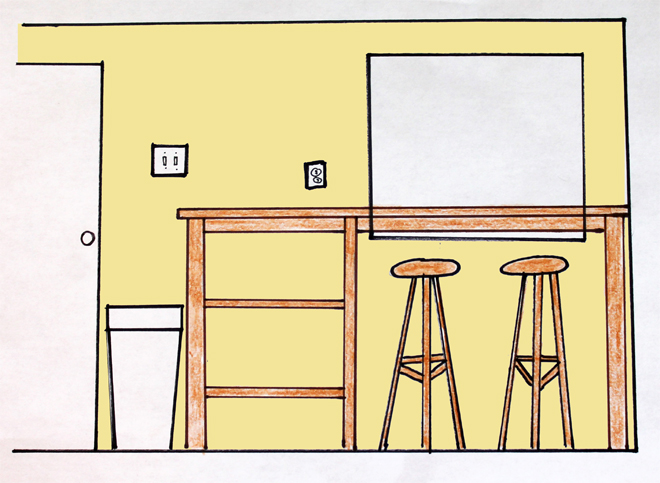
 We have tossed ideas around about using a kitchen island on the wall between the door and kitchen table. Right now I have a leftover bookshelf to use for additional storage but it is in no way a good use of the space.