Coffee & Crates
After a fairly lethargic few days last week, I figured out why I felt so run down… I woke up today with a nasty cold. But I am trying to look optimistically into the coming week because it is the week we get a garage space! Woo! So a lot of our week will be moving things out of the apartment and reworking the space once we both recover from being sick (yes- Walker is sick too). But before the madness begins, Walker and I were able to sneak in a project yesterday that we have been wanting to try for a while.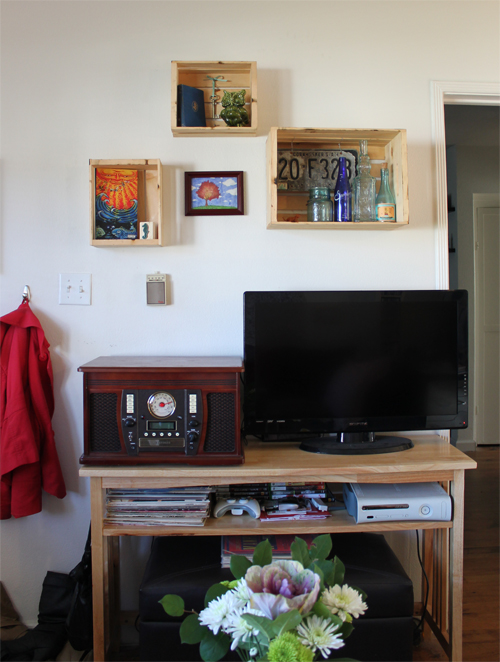
A while back, Walker came up with the idea of using wine crates as shelves over the TV in the living room. Totally on board, I started looking around for wine crates everywhere with no luck at all. Unless I wanted to spend a ton of money online, there were no crates to be found. Then finally on one of my trips to Joanne Fabrics, I happened to see a large wood crate for $10. It needed to be roughed up a bit but it was perfect. A few weeks later I saw some smaller crates at Michael’s for $6.99 a piece (plus I had a coupon so I paid less!) so we had all of our supplies.
P.S. Ignore the yard in the pictures below. We are well aware that the yard work has fallen by the wayside. Bo loves it though… it’s like a jungle for him.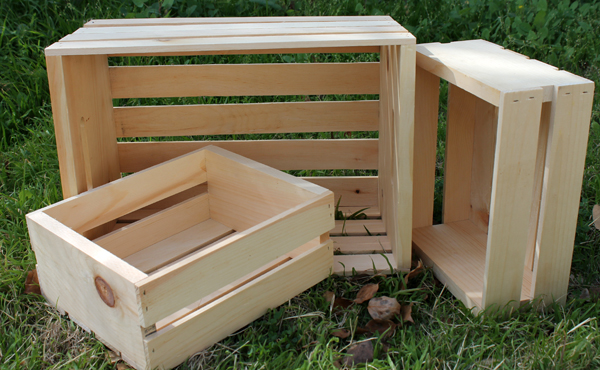
In order to age the wood, we started out by sanding and beating up our crates with a hammer. This was the fun part! :)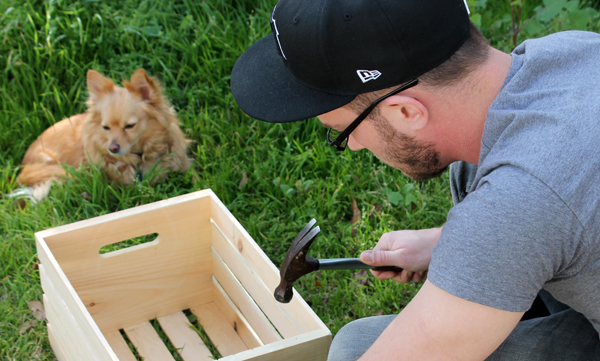
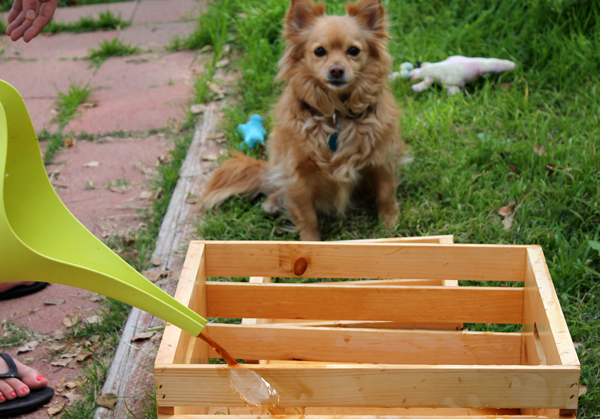
Since we didn’t really want to change the color of the wood, we decided to use coffee to stain it a bit (think back to elementary school when you would age your Declaration of Independence project paper with tea or coffee then burn the edges to make it look old… same idea). We figured it would warm up the wood a bit and bring out the flaws. I found some gross instant coffee I bought for a camping trip ages ago and mixed several packets with a teapot of hot water. Using an old paintbrush, I applied the coffee to all sides of the crates.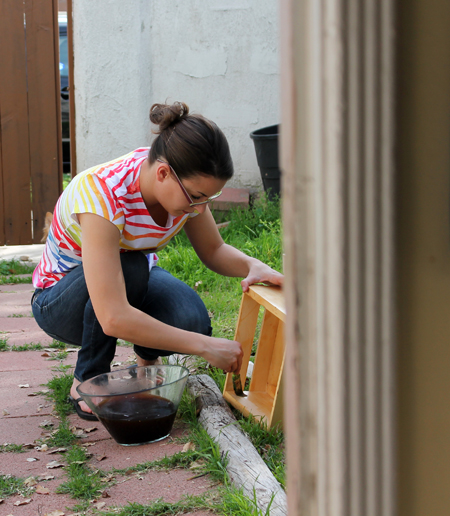
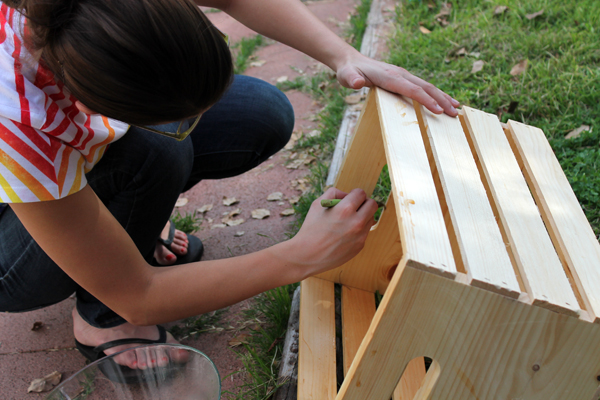
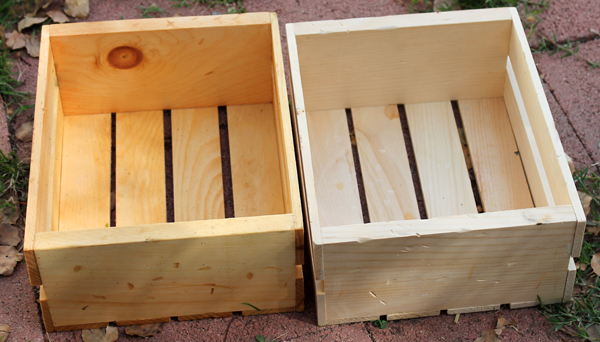
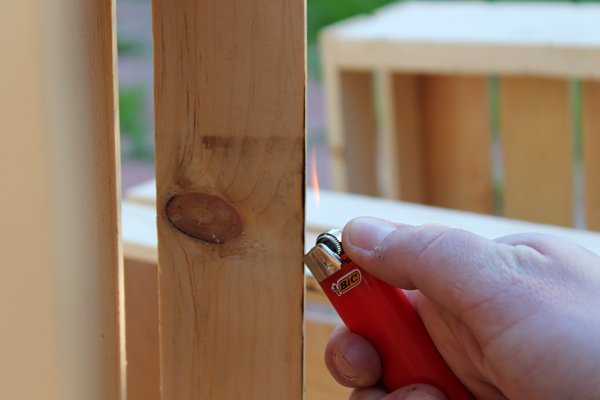
When I was finished, we still thought that they could use a bit more so I applied a second coat and then poured the remaining coffee onto the crates (to make things more uneven). It was perfect so we let them dry outside for a few hours. When they were dry, we used a lighter to burn some areas of the crate, especially the edges. Minus a few finger burns, everything came out like we wanted.
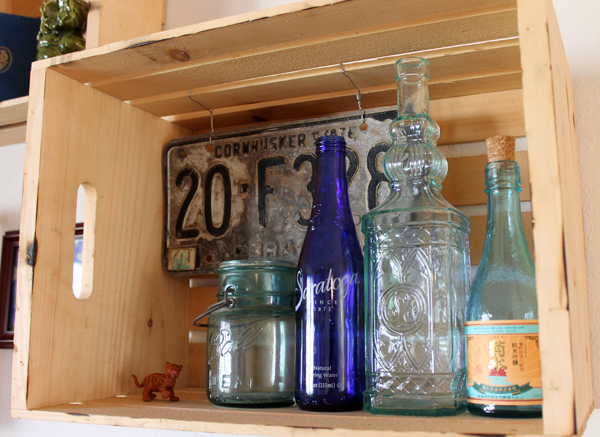
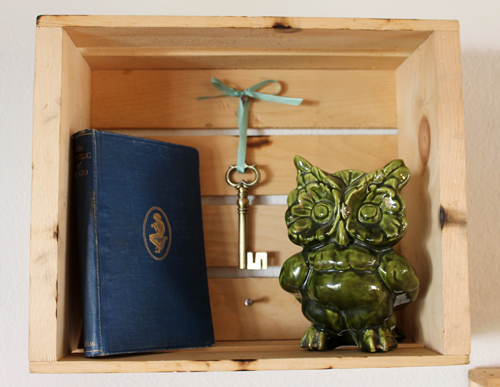
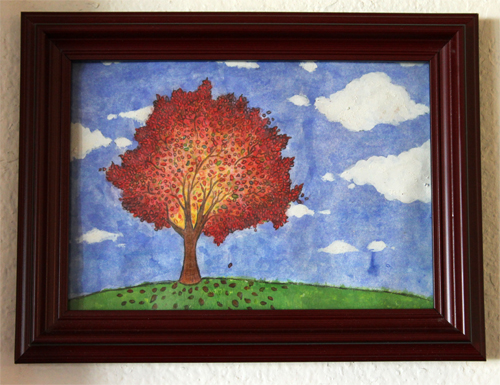
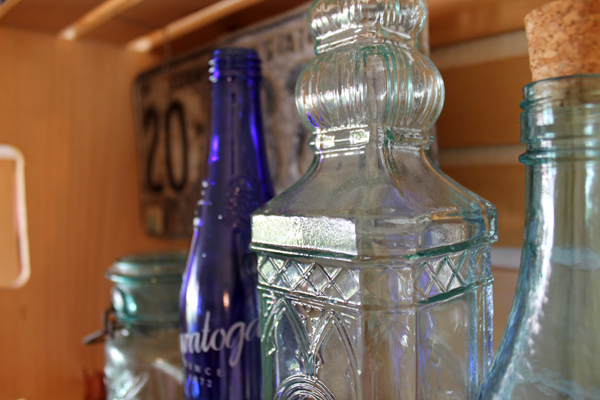
 Once we were done, we used a stud finder and some nails to securely fasten the crates to the wall. Getting the hammer in there was interesting but we managed… probably should have used screws! Live and learn. Our sad, old drill is probably too lame to have worked anyway! Finally, we filled the crates with sentimental things and put Walker’s watercolor painting of a tree in the center to bring everything together. Now we want to put crate shelves EVERYWHERE!

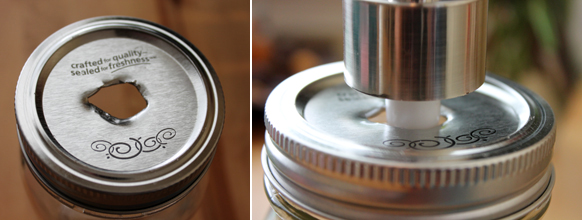
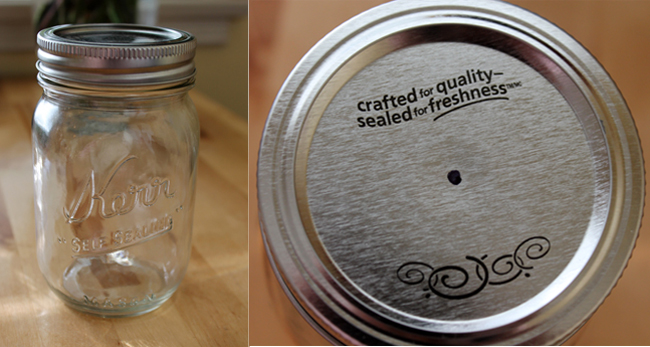 1. Make a mark in the center of the mason jar lid. This will be where you will drill the hole.
 3. Test to see if the pump fits and if so, start mixing your epoxy according to the directions on the package. I was fascinated by the dual syringe air bubble race I had going on.
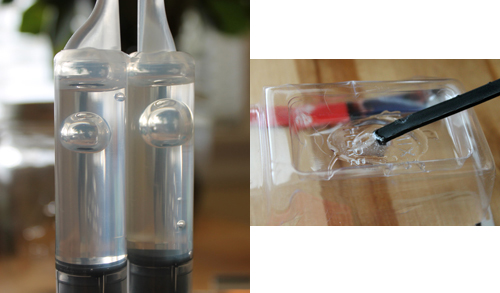 4. Once mixed properly, apply a small amount of epoxy to the bottom rim of the pump (the part that will sit on the lid). Insert the pump and press it down against the lid for a few minutes. Then let it cure according to the instructions.
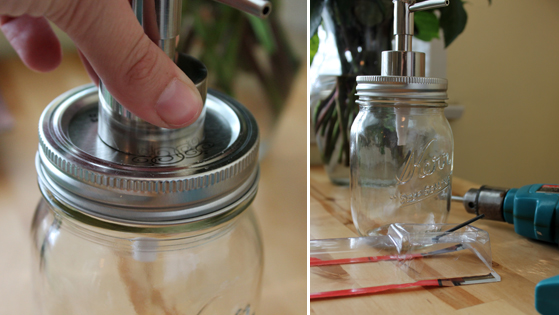 5. When completely cured (mine was an hour), give your jar a good washing to make sure there are no metal bits in it from the drill. Metal scraps don’t make for happy hands. Trim the provided soap pump tube to size so it goes to the bottom of the jar.
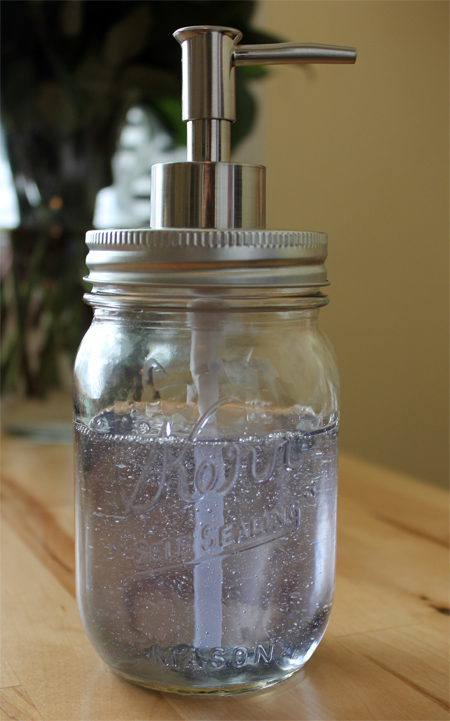
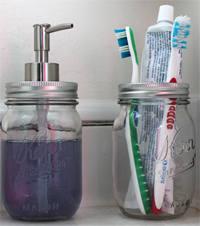 I also had a second mason jar and decided to use it to hold our toothbrushes and toothpaste. So we have a little theme going on! I love the way this turned out and have already washed my hands like 3 times just so I could use it. :)
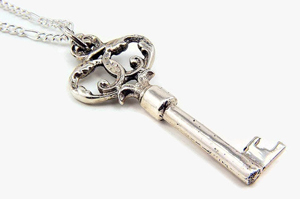 After bragging shamelessly at the family Christmas gathering about my new skeleton key necklace from Walker (I had been wanting one forever! This pic is from the Etsy seller