Category Archives: Holidays

I Am Thankful For You!

During the Turkey Day season, it is so easy to get wrapped up in making sure the house is decorated, the dinner is prepped, and travel plans are in place. But sometimes we just need to take a minute and really think about what we are thankful for (just like they used to make us do in elementary school, remember?). While there are a lot of things in my life that I am grateful for, the first one is the group of people with which I surround myself.

So I thought it would be fun to tell them how much I appreciate them with some handmade cards!

This DIY card is super easy! Here are the basic steps:
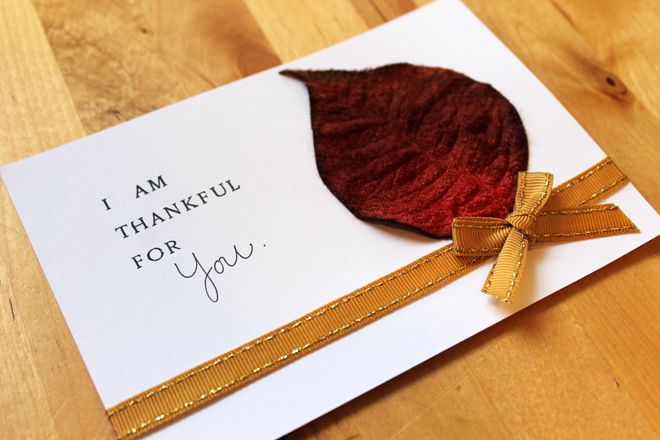
I Am Thankful For You Card

Supplies:
White card stock – either flat or fold over
Custom Stamp Setting Kit – I got mine from Michaels a while back
Ink pad
Pen or marker – I used a Sharpie pen (super fine Sharpie markers)
Ribbon
Artificial fall leaves
Glue gun (pre-heated)

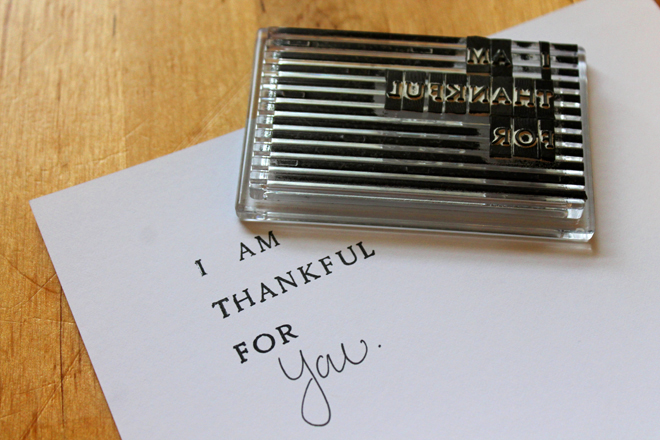
1. Using the stamp setting kit, spell out “I AM THANKFUL FOR” backwards (haha seems like simple logic but I learned that the hard way!) and stamp onto the upper-middle part of the left side of the card stock.

2. Write the word “YOU” under the stamp in cursive with your pen or marker.
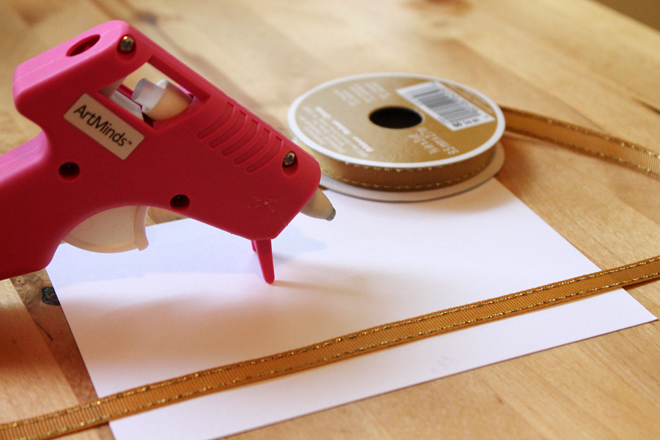
3. With a hot glue gun, run a thin line of glue along the back of the card stock (about an inch or so from the bottom) and glue on your ribbon, leaving plenty of room on either side for the front side and tying the bow.
4. Flip the card over and run a thin line of glue along the bottom left side of the card, all the way from where the ribbon folds around the side of the card to where you would like the bow to be. Keeping the ribbon taut, start from the fold over on the left side and press the ribbon down.  Repeat this step on the right side, gluing only to the bow location.
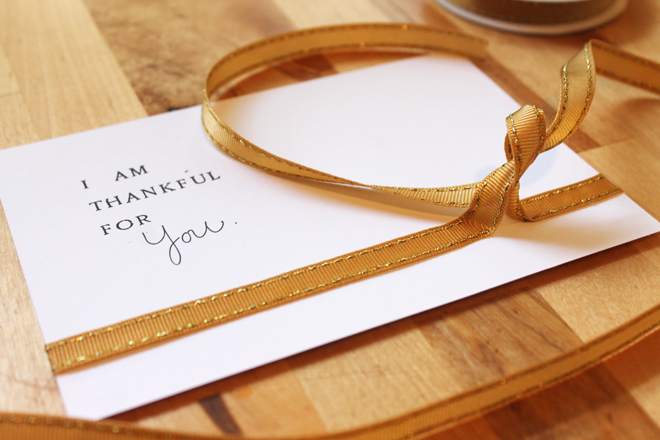
5. Tie a bow with the remaining ribbon and trim the ends to size. Use a lighter to quickly seal the edges if the ribbon is fraying.

6. Run a thin line of glue down the center vein of the leaf and glue it to the card stock, slipping the stem under the bow as you go. Add thin lines or dots of glue to the underside of the leaf to keep the sides of it attached to the paper.

7. Finally, add a dot of glue under the bow and press it down to keep everything in place.

Add a little message to the back (or inside if you used a fold over card stock) of the card and send it off to someone you love. I know I would be so blown away to receive this wonderful sentiment via snail mail!
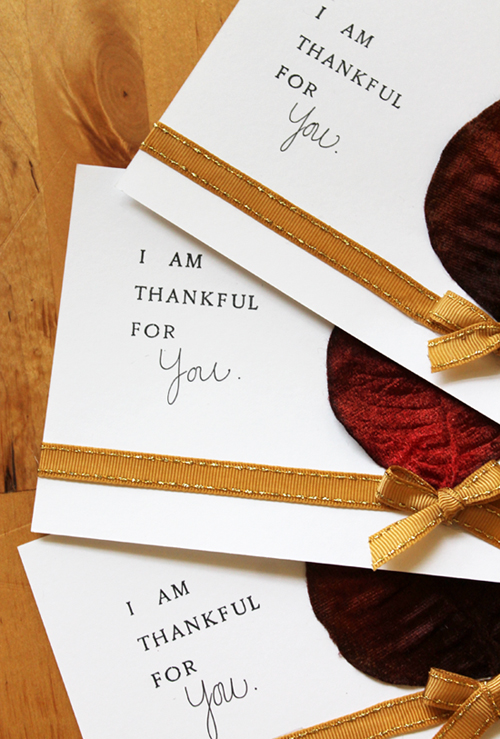
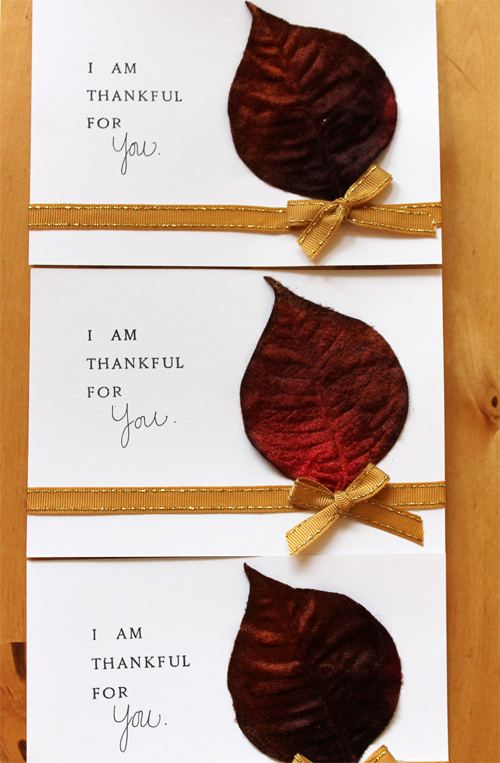
Here is one for all of you: my loyal blog readers.  I am thankful for YOU!
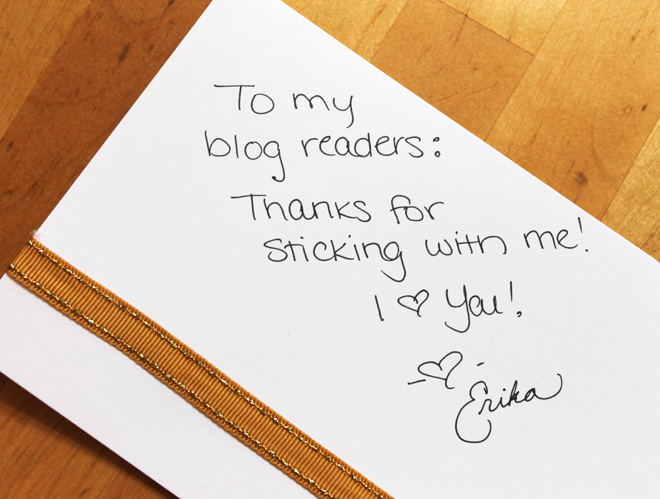
P.S. On Monday I will be sharing this craft with Dare to DIY: Be Thankful hosted by Decor and the Dog. Make sure to stop back and check out lots of other Thanksgiving DIYs!

P.P.S. Don’t forget to enter the signed Nate Berkus book giveaway!
Today is the very LAST day to enter! :)

Fall & Football Decorations

I am oh so envious of all of you that get to experience true fall: leaves changing colors, crisp autumn breezes, apple cider doughnuts. You get my drift. Here in LA, the most we get is a cooler night or two and a barrel of half-rotten pumpkins at every grocery store. Okay, I’ll stop whining but the point I am trying to make is that we sort of have to create fall around here. So over the weekend, we did just that!

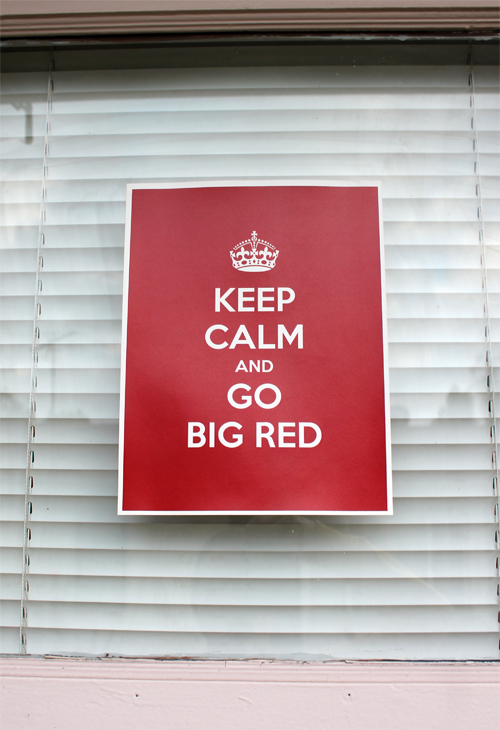
The thing that most represents autumn in this apartment is FOOTBALL. We are big NY Giants and Nebraska Cornhuskers fans. So I went to a really awesome website to create some fun Nebraska football art for our front door at the beginning of this season. It was good luck on Saturday because we had an exciting win.

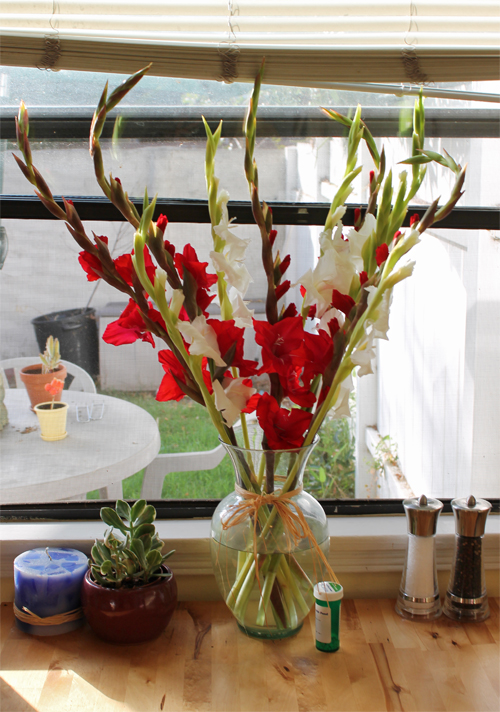
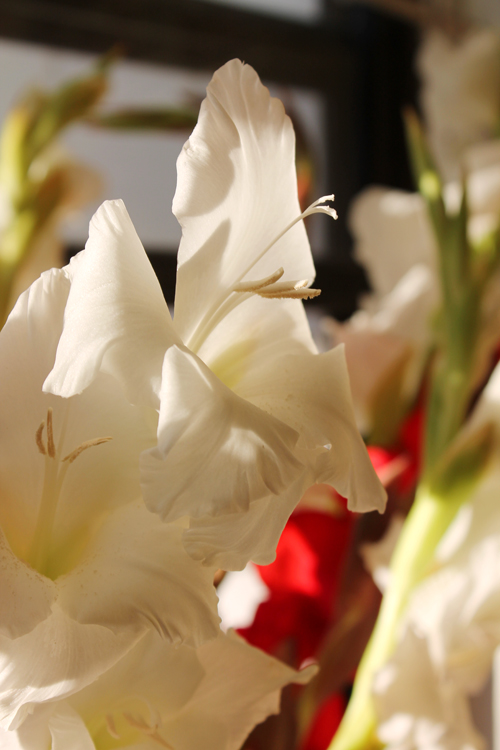
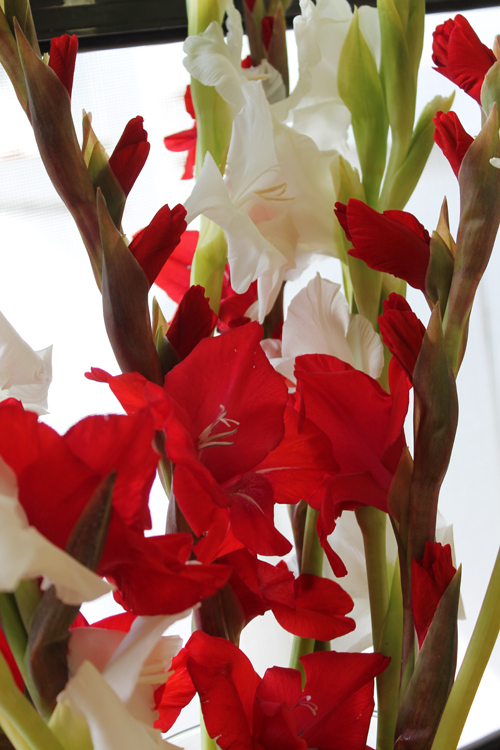
Walker even bought me some red and white gladiolas to support the team colors! GO BIG RED! Aren’t they stunning?!  They are STILL blooming, too…

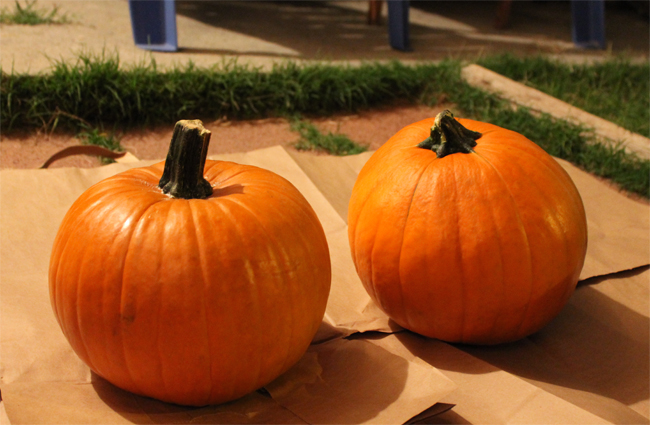
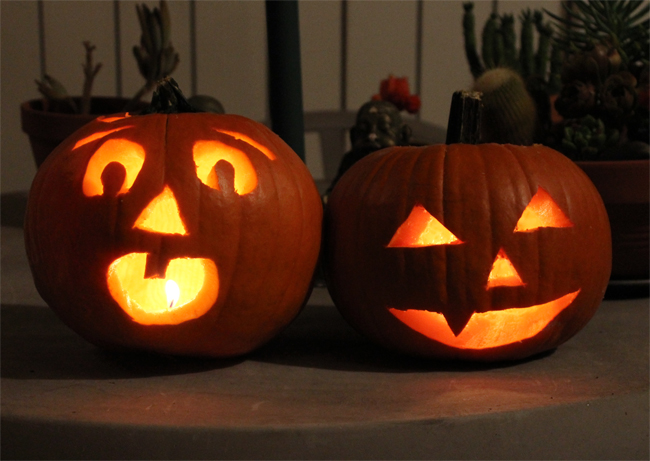
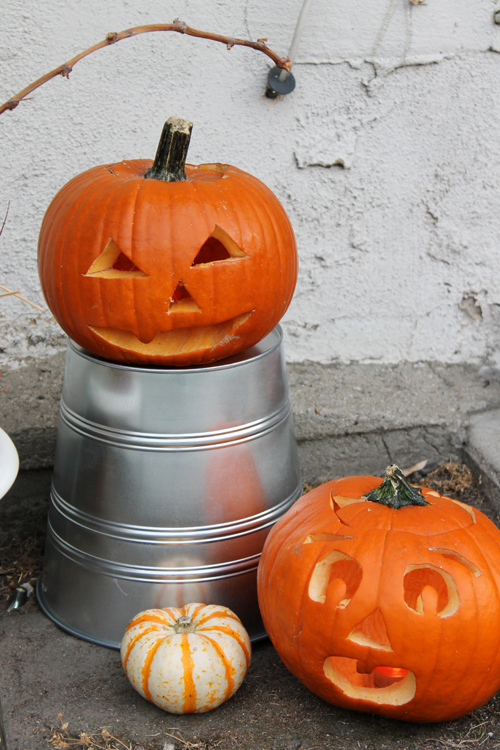
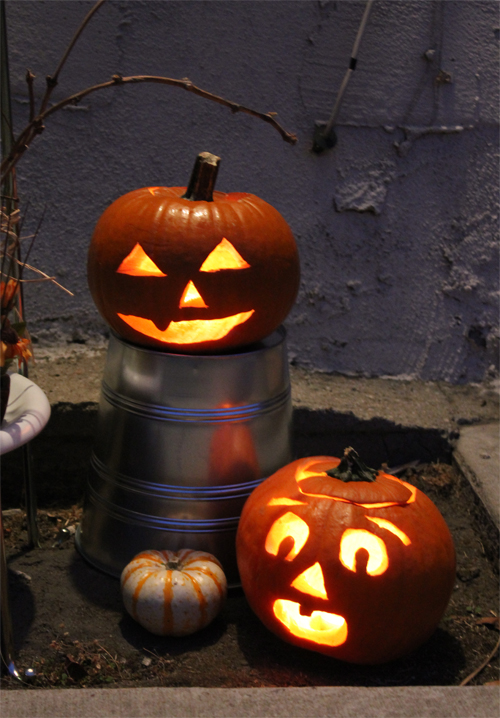
To continue bringing fall to our place, Walker and I spent Saturday night carving pumpkins, drinking pumpkin beer, enjoying a fire in the fire pit, and listening to good music! It was glorious! Although, on second thought, it seems quite cruel to murderously de-gut and carve an innocent pumpkin while drinking the remains of his cousin.  Oh well… totally worth it! ;)

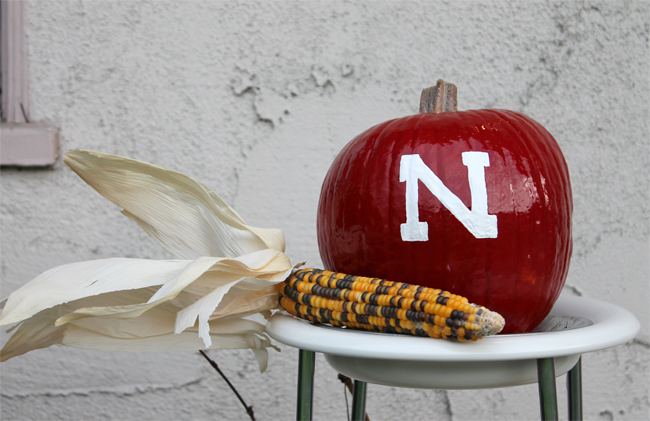
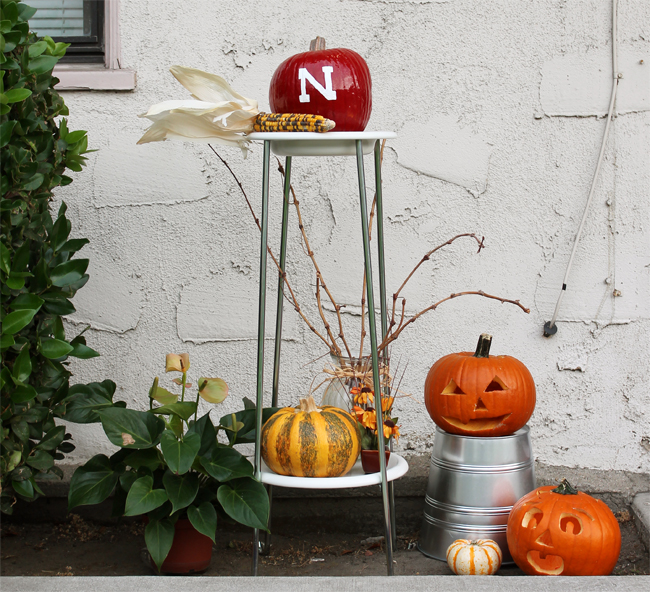
I had Monday off of work so I surprised Walker with another pumpkin that was painted with the Cornhusker “N” logo to match the art on our front door! I have been talking about getting a little plant stand for a while now, so I used the new pumpkins as an excuse to get an awesome one for $20 at Ikea. I made a little fall display out front for all to enjoy using the pumpkins, a piece of ornamental corn (for the Cornhuskers!), and some dried grape vines from our plant last year.

I really like the way it turned out! The only thing that stinks is that I have to bring the carved pumpkins inside on hot days so they don’t immediately rot!

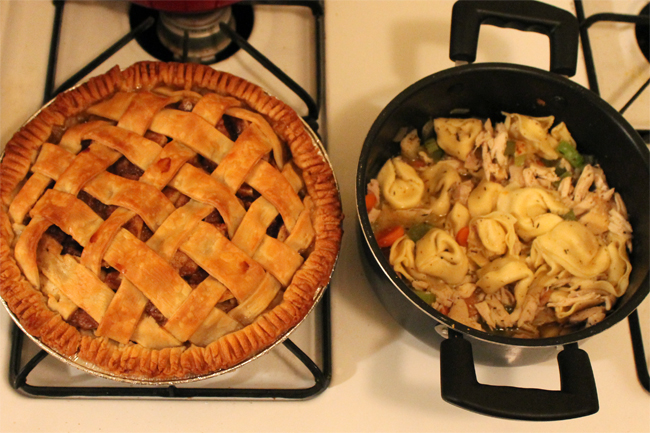
To top off our fall celebrations, Walker came home from work to a homemade apple pie baking in the oven! We even made homemade chicken tortellini soup for dinner, just to maintain that cozy feel.

So maybe nature doesn’t really give us fall out here, but I certainly am feeling the good fall vibes in our place.  And really, that is what’s important. I love that happy fall feeling! :)

Let Love Grow!

My best friend Laura and her new hubs (omg I can say that now!) are such incredibly creative and crafty people! All of the art and a lot of the furniture in their apartment is handmade by those two little artisans. In fact, let’s throw it back old-school style… in my second blog post ever on Our Cozy Cubbyhole, I mentioned visiting Laura and Dave’s first apartment together and being envious of how personal and home-y it felt. So naturally, when they announced their engagement, I knew their wedding would have the same handmade, personal, home-y feel.  And I was right!

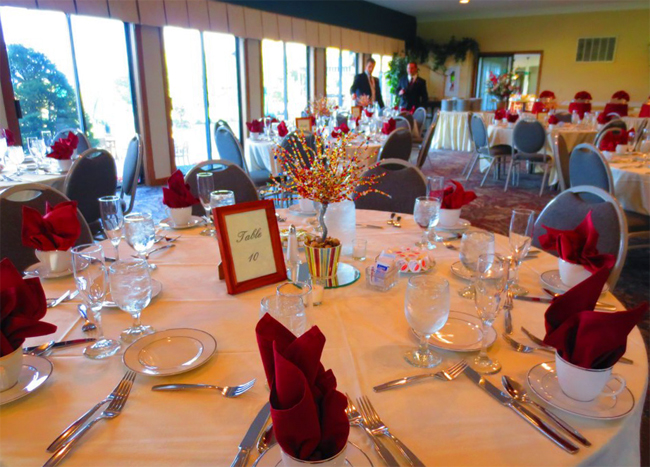
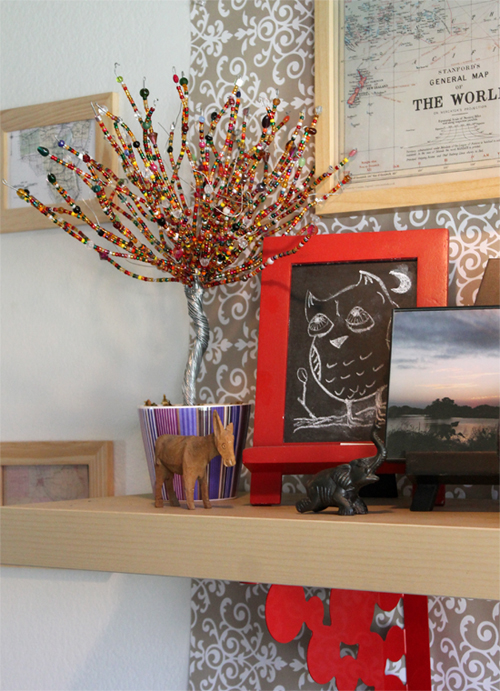
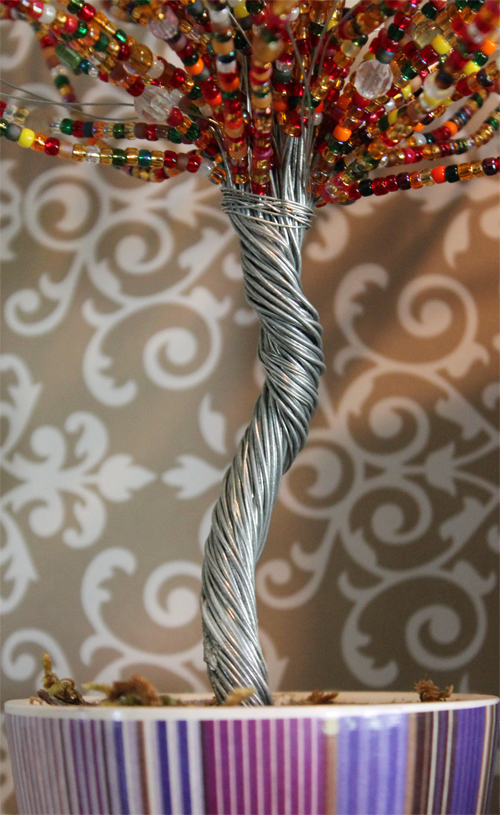
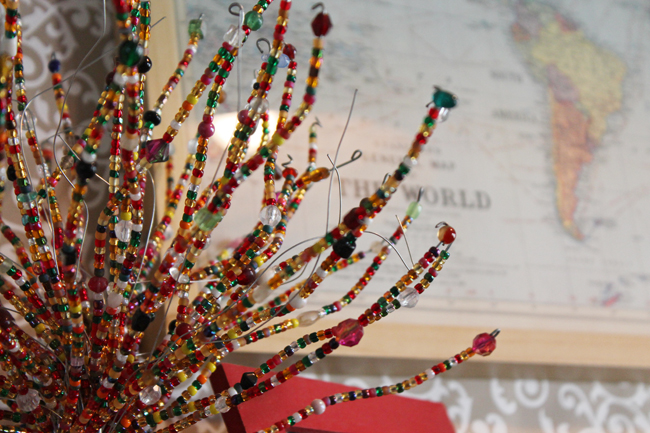
The theme of the wedding was “Let Love Grow” and they featured trees as a main part of their invitations and decor. The stand out of the night was definitely the handmade beaded tree centerpieces they made for every table! Using hundreds of strands of wire and hundreds of hand-placed beads, the adorable couple (and any family members they could rope in!) created about 30 gorgeous fall trees over the past few months. Every family get-together involved some sort of obligatory beading session!

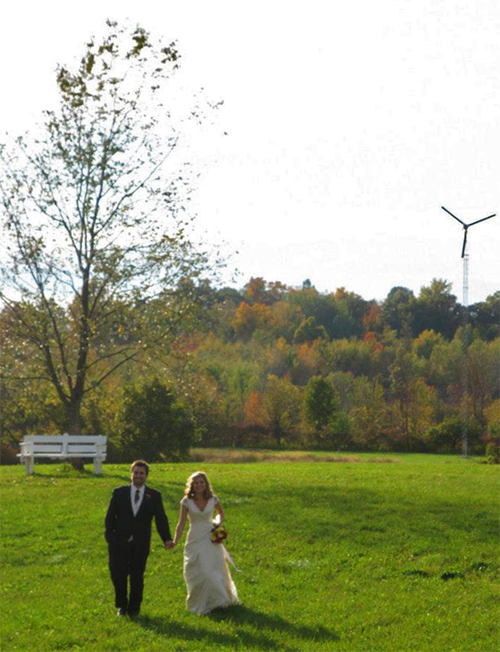
Thank you for the original photo, Erin!

But their hard work paid off because the reception room looked incredible with the perfect centerpieces.  The best part is that I got to bring one home all the way to California! It now sits on my fake mantel shelf above the couch, where I can look at it and think of the wonderful wedding day as well as the incredible people that poured their time and love into making that little tree!

Maybe someday I can get a full DIY tutorial out of them but in the meantime it is so nice to enjoy the beauty of someone else’s DIY masterpiece. Thank you Laura and Dave… let love grow!

Dave and Laura!  –  Thank you for the original photo, Erin!