Category Archives: Gardening

Clifford the Big Old Cactus

I love it when neighbors move out.  Last week, we found that crappy dresser we turned into our super fun plant stand and outdoor bar.  Then yesterday, we found a new “pet” to adopt (strange statement explained here)!  When I got home from work, I found this guy waiting on the curb for a good home!
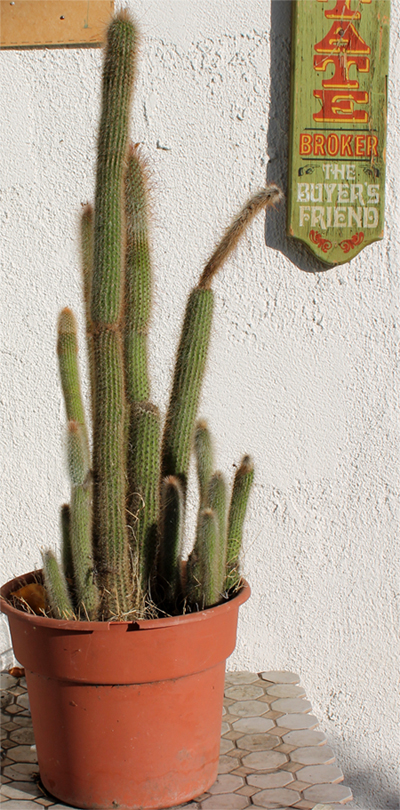
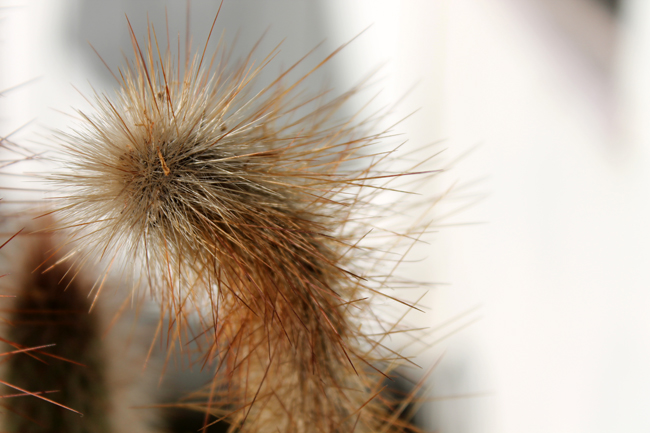
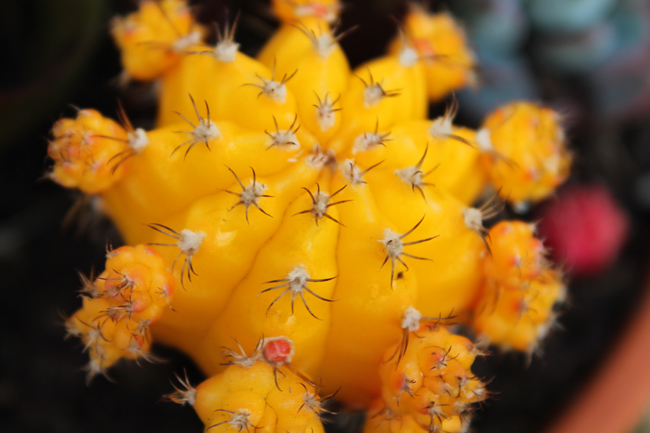
His name is Clifford and we love him. I think he kind of looks like a non-cuddly Muppet, no? We decided to put him on a table for now because we were afraid Bo would get too curious for his own good and end up with cactus spikes in his nose! We are still trying to figure out where his permanent home should be but plan on giving him some TLC in the meantime. Our backyard has certainly become cacti central after the past few weekends (case and point). They make the yard a happier, brighter, spikier place. :)

Succulent Sunday Part 2

Is it seriously already Monday? Walker and I had a surprisingly productive weekend. After a successful Saturday morning project (yay for empty/clean closets!), we were inspired to check a few more things off of our list.  It happened to be a beautiful day so we decided to make playing with cacti our new Sunday tradition.

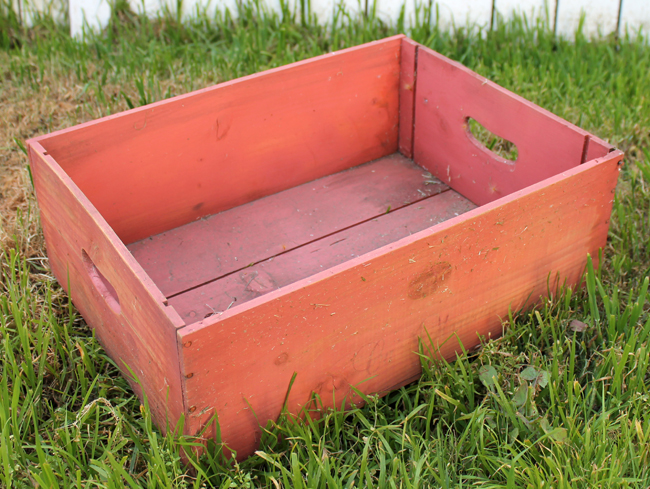
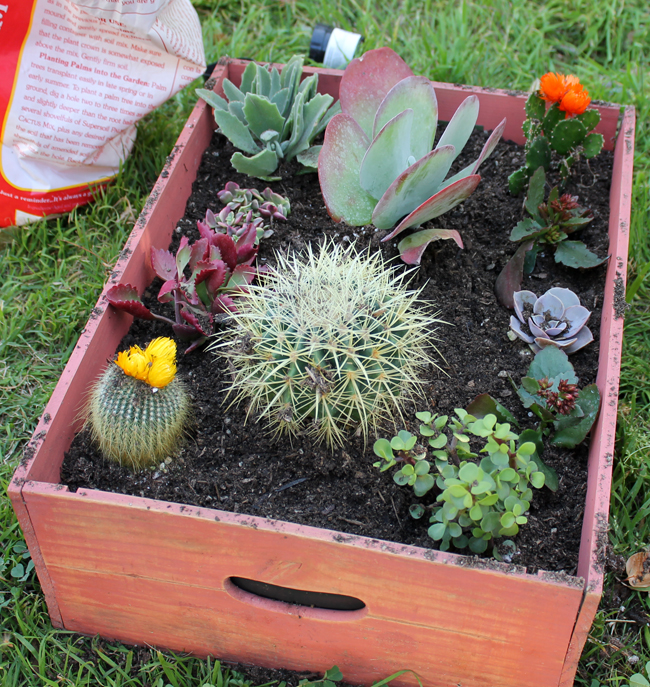
Ages ago, we found an old wooden crate left as a freebie on the curb by one of our neighbors and snagged it.  But it has been sitting ever since because we haven’t known what to do with it. So after last week’s succulent garden was such a success, Walker and I agreed that our old red crate would look awesome as a planter box.

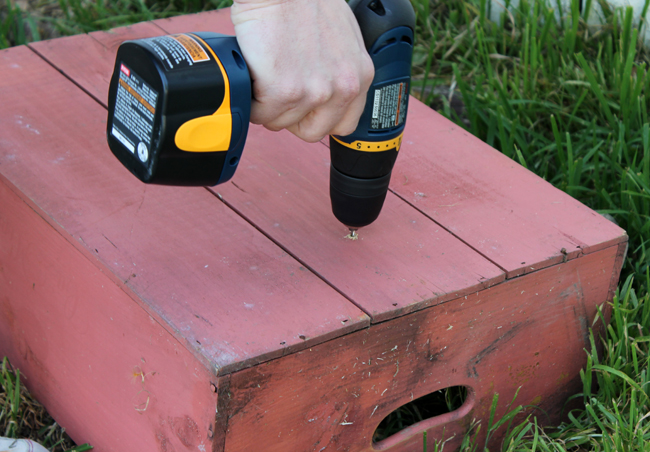
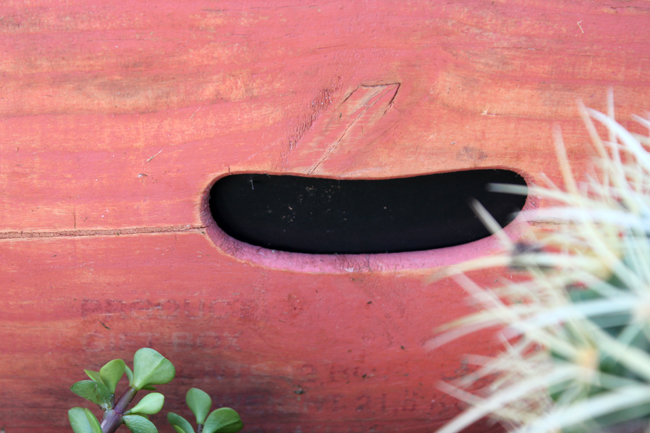
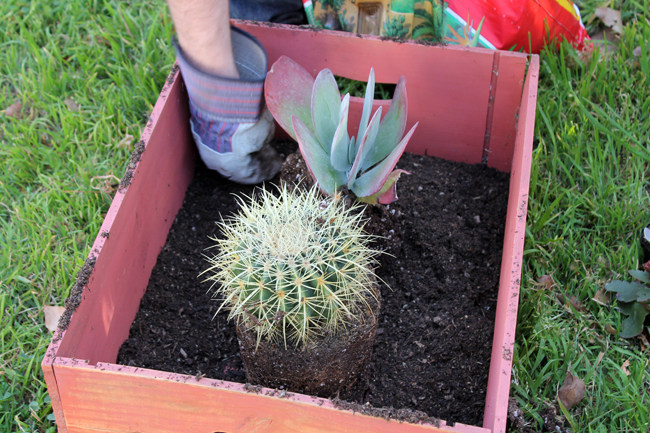
While the process was similar to last week’s post, there were a few additional things we did to make sure the box would drain well and stay protected a bit.  We drilled additional holes in the bottom of the crate for drainage.  We also used polyurethane spray to coat the crate to protect it from the water (follow the instructions on the can and make sure you let it fully dry before starting the project!). Before we placed in the soil, we lined the bottom of the crate with a small layer of rocks for even better drainage (ok this is going to be pretty heavy…). Lastly, we cut off two pieces of the plastic containers the succulents came in and stapled them to the inside of the handles so we could fill the container higher with soil.  I know… we are so resourceful! ;)

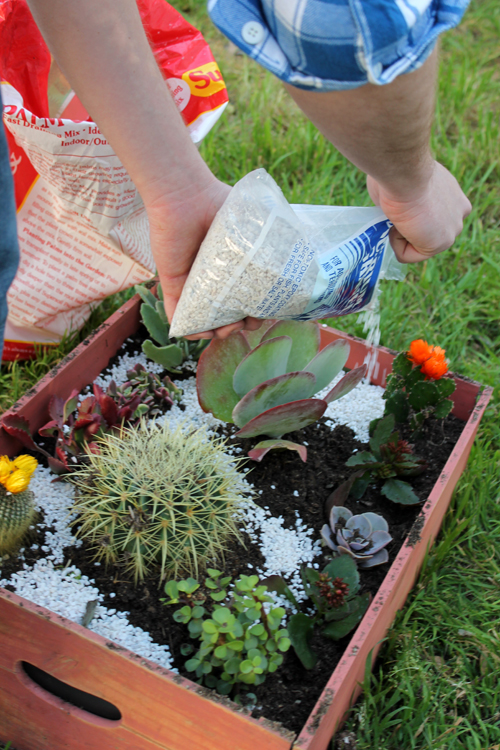
Otherwise, the process was similar to the last time!

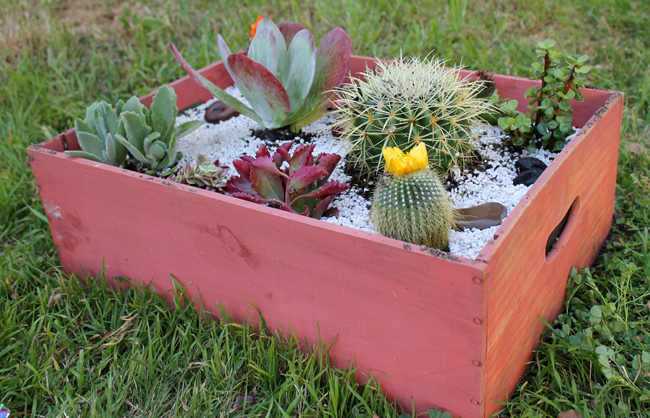
We used white aquarium gravel as the top layer of our succulent crate parfait to make it look a little different from our other succulent garden.  And there you have it: Wooden Crate Succulent Garden.I know this project was similar to last Sunday’s adventure but this is only part 1 of 2 of our Sunday backyard beautification project!  Where is this giant crate going to live?  What are you going to put in that empty space in the backyard where your bike used to be (thank you garage space!)?  You will have to check back tomorrow for all secrets to be revealed! Bwa hahahah!
One last little thing, as I mentioned in Saturday’s post if you like reading Our Cozy Cubbyhole, please vote for us in the Apartment Therapy Homies 2012 Awards.  We would LOVE to stay on the board to gain more readers!  Your support means a lot to us!! YOU ARE THE BEST! xoxo

Succulent Sunday

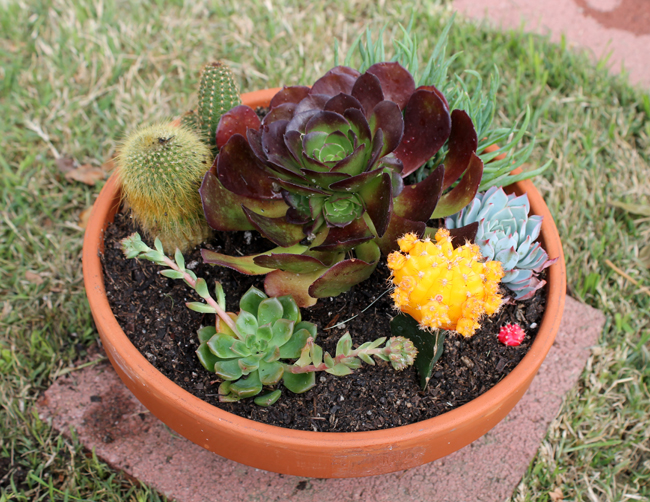
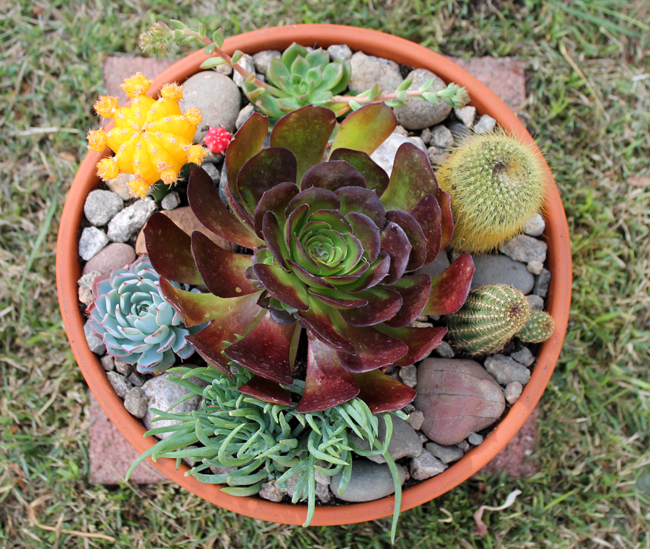
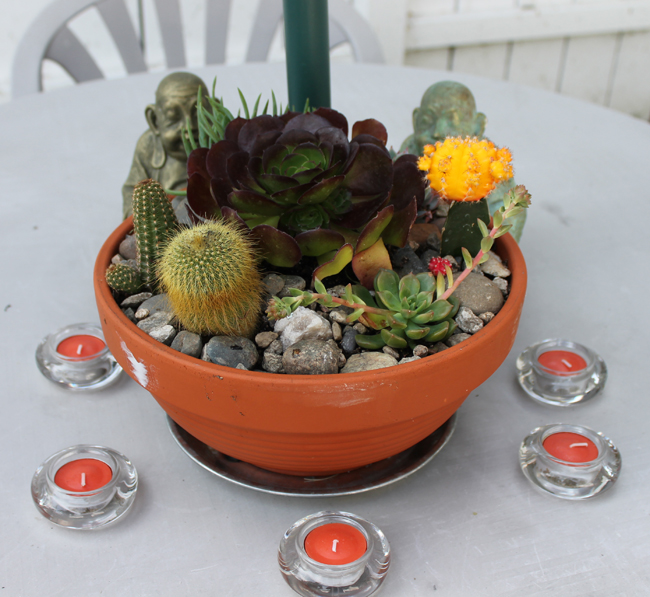
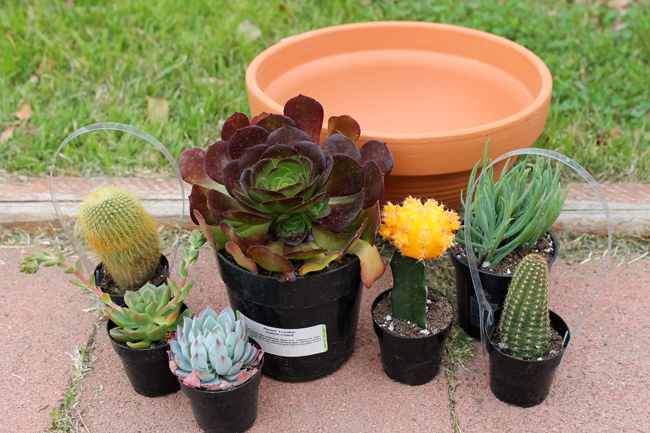
Before Walker and I moved in together, we bought a few succulents to spruce up his old apartment. When he moved in, they took up new residence on a table in the backyard and have been absolutely thriving!  Seeing how well they are doing, Walker has been wanting to get some more and create a succulent garden. So after a busy Saturday of cleaning the apartment and hanging out with friends, Walker and I decided to have a lazy Sunday and finally tackle this fun little project!
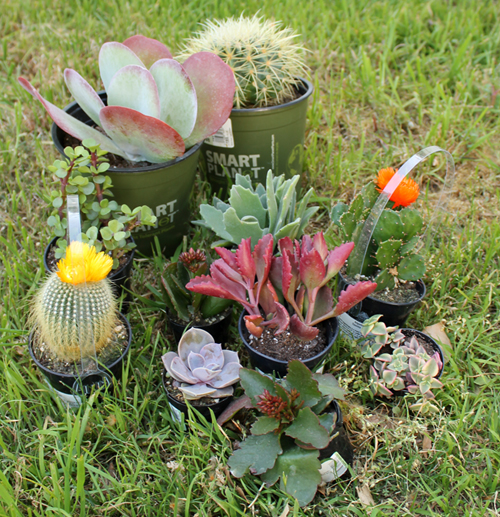
In one trip to Home Depot, we were able to get a terra-cotta planter for $7, several succulents for $2-$7 each, and a bag of palm & cactus soil for $12 (we wanted to replant the other succulents into bigger pots also so we needed a big bag).  All-in-all we spent about $35 but you could definitely go cheaper with all $2 succulents and a smaller bag of soil.  The most fun part was picking out which succulents we wanted to use!


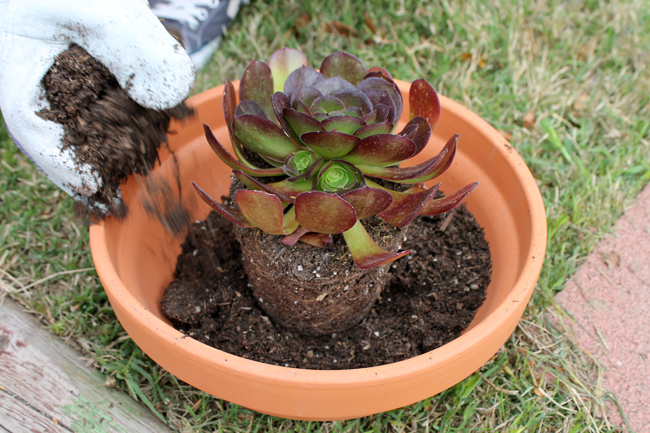
Walker started his project with a shallow layer of soil in the planter and placed the biggest succulent (how cool is he!?) as our centerpiece.  He filled in the sides with another layer of soil and then placed the smaller succulents around the big guy.  He finished by using the soil to fill in the spaces between all of the succulents and even everything out.
As a finishing touch, we went on an adventure collecting rocks in our backyard to use as a top layer over the soil. We are so happy with the way it turned out. In fact, Walker has started referring to the garden as his new pet… should I be worried? :)