Category Archives: Furniture

New Workspace: The Plans Revised

Last month, I posted the basic plans for a new workspace. I did a ton of looking around for cabinet and tabletop options (online, ReStore, local hardware stores, Craigslist) without much of a result.  It looks like we would have to spend quite a bit of money to get something that looks good and fits well in the space.  Then what happens when we move… it won’t likely fit well in a different space. So I let the project fall onto the back burner but I kept my eyes peeled.

As I told you earlier, work was busy but exciting last week with a new editing project.  This week and going forward, I will actually be doing some editing from home as well as in the office.  But that brought me back to my existing desk… it really does not function as a workspace beyond surfing the internet.  So I went back into planning mode this weekend.

If I was going to have to spend money on my old desk idea, I began wondering if it was time for me to buy my first piece of big girl furniture. After looking around a bit, I found that there are a lot of 60″ desks available but they are fairly pricey.  In an ideal world, we would end up with something like this:Source: http://www.wayside-furniture.com/
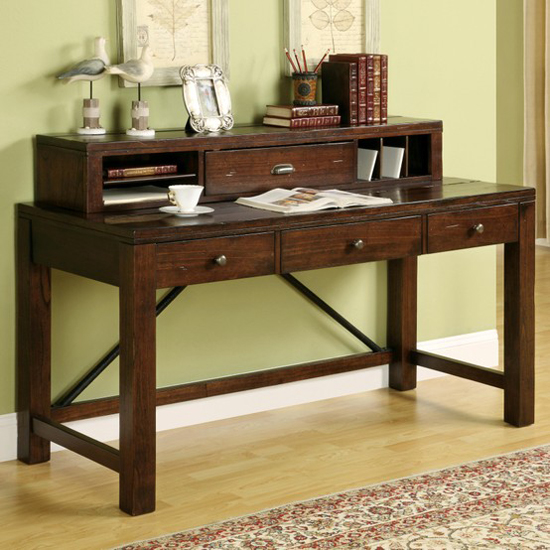
Both of our monitors would fit on top of the hutch and we would have plenty of storage (and leg room!).  But this is undoubtedly hundreds or thousands of dollars (they don’t show the price on the website so that’s a bad sign).  Even a more basic version is expensive:Source: http://www.havertys.com/
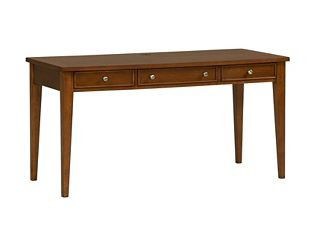
This has far less storage and less character but it is still $329.  I’m honestly not crazy about it but the price is better.  So then I had another thought… what if we did two cute little his and hers writing desks and split things up a bit?  I stumbled upon this affordable 30″ writing desk that has a really cute shape!Source: http://www.wayfair.com
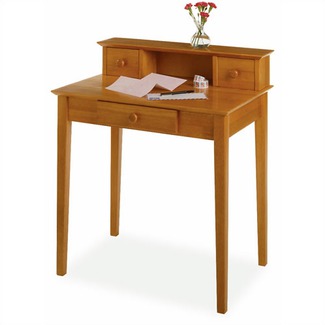
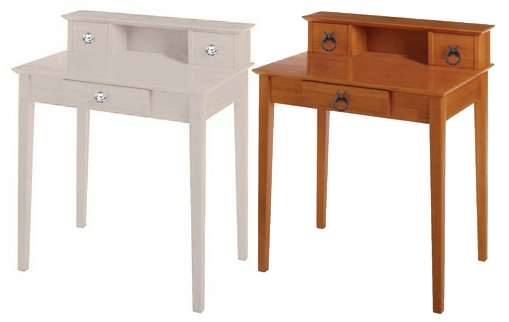
We would each get our own space, our own storage, and our own chairs. I think it would look really cute to make each one our respective styles.  Thanks to the magic of Photoshop, here is an example of what I mean:I think his & hers desks would be adorable… plus they would fit better in a new space than one giant desk.  Best of all- we could get both for under $250! I am still running all of these ideas by the boss-man but I would love to hear your thoughts!  Please let me know what you think of any or all of the above!  I also welcome other ideas… I would LOVE to get this workspace scratched off of my list!
Update: Woo here they come! :)

$7 DIY Plant Stand & Outdoor Bar

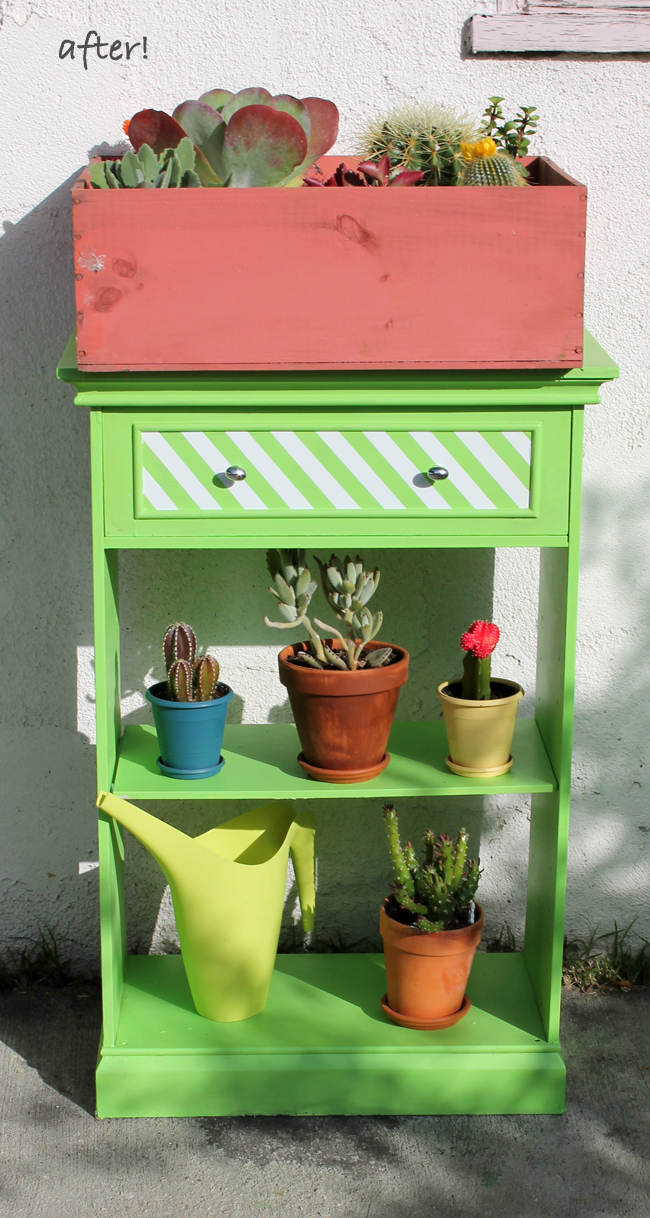
As promised, here is part 2 of our backyard beautification project on Sunday.  While taking out the trash on Saturday, Walker and I saw a piece of furniture left out by the dumpster to be thrown away.  Granted it was ugly and wobbly but it was also free and had a lot of potential!  So we grabbed it and decided to give it a makeover so it could be used as backyard storage.  I think we made a big difference…

It is obviously a huge change so let me break down the steps we took to give this little TV stand a new identity as a backyard plant stand!

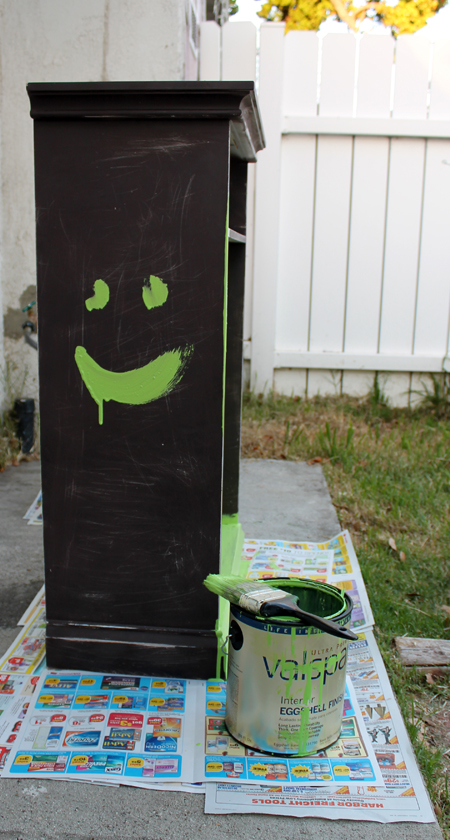
First things first, I sanded the unit down to make sure we could paint it.  I discovered that the dark paint was already its first makeover… it was originally white!  But it sanded down well and I loved the multiple layers of paint that will inevitably show when it begins to age.  So I decided to forgo primer (which I would ordinarily use on something this dark) so that the dark paint would show through a bit. I applied the first coat of lime green paint (leftover from my first accent wall in the bedroom) on Saturday afternoon and let it dry overnight.

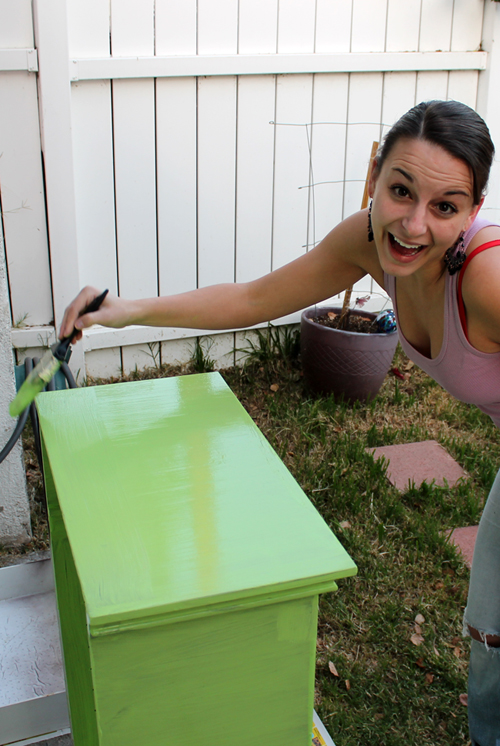
Obviously I was happy about this project… haha! The next day I applied a second coat of paint, which made the finish mostly smooth (there are still some visible brush strokes and dark paint).  If I wanted to have the finish more even, I would have had to apply at least one more coat.  But since I was hoping the dark paint would begin to show underneath anyway, I figured I would help it out by applying one less coat! :)

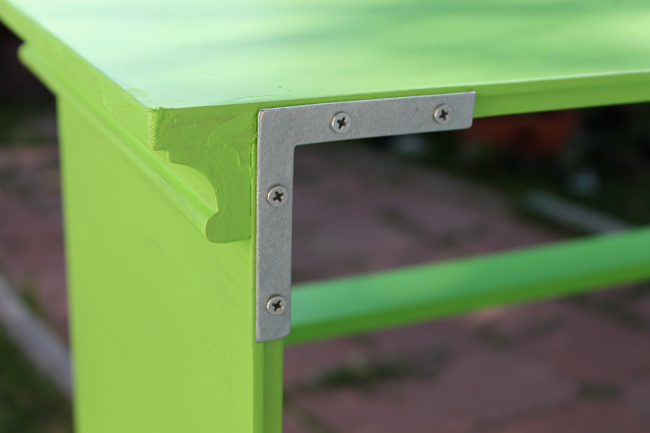
Once the second coat of paint was dry, it was time to make the stand more sturdy.  I started by tightening all existing hardware but it was still pretty wobbly. My original idea was to get a piece of wood cut for the back to make it more sturdy but I really loved the open shelves. So instead I opted for installing 4 flat corner braces (totaling about $7 from Home Depot) to give it more support.  It seemed to do the job just fine (though I wouldn’t necessarily recommend putting anything too heavy on it like a human or an anvil).

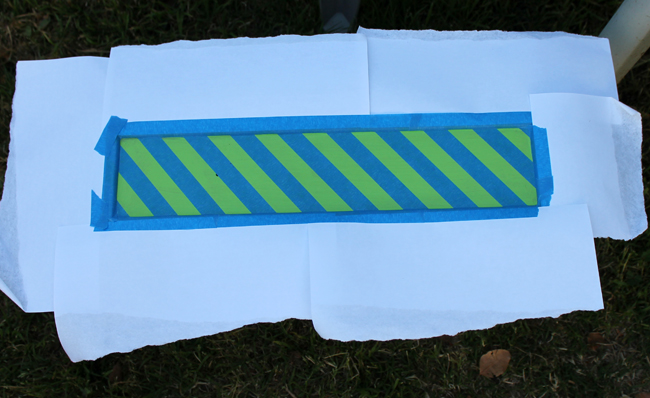
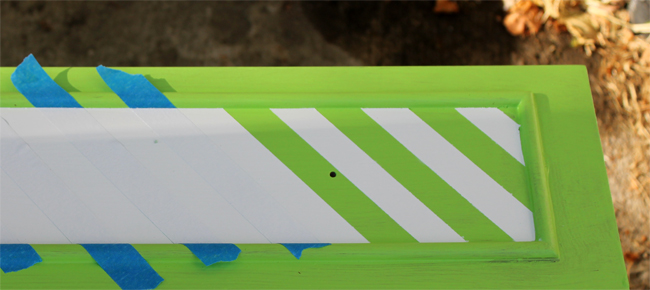
Now that we were painted and sturdy, I decided to put some fun detail on the drawer.  Using painter’s tape as a guide, I measured out diagonal stripes on the drawer front. A helpful hint: use the tape as a reference for the space between the stripes you end up taping off (and just remove it before you paint obviously) to keep things nice and even. I used a can of white spray paint I had in the garage to spray the stripes onto the drawer.

After the white paint was dry, I removed the tape and put the drawer pulls back on.  I had to touch up one little area where the white paint got out of the lines also… but let’s pretend it came out perfectly the first time. :)

The final step was two coats of polyurethane spray to protect the wood (follow the instructions on the can to make sure you do this properly).  I mean I want it to age a little but I also still want it to be standing next week!  The polyurethane will slow down the impact of the elements on our little backyard TV plant stand.  Since I already had all of the supplies for this project except the braces, the entire makeover only cost a whopping $7!!

Once everything was totally dry, we were able to put our new wooden crate planter box on top (with some cut up pieces of wine cork underneath to raise the planter a bit and a piece of plastic to protect the top of the stand from the planter’s water drainage). We decided to only use one of the shelves to allow more space for our tall succulents. Lastly, we placed all of our gardening supplies into the drawer for convenient access!

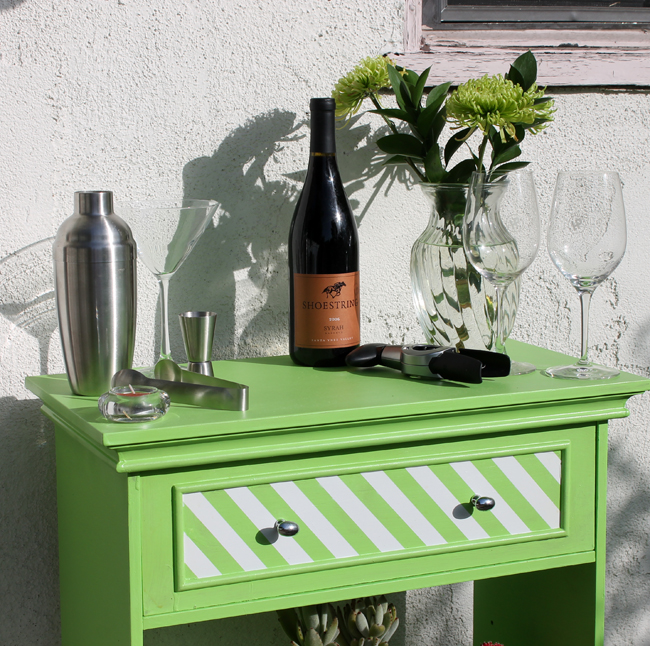
The best part is that we can always remove the planter crate and use this stand as a bar when we entertain! WOO! Who want’s to come over for backyard cocktails?

One last little thing, as I mentioned in Saturday’s post if you like reading Our Cozy Cubbyhole, please vote for us in the Apartment Therapy Homies 2012 Awards.  We would LOVE to stay on the board to gain more readers!  Your support means a lot to us!! YOU ARE THE BEST! xoxo

New Workspace: The Plans

We spent the weekend recovering from being sick (or injured in Bo’s case) and watching our Giants win the Superbowl!  WOOP WOOP! So now that the fun is over, it is time to get back to business. I have been working on cleaning and sorting our closets to bring things to the garage so I haven’t had time for many other projects… but a lot of time for daydreaming! Here’s what goes on in my little brain:

For a while now (really since the day Walker and I moved in together), we have been aching for a better workspace for our apartment. Converting my existing desk to make room for a second person has been tolerable but certainly not convenient or aesthetically pleasing.  Creating a new desk was even one of my New Year’s Resolutions, remember?

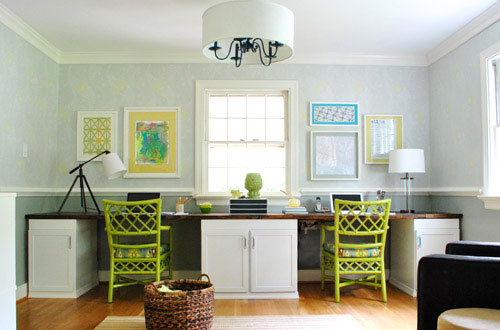
So I have started plans on a new desk that will give us more room and flexibility in the small space.  We do not have room for two desks in the apartment so I started brainstorming ideas for an effective dual workspace.  I saw this picture from Young House Love and loved how they built a custom desk out of a few cabinets and a couple pieces of wood.

I wish we had enough room for a desk like this!  But alas, we only have 60″ of space to work with and we need some of that to be storage. So a plan started forming in my brain… what if we were to do half of this and keep the one chair/two computers thing we have going on (we are barely ever on the computer at the same time so having one shared workspace is fine)?  Let me help you visualize:

I love it!  I grabbed my measuring tape and started brainstorming what this was going to do for us.  Please forgive my terrible drawing skills…
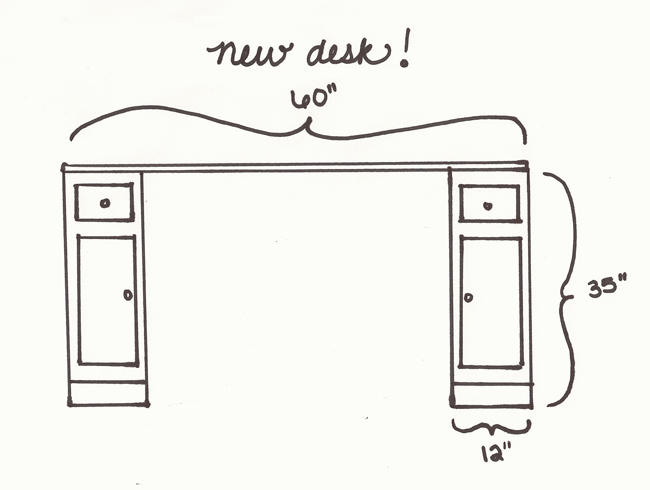
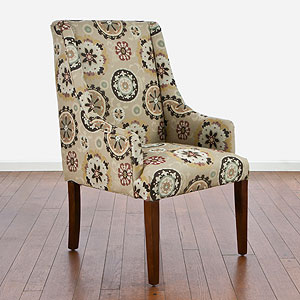
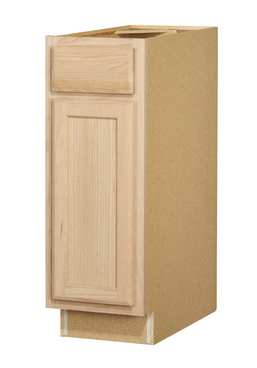
After some research, it seems like 12″ cabinets are the narrowest standard cabinets.  So I decided to have two of these as legs/storage (yay we each get our own desk storage!).  Storage space will be increased by 2-3 times! Also, because the top will be one continuous 60″ countertop, we be gaining about 18″ of useable counter space… THIS IS AMAZING. Right now the top unit on the desk really limits how we use the space.  So with one giant desktop, we will have a lot more flexibility. Lastly, the leg space remains about the same at 36″ between cabinets. This gives us enough space for a new comfy desk chair… like this one maybe from World Market?

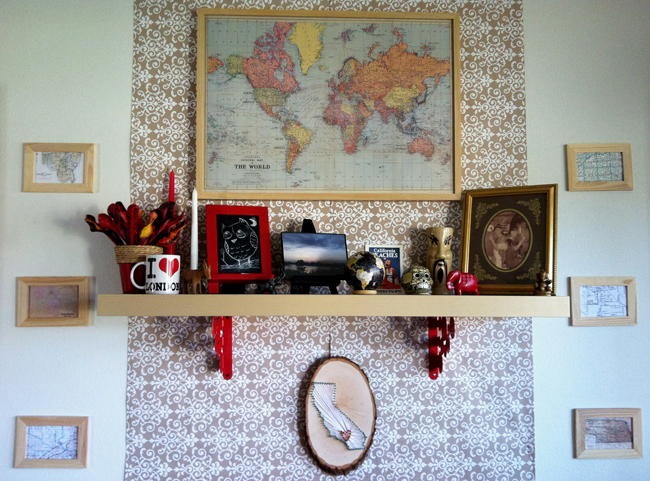
The final question becomes where do we put the printer?  Walker came up with the answer: a single floating shelf for a printer and some knickknacks like the one above our couch.VOILA: New desk space! Now we have to figure out where to get materials.  Lowe’s sells a basic 12″ base cabinet for $71, which is a little out of our price range.

So we are scouring craigslist and will also take a trip over to a local Habitat ReStore outlet and see what they have as well.

As for the desktop, Ikea’s desktops are the wrong depth so we are back to square one on this.  I would like one continuous surface (rather than boards across the top) so it is seamless for writing. So I am keeping my eyes peeled for a roughly 60″x24″ish countertop. Perhaps the ReStore will have something we can use.

Anyway, the plans are in motion and I can’t wait to get started. I think we are aiming to get this project moving within the month! :)