Etsy Project Update!
Some of you may be wondering why the number of posts about DIY projects has gone down in the past few months. Well, you are about to see what has taken up all of my remaining time and energy on work nights and weekends: Etsy projects.
Sure, I love doing them but I love the blog more. I was feeling a little stretched for time so decided a couple weeks ago to stop taking string art orders and go on a bit of an Etsy hiatus until life gets a little less busy. I am just finishing up the remaining couple of orders this week but I thought I would at least share my hard work with you.
I know I make money off of Etsy but I get much more joy out of the blog and working on projects for our home and for friends & family. Perhaps in the fall I will be able to find some time to take custom string art orders again. Until then, you can always check out my DIY tutorial and make one yourself! :)
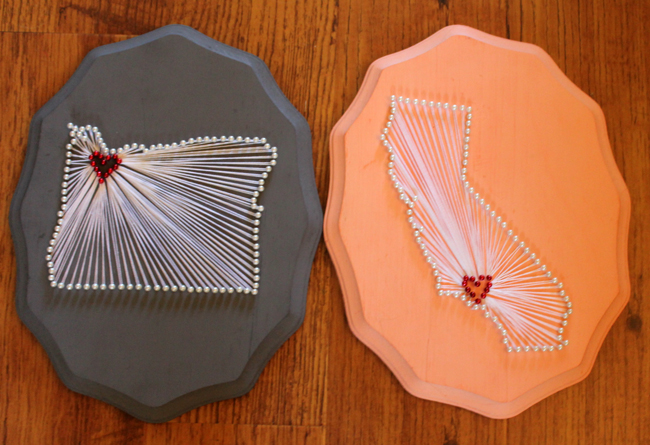
I made these for a coworker as a gift for her friend’s bridal shower. He is from Oregon and she is from CA. The best part is that they were used as table decorations at the shower since they were the wedding colors!
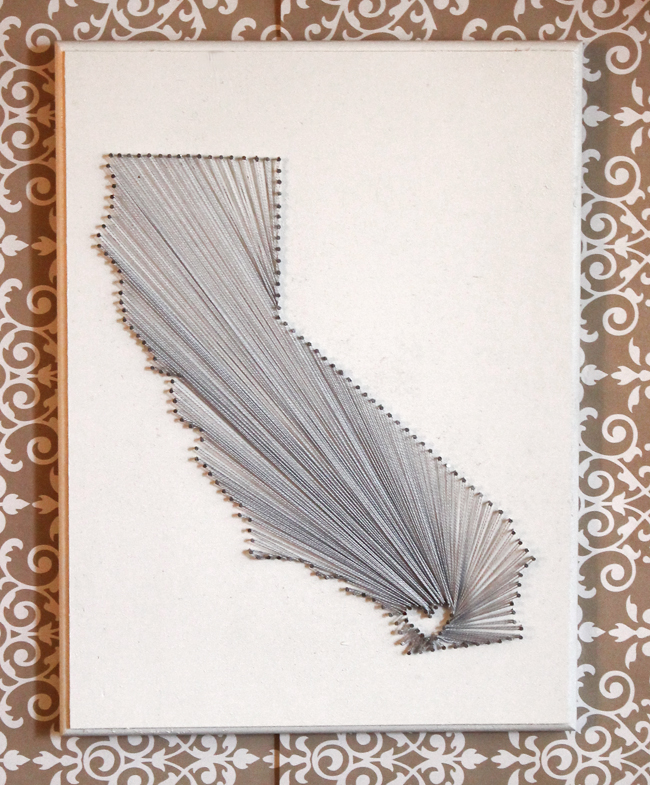
San Diego, California
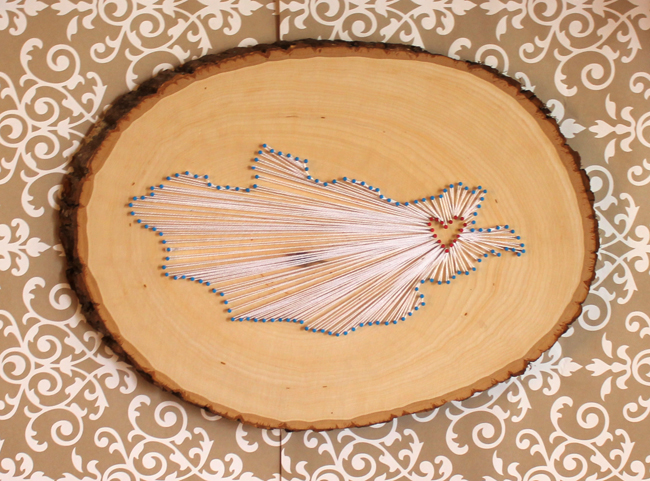
Dornod, Mongolia
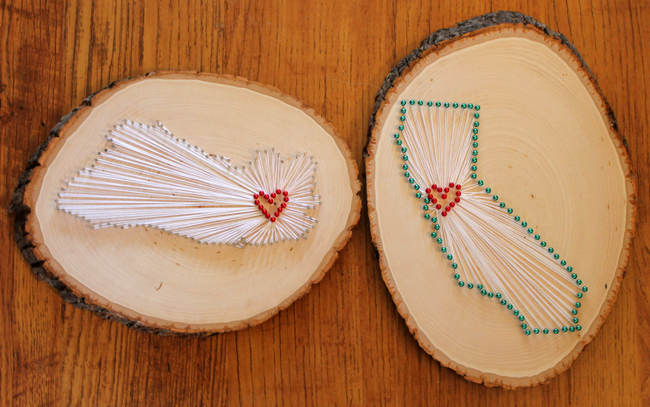
San Miguel, El Salvador & the Bay Area, California
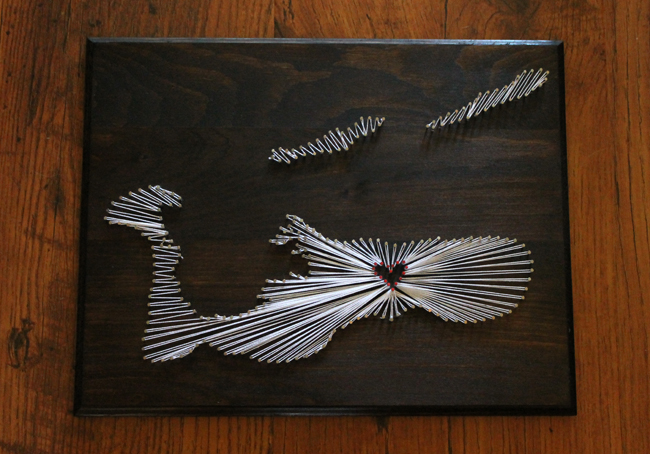
Cayman Islands
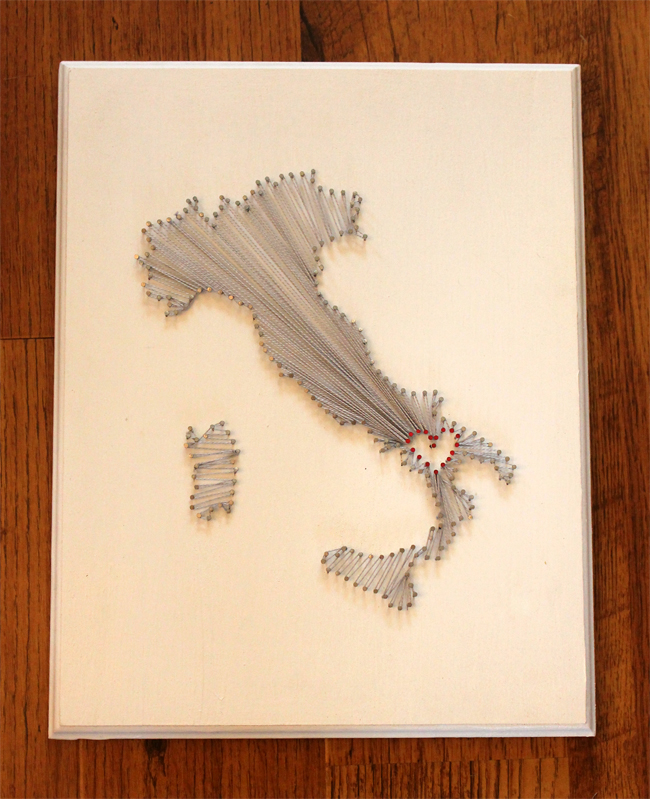
This one was made for a customer for a customer’s best friend’s wedding. The celebration was a destination wedding in Oliveto Lucano, Italy. Can I come too!?
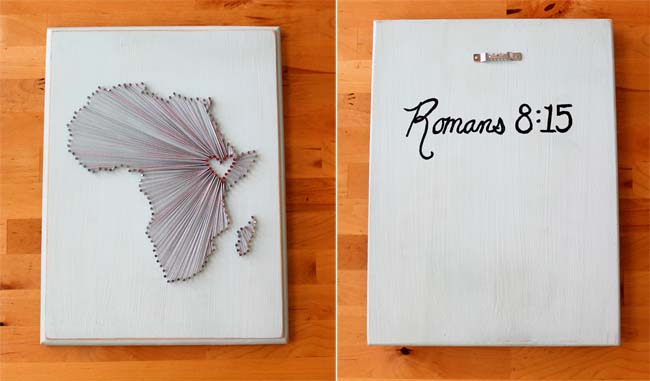
This one was made for a woman to give to her best friends, who were adopting a boy from Ethiopia (thus the pastel blue)! How adorable is that?! I really enjoyed making this one, thinking of the little boy looking at it when he is older. :)
So, you can tell I have been a busy bee. Only two to go but they are very similar to ones you have seen so I won’t torture you with any more string art for a while. Now I just need to figure out how to spend my newly-free time. Oh, who am I kidding… my plate is so full that I will probably STILL be stretched for time. Oh well. I love being busy! :)

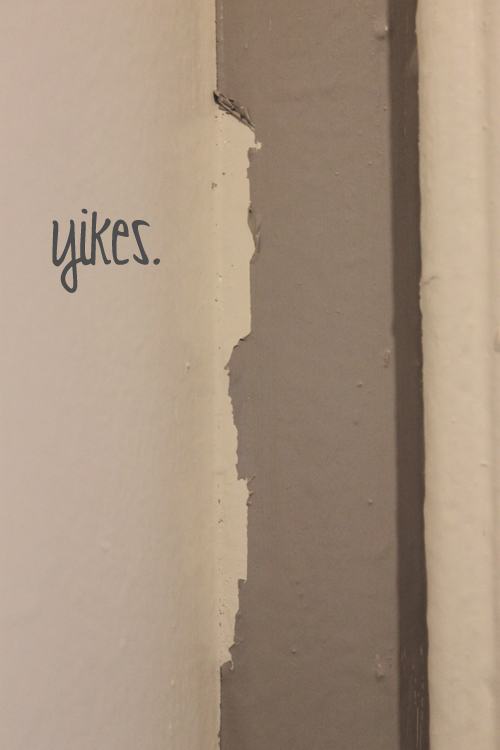
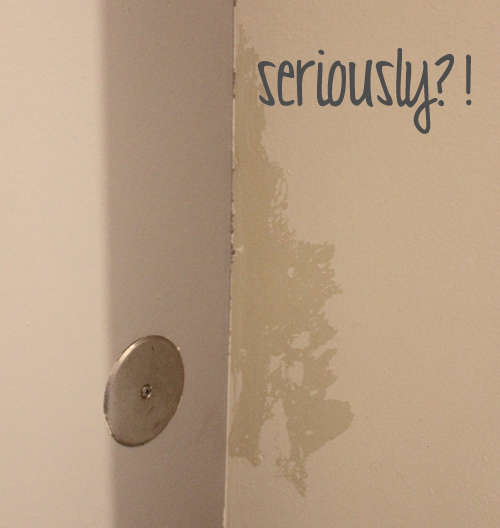 Gross. After a little “cutting in” (i.e. hand painting with an angled sash brush) we now have MUCH cleaner edges. Never again will I use painter’s tape for edges like this! We also used some white paint to cover the wall where the existing white paint was ripped off. It doesn’t match so we still need to repaint but at least we aren’t looking at drywall!
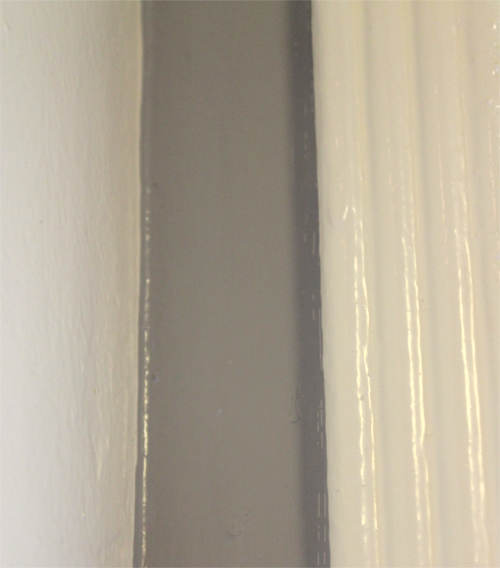
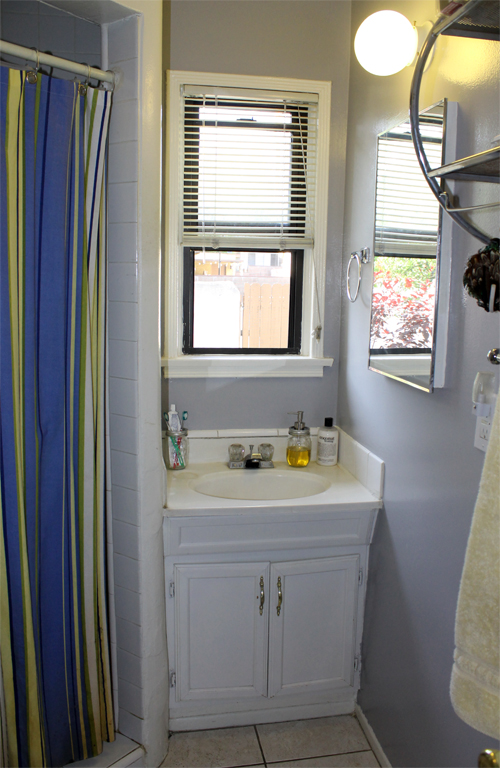
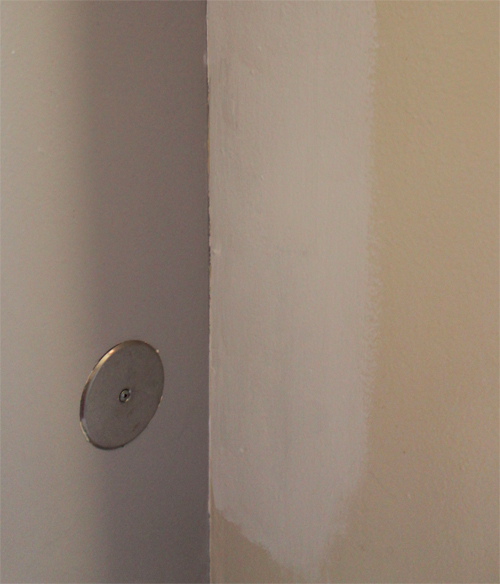 Alright, so moving right along to the actual bathroom pictures!
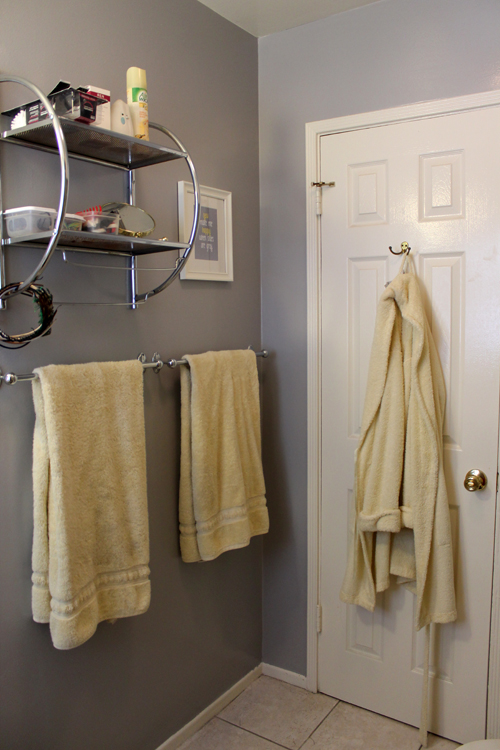 We conveniently already had (and were actually using) two yellow towels so this picture looks very put together! The big changes from this angle are the wall color (duh), the new location of the towel rack (
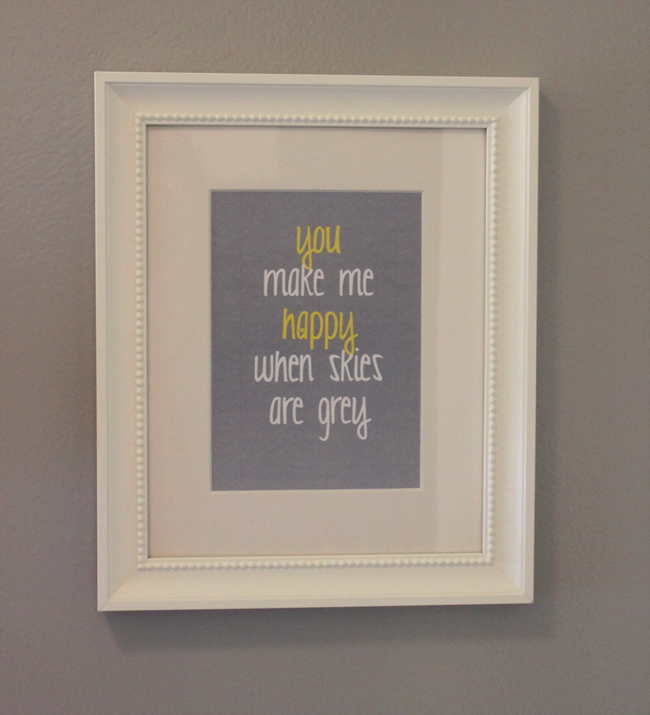 I like the way this print came out but it wasn’t easy… Kinko’s has some SERIOUS issues printing greys! You should see all the rejects:
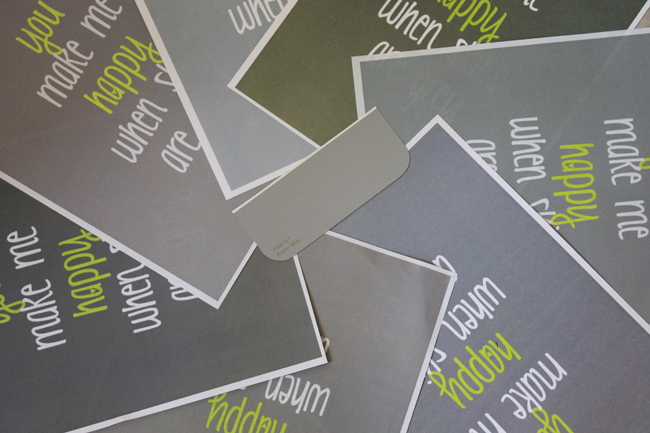 Our wall color (and the color of my image I brought in) is in the center. Most were not even remotely close and had this terrible greenish tint! ANYWAY, moving on:
 This isn’t the best picture but you get the gist. Besides the paint color, we haven’t done much to modify this part of the room other than the
 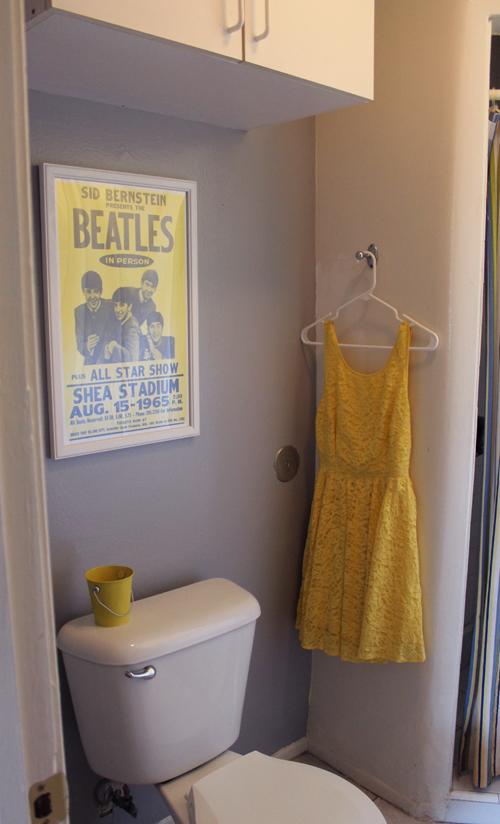 And the last angle! You’ve pretty much
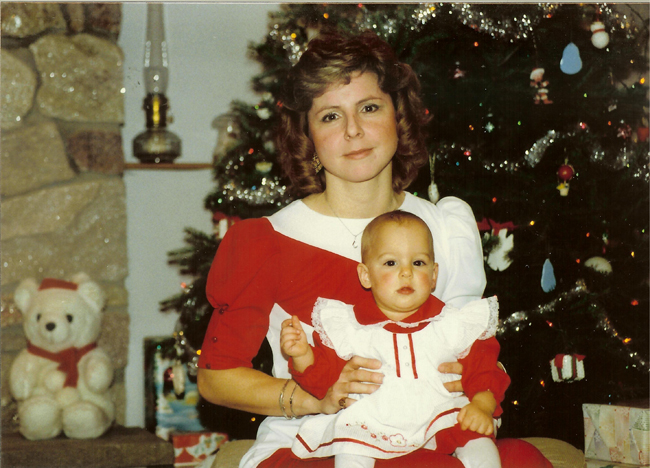
 The first picture is of us in December 1987 and the other is from this past summer! Even though I can never get any gift that is enough to express how much I love and need her, I wanted to give her a little something for Mother’s Day anyway.
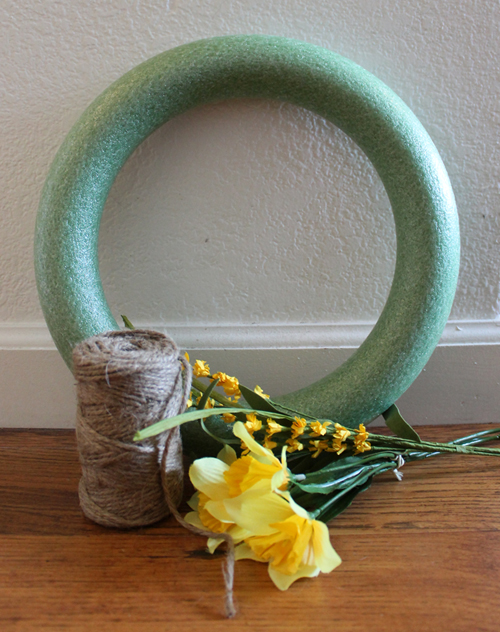
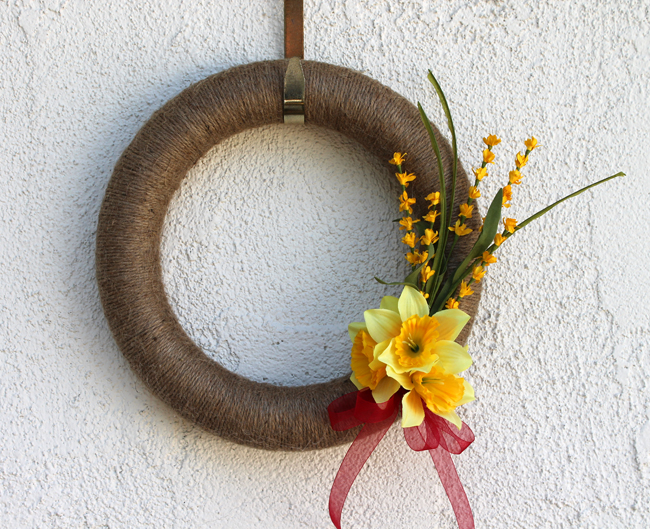 The concept was super easy and just took a bit of patience to carry out. I started out with a Styrofoam wreath, a spool of twine, and a few silk flowers.
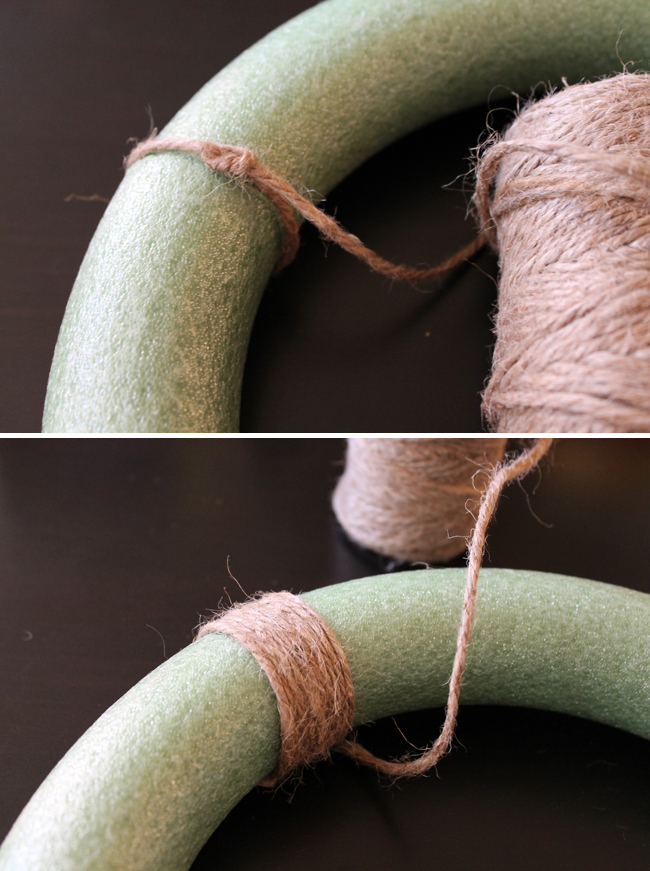
 I started by tying the twine around the Styrofoam and then wrapping the twine tightly around the wreath until the Styrofoam was completely covered. This took me about an our and a half so keep a glue gun handy if you plan on taking any breaks (just a dot of hot glue and a little pressure will keep the twine in place if you need to put it down)!
 Once you are happy with the coverage, run out of twine, or feel like your arms are going to fall off, tie off the end of the twine. You are done with the hard part! Using a glue gun (and perhaps a few pins/small nails if your flowers need the extra support), apply some silk flowers to the wreath. I even got super fancy with it (wild woman, I know) and added ribbon for more color.
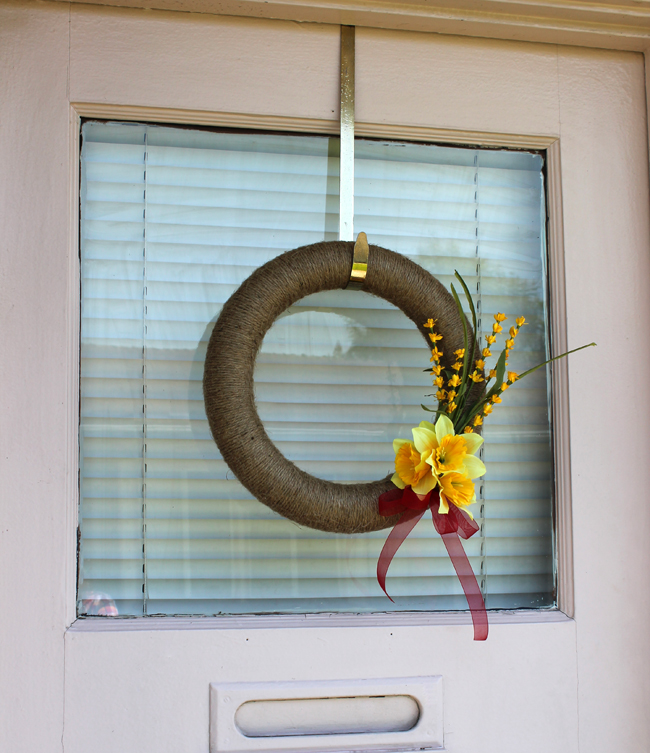
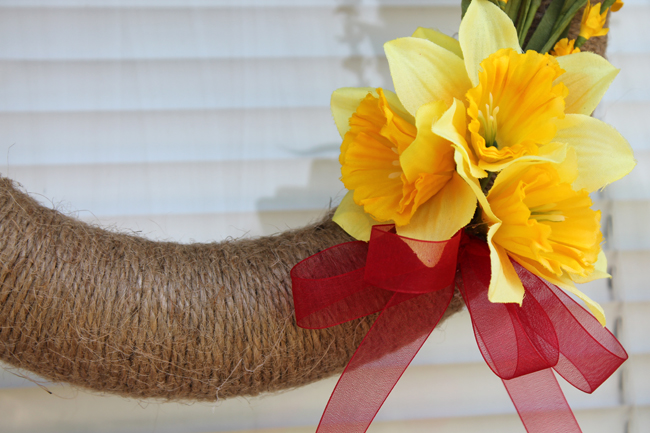 I told you the concept was easy and I couldn’t be happier about how it turned out! And now my mom has a handmade wreath for her front door all season long (as long as it survived the mail…).

