Life is Good
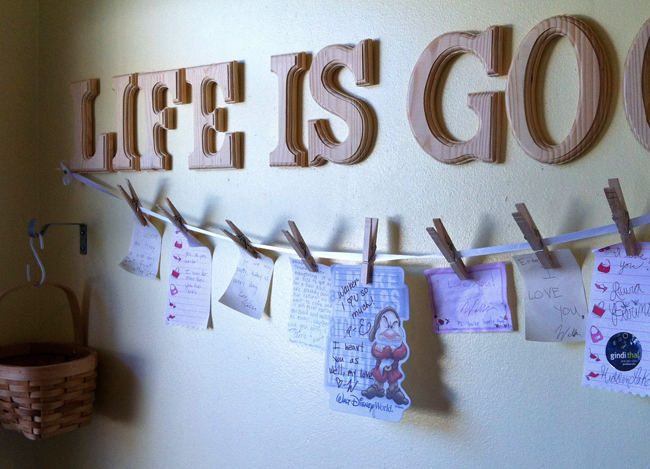
Since we moved in together, our fridge has started to look like we suddenly have 40 children trying to display their best moments. By that I mean lists, tickets, Christmas cards, love notes, photos, invitations… we have enough for a household of 42. So I had the idea for a project to make all of our love notes (from each other and from visitors) into wall art. I have always loved the photo displays made of string and clothespins so I decided to modify it for our kitchen wall.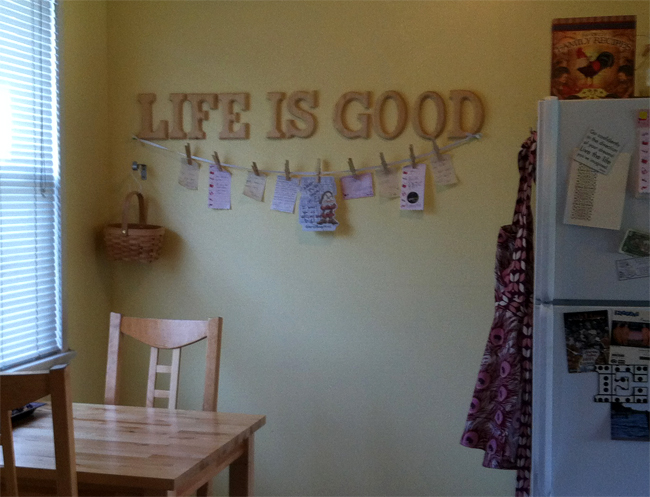
Why this saying? When Walker and I started dating, the phrase “Life is Good” seemed to pop up everywhere and life certainly was good. It became a sweet reminder of how lucky we are. Now we see it every day, along with little love notes from friends and family. Talk about a mood-booster! Here’s a little tutorial in case you’d like to make one of these in your home (spoiler alert: it is super renter-friendly!).
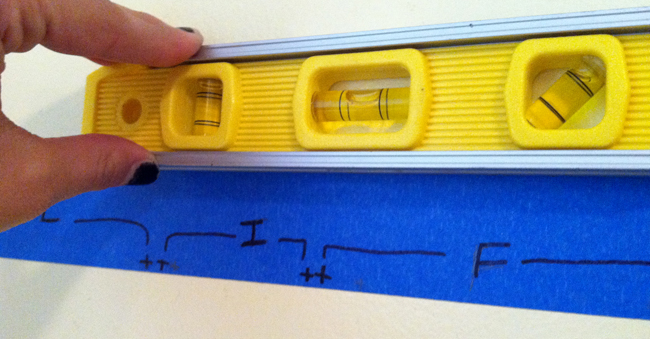
I started by placing a piece of blue painters tape at the height where I wanted the base of the letters to sit and used my level to make sure it was straight (but a chalk line would have been perfect here too!). Next, I did some math. I measured each of the letters (purchased at Michael’s for $2 a piece), added .5″ of space between them, and added 2.5″ for space between words to get my total length. I centered this length on the wall and marked it on the tape. Then I went back and marked where each letter would go. When that was finished, I had a (level) piece of tape with the exact positions where the letters would sit.
Before getting the letters on the wall, I placed a thumb tack on the bottom-left corner of the L and the bottom-right corner of the D for the string. I measured out the string and tied it to the thumb tacks for our clothespin line.
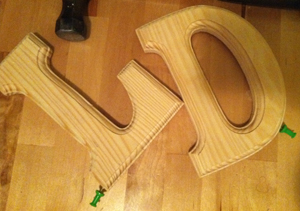
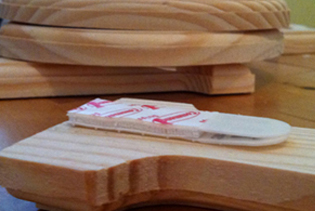 Then I used Command picture hanging strips to stick the top of the letters to the wall. This involved a lot pressing and waiting. Once I had all of the strips in place, I removed the blue tape and did the same for the bottom of the letters. However, I deviated from the picture hanging strip directions here a bit and just left the letters on the wall once they had both strips. I found that removing the letter from the wall too much resulted in the strip coming off of the letter. This is how I lost my first S.
Once I replaced the S and got all of the letters on the wall, I pressed some more for good measure. I grabbed a bunch of love notes and some clothespins to complete our “Life is Good” wall art. I even added a hanging basket (made from a curtain rod bracket, an S-hook, and wooden basket I had in the house) to hold additional clothespins. Our wall is happy and so is our less-chaotic fridge!

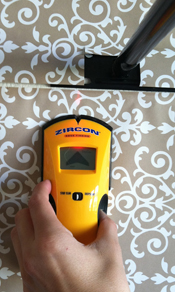 First, we found the studs so that at least one bracket could be screwed right into a stud (we already owned our stud finder from Lowe’s).
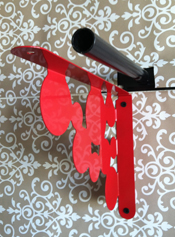 Once the first bracket was in, we used the shelf and level as a guide to mark the holes for our second bracket. Since it sadly did not work out that this bracket would be on a stud, we used molly bolts instead of regular screws to make sure the weight from the shelf would be supported (great picture of using molly bolts

 It’s a shadow box with a a copy (duh) of our apartment key. Hopefully someday it will be joined by others. It sounds silly but it reminds us that this apartment may be small, but it’s ours! Welcome to our home.

