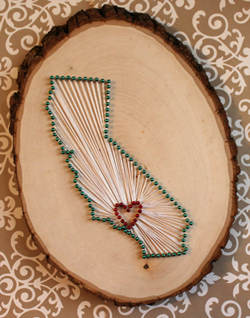
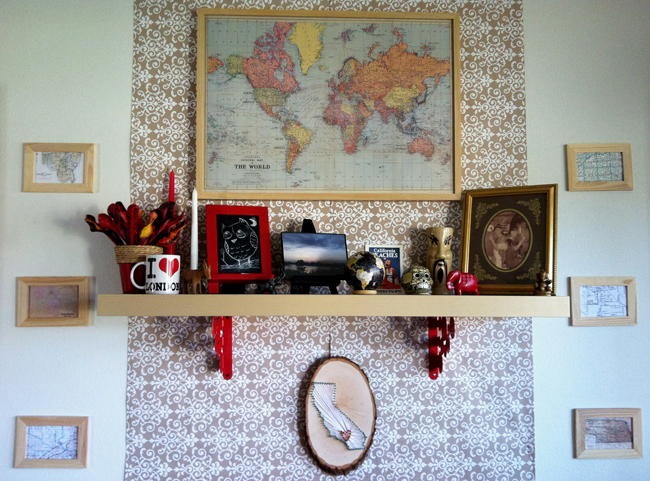
This project sort of fits under our little theme… I didn’t literally bring this back from my holiday visit but I had to keep my pie-hole zipped until after Christmas because I made one of these as a gift for my best friend! I originally made first California Love String Art for Walker and myself. We met in LA, so we thought this project would be a cute reminder that we could display in our house for a long time. The project would also make a great housewarming, wedding, anniversary, or Christmas gift.
I saw the wood rounds at Michael’s and I knew they were perfect to give the project a try (I had seen the idea on Pinterest ages ago). The wood goes from $8-$20 at your local craft store depending on what size/kind you get. A box of 100 pins in cool colors sets you back about $4 and the string is about $2. So you are looking at about a $15+ project. The instructions are below but I also sell custom string art on my Etsy store!
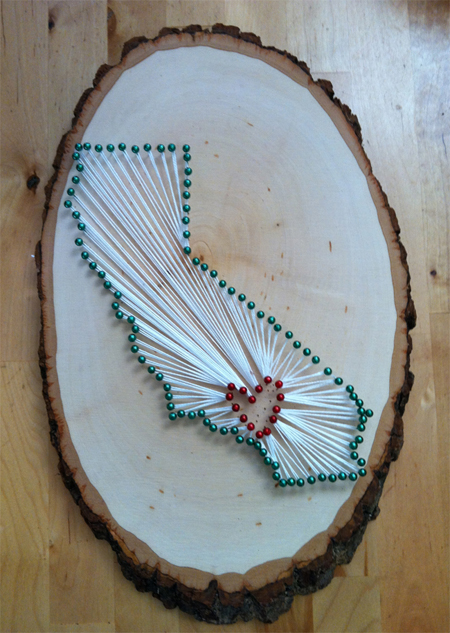
Here was my first/original attempt! See below for more examples.
1. Print out an outline of the state you are making (use Photoshop to get it the perfect size for your wooden board) and mark the city of choice.
2. If using long pins, trim the pins to a reasonable size using wire cutters (to make it easier to hammer in straight as well as to make sure the pin doesn’t come out the other side).
3. Using the printed outline as a guide, hammer in each pin leaving a quarter to a half an inch of space between the pin head and the board (depending on how strong the pins are… if they are thin, the closer to the board the better so the string doesn’t bend them). You can place the pins as close together or far apart as you want, depending on the look you are going for. Obviously, the closer you put the pins the more pins you will need.
4. Draw a heart around the city of choice before removing the paper and hammer pins into place (I didn’t do this the first time… I decided to wing it and ended up with a funky little heart. We like it because it is quirky but it leaves a lot of mistake holes and a lopsided heart! Check out the difference below)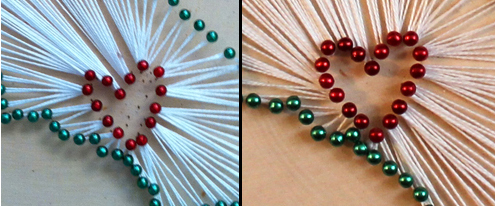
5. Remove the paper carefully without pulling out any of the pins.
6. Using the string, tie a sturdy knot (or two) around one of the pins. Loop it around one of the center (heart) pins and then around the next outline pin. For a very sturdy but very time consuming project, you can knot the string around each of the outline pins. However, I prefer just to loop it because it makes a nicer shape (and allows you to go back and fix the string if your finished product isn’t quite right). If the string breaks at any point, tie it to the last pin you can, tie a new piece of string to the same pin, and keep going!
- TECHNIQUE: At first I tried counting the number of outline pins and divided them evenly by the number of center pins to get the number of loops to make on each center pin. However, this often didn’t come out well (looked kind of swirled). So I later realized that the best way is just to send the string where it looks most natural. If one center pin has 12 loops and another has 5, that’s ok as long as it looks good! Also, if the shape of the state makes it so a part of the outline blocks the string from the center area (i.e. the top right corner of CA- below), you can loop the sting around the outline pins in the general direction of the center area to make it look the best.
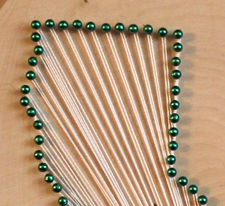
7. Tie off the string on the last pin and push each string loop up toward the pin head (moves the string farther away from the wood to give it the most depth/texture). And ta-da: string art!
OTHER IDEAS:
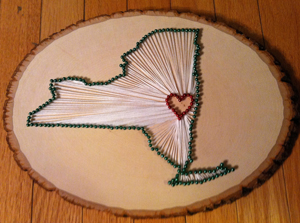
- Use small nails instead of pins (you can even paint the nail heads like I did below!). Just be very careful if you have a state with a long straight side (like Idaho below) that you are very gentle as to not split the wood. I learned that the hard way the first time.
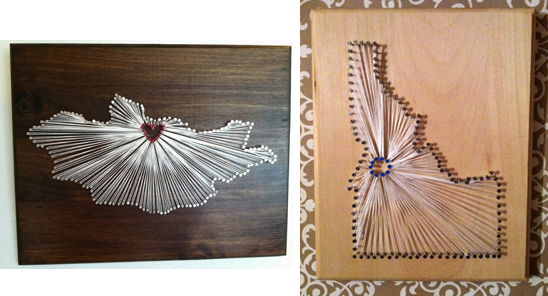
- Stain the board before you begin (like I did with the Mongolia one above) and finish with Poly. Just be aware that the paper likes to stick to this finish so you may end up with little paper bits when you remove it. Again, I learned this the hard way and had to remove/replace some nails after picking out paper bits. Not sure how to prevent this… I will keep you posted. Update: You can place tape along the outline on the bottom side of the paper (the side that touches the board) and nothing will stick. But just be cautious when removing the paper since the tape makes it harder to remove.
- Custom writing can personalize it! Sharpie bleeds on the wood so use paint for a crisp line. For the one below I wrote it in pencil, traced it in thin Sharpie, and then painted over the Sharpie to make the lines crisp. I can’t write with paint alone (again… learned that the hard way).
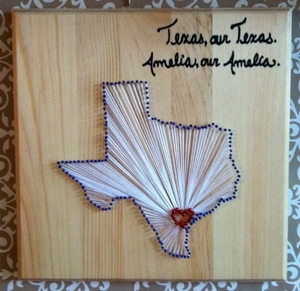
DISCLAIMERS: Don’t say I didn’t warn you…
- Using fine pins makes using the hammer impossible (it just bends them and breaks them). So trim them pretty short using wire cutters and use your thumbs to push them in/support them. After doing this for two Etsy orders, my thumbs were KILLING ME. I literally had wounds. Be smart and invest in a little rubber thimble or something so you don’t suffer like I did.
- This is easy in theory but a lot can go wrong and it can take much longer than you think. It takes a lot of patience (especially when dealing with thin pins… ugh it make me mad just thinking about it!) and you may end up needing to buy additional pins if you break too many. If you don’t have the time, energy, patience, or DIY know-how, I am more than happy to make you one myself! Check out my Etsy store for more details! :)


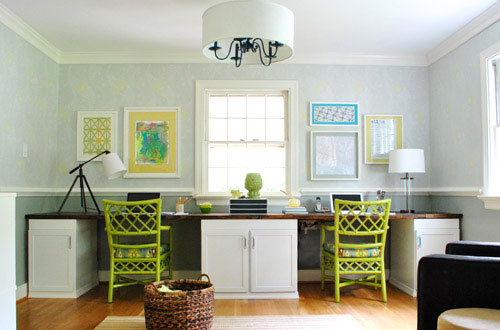
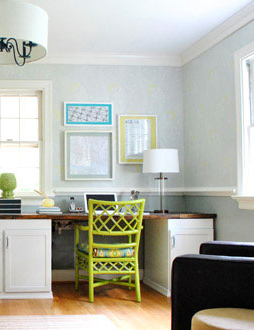 I love it! I grabbed my measuring tape and started brainstorming what this was going to do for us. Please forgive my terrible drawing skills…
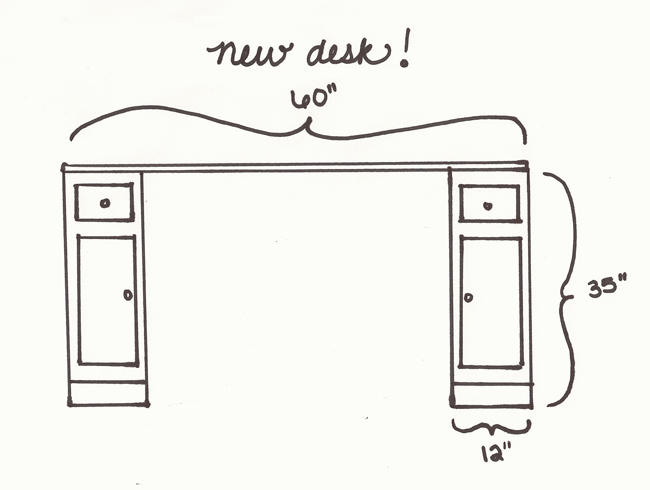
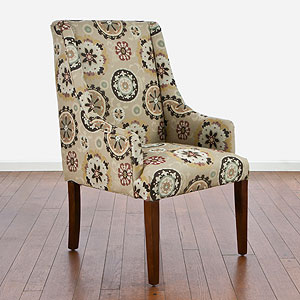
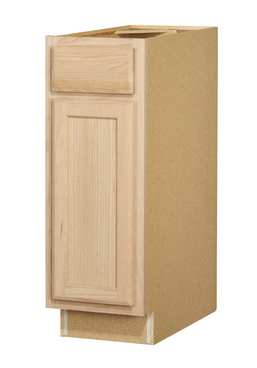 VOILA: New desk space! Now we have to figure out where to get materials. Lowe’s sells a basic 12″ base cabinet for $71, which is a little out of our price range.


