Did you miss me?! After an incredibly wonderful 11-day adventure around the East Coast two weeks ago, I am finally getting caught up. I could break this up into a few posts but then I decided to spare you a week of my babbling and condense it to one post. So you’re probably wondering why it took me so long to get one measly post together so, without further ado, let me present the most chaotic map in the history of the universe! Are you as confused as I am? My head is still spinning trying to put all of the pieces together! I guess the easiest way is to start from the very beginning (a very good place to start – for those musical theater friends).
On Thursday, September 27, Walker and I hopped on a red-eye at 1am (after working all day on Wednesday first of course) headed for the east coast. After a very early morning connection through Minneapolis St.Paul Airport, we landed in Philadelphia, PA at 10am. Our friend James (the groom-to-be!) picked us up and we drove to Toms River, NJ. Thankfully, we were done traveling for a few days and got to celebrate the beautiful wedding of James and Kristen. Walker was in the groom’s party and I tagged along with the girls as an extra pair of hands with the bridal party (a big thank you to Kristen for including meeeee!). I didn’t get many pictures of the bride and groom so I will share a beautiful photo by the photographer but Walker and I managed to get a few good pics!

Photo By: KSS Photography


 Awww yay! <3
After the wedding was over, Walker dropped me off at the Tom’s River bus station on Sunday (Sept 30) on his way back to the Philadelphia Airport (to go home for the week… his work wouldn’t give him the time off. Boooooo work). I took a bus up to Port Authority in Manhattan and then took the subway to Brooklyn. There I met up with my GORGEOUS AND AMAZING roommates from college. I forgot to take a new pic (Boooo Erika) but remember this photo from last spring? They are amazing! We spent the entire night chatting and reminiscing, all while eating NY pizza (OH HOW I MISSED YOU!) and drinking Brooklyn beer. :)
At 5:30am on Monday, I sleepily cabbed it over to LaGuardia Airport, where I caught a plane to Erie, PA (connecting through Cleveland, OH, of course because nothing is ever easy). Once in Erie, I took a series of taxis and buses to get to Edinboro University…. where my brother goes to college!
I spent Monday afternoon and all day Tuesday hanging out with my brother and his awesome friends. We toured the campus, the town (during fall… so pretty to see the leaves change!), and had some serious sibling bonding time. It was so nice to see his life out there! I almost forgot to take a picture of the two of us, but I managed to remember at 1am on Wednesday morning… 4 hours before I left.


 Just because no trip is every truly complete without a little travel stress, I got a call from the Erie taxi driver at 6am that he was running 20 minutes behind schedule because all of the night cab drivers quit! I only padded my trip with a half hour to catch the train so I started to panic. I had called the cab the night before to avoid this mess! So after almost dropping me off at the bus station instead of the train station, the taxi made it to the train station 5 minutes before the train left! WHEW!
The train left Erie at 7:20am and arrived in Schenectady, NY, at about 3pm. Long trip but worth it because I was finally able to stay put for a few days! I spent the rest of the trip fulfilling my maid of honor duties for my best friend’s wedding events in my hometown. It was so much fun!! We had a birthday party for the groom on Thursday, the rehearsal dinner on Friday, and the wedding on Saturday (October 6)! It was such a blast and their wedding was absolutely amazing. My speech even went well so I was happy. ;)

Happy Birthday, Dave! :)

The bridal party with our gifts (gorgeous scarves!) at the rehearsal dinner!

Congratulations Laura and Dave! xoxo – Thanks for the picture, Erin!
Walker flew in for Laura’s wedding (with Bo!) on Friday so after the wedding was over, we spent Sunday watching football with my family. We even napped with the puppies on the couch! :)
We flew back to Los Angeles (via Baltimore and Milwaukee) on Monday morning and landed in the afternoon. Sadly, it was back to work the next day so we are still getting caught up.
As crazy as the trip was, I had an incredible time and was able to see and celebrate with so many people I love. Both weddings were perfect and completely suited to each couple. I couldn’t have asked for a more successful adventure. Perhaps I will share more pictures with you at some point but I will bid you adieu for now!


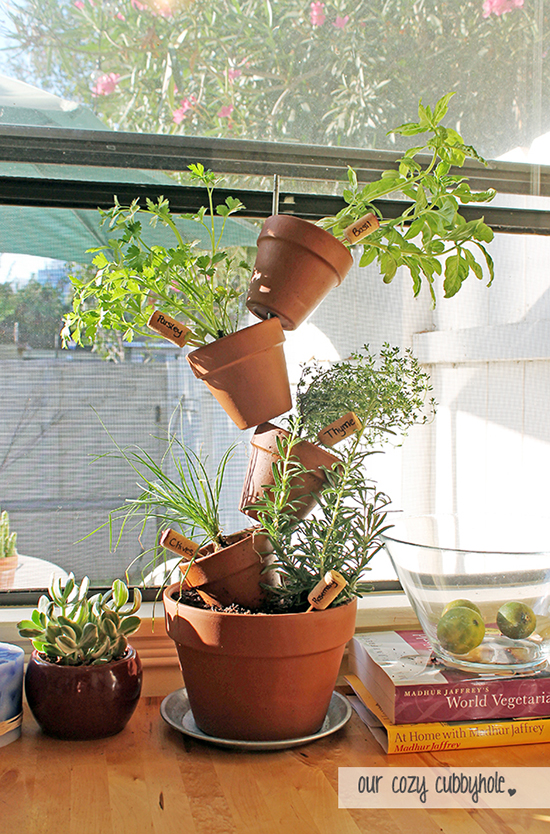


 **So let’s get back to that video thing. I positively hate watching myself on camera but I would love your opinion, especially if you feel differently! Yay or nay on future video tutorials? Did you enjoy the change of pace? I will aim to make them shorter in the future but I was just having so much fun playing with dirt on my kitchen table. ;)**