NY Recap Part 2: DIY Name Hanger
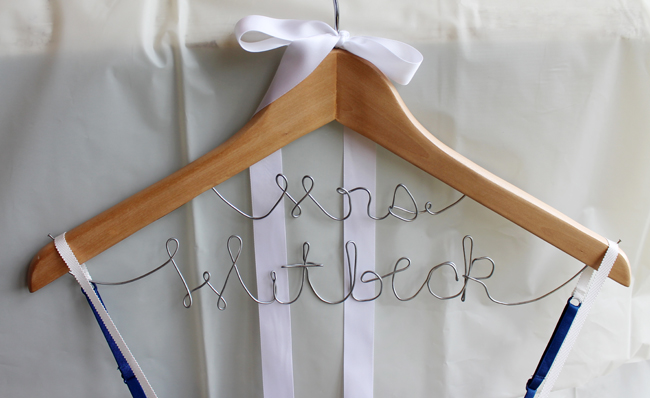
When it came to getting a gift for Laura’s bridal shower, I didn’t want to get something off of the registry. I wanted to make her something personal. I have seen DIY name hangers EVERYWHERE (Pinterest, Etsy, etc.) and decided that since the shower theme was “Breakfast in Bed” that I would give it a go so that it could double as a wall decoration for the shower. So I had my mind made up ages ago that a DIY “Mrs. Witbeck” hanger with a pretty silk nightgown would be my gift to Laura.
That being said, in usual Erika fashion, I left the project for the week leading up to the shower, which was sheer madness. So I didn’t take any of “blog tutorial” photos since I was just trying to get it done in time. Instead, here are the basic steps and some tips. Perhaps I will add photos to the tutorial someday but feel free to email me with any questions in the meantime.

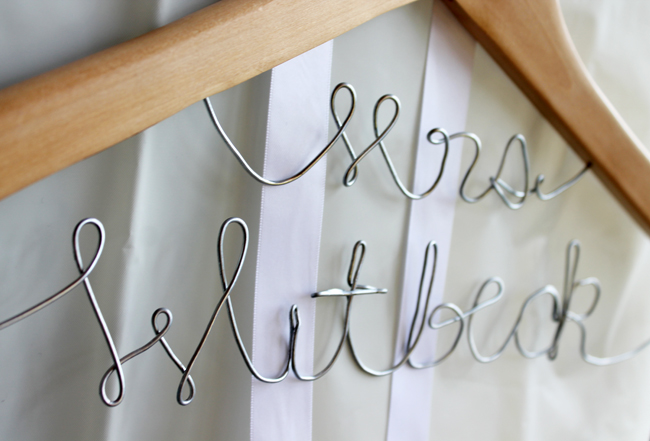
1. Gather your supplies! You will want to use 14 or 16 gauge galvanized wire for creating the name, which you can buy at any hardware store for less than 5 bones. You will also need a wooden hanger, a pair of needle nose pliers (with duct tape around each nose to protect your wire from marks), wire cutters (my pliers have one of these built in so I used only one tool), a drill with a tiny drill bit, and some superglue.
2. Remove the bottom bar/wire from your hanger and use a pen and paper to sketch out the size of your letters. You want to make sure they will fit in the space. I used Etsy religiously to figure out how I would form each letter, since it is tougher than you think! There are many letter variations though, so keep trying out various combinations until you are happy with the look.
3. Once you feel comfortable with the size and shape of each letter, now comes the fun part. I have read other tutorials that wrote out their letters on a piece of paper and basically traced them with the wire. I decided to take the more free-formed approach and just went for it. Using my duct-tape-covered pliers, I began bending the letters. Make sure you leave yourself PLENTY of wire. In my case, I actually kept everything attached to the roll of wire so I never ran out. It was kind of a pain to deal with but I would rather put up with it than run out of wire one letter short. Another tip- give yourself plenty of wire on either side of the name as well so you can attach it to the hanger without any issues.
4. Your first attempt will come out like crap. If you don’t break the wire from over-manipulation, it will look like a third grader wrote it. Not to worry- practice makes perfect! My second and third attempts weren’t great either. The more you do it, the more confident you will be making each letter so the result will look better (and smoother!).
5. Once you finally have an attempt you are happy with, you will need to attach it to the hanger. In my case, I made two layers of writing, so I had to drill 4 holes into the hanger for inserting the ends of the wire. Use a drill bit that is about the size of the wire and only drill about halfway through the hanger. I then experimented with trimming the ends of the wire down so the letters were level and evenly spaced. Be careful not to trim them too short or you will have to start over!
6. Okay, so your wire is trimmed and you have made holes in your hanger. The next step is easy for most, but very challenging for me since it involves superglue. I have a history of getting it all over my fingers and then trying to clean it off with a paper towel, therefore simply gluing paper towels to my fingers. However, I managed to avoid that this time around for the first time ever! Place a dot of superglue at the tip of one piece of wire and insert it into the hole. Press and hold for a second and then move on to the other free ends. It is that simple!
7. Since my wood hanger didn’t have little notches for holding up straps, I added two small nails to the top of the hanger to prevent straps from slipping.
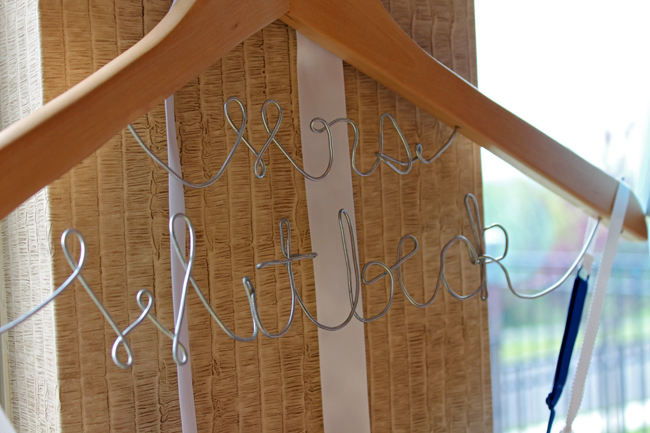
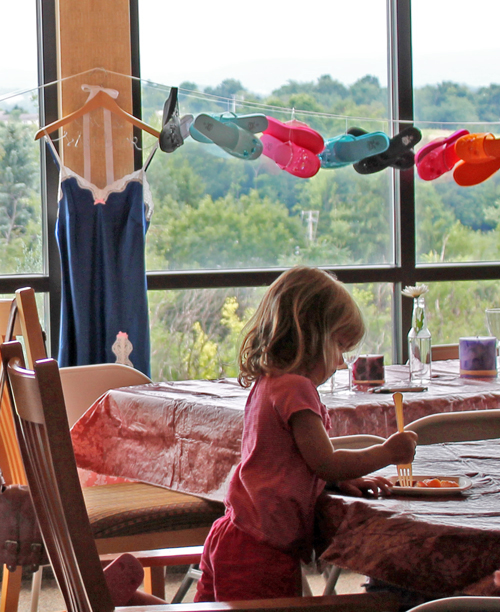
TA DA! Name hanger! Woo! I bought a pretty little nightgown from Victoria’s Secret and hung it on the hanger as her gift. We hung it on the wall at the bridal shower for all to see and it was a big hit! Hopefully she will be able to use it for her wedding dress in her wedding photos in the fall.

Forgive the color in this picture but it is the only one I got of the nightgown that was remotely accurate! It was hard to see in front of the window so none of my pictures came out great. I was more focused on hosting than taking nice blog photos! ;)
Now that we have the gift ready, I will be back with photos of the actual shower tomorrow!


11 Responses to "NY Recap Part 2: DIY Name Hanger"
Add CommentPingback: NY Recap Part 3: Laura’s Bridal Shower! | Our Cozy Cubbyhole