NY Recap Part 4: Laura’s Bachelorette Party!

And finally… the chapter (fourth and final!) you have all been waiting for… the bachelorette party!

After cleaning up the bridal shower a bit, I stole Laura and 9 other beautiful ladies to go to the bachelorette party.  Laura had no idea where we were going but the other girls had received another handmade (by yours truly) invitation in the mail, which detailed the events of the night. The stationary (no longer on the website- $16.50 for a 12 pack of cards/envelopes), stickers ($2.50 for 12), and gems ($2.95) were yet again from Paper Source and the whole thing cost me $41 (but I had quite a few leftovers to use for other things!). I used my fancy Photoshop skills to create and print all of the custom invitations.
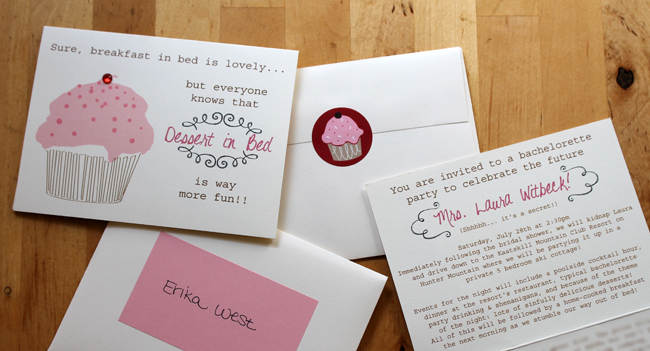
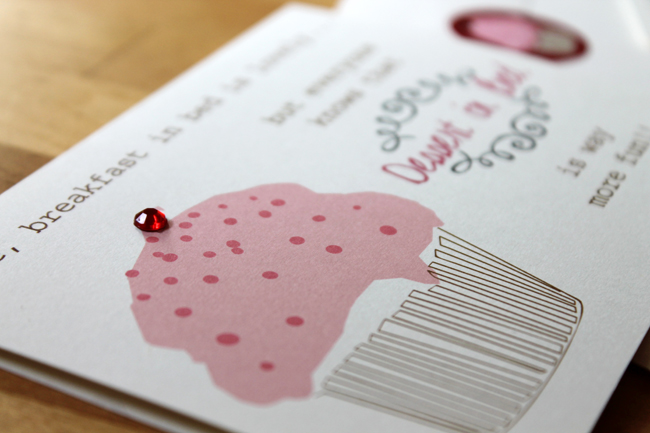
As you can see, since the shower was “Breakfast in Bed” themed, it only made since that the bachelorette party later in the day should be “Dessert in Bed” themed! Duh!

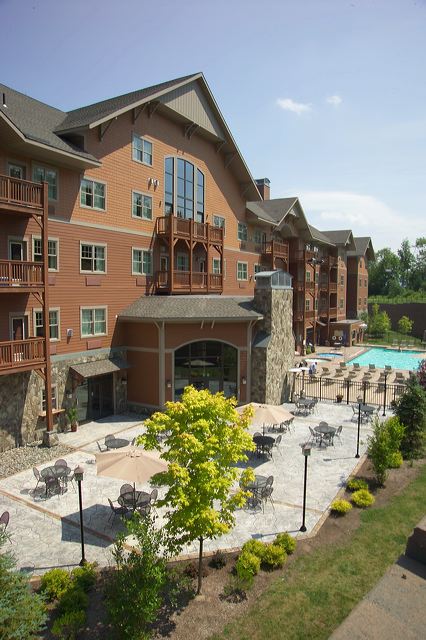
We piled into a few cars and headed south towards the Catskill Mountains.  Our night began by checking into the Kaatskill Mountain Resort & Spa on Hunter Mountain.
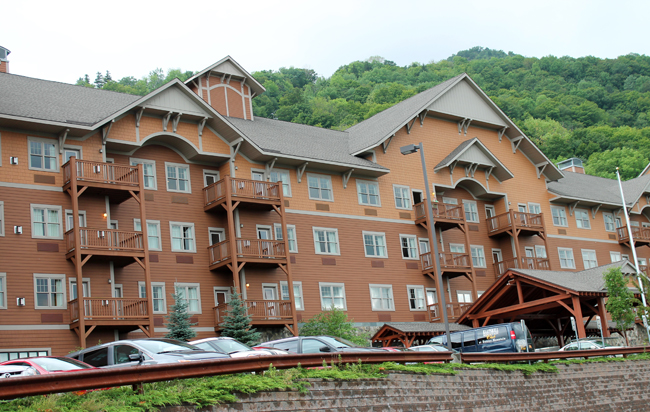
Kaatskill Mountain Resort & Spa – Hunter Mountain, NY
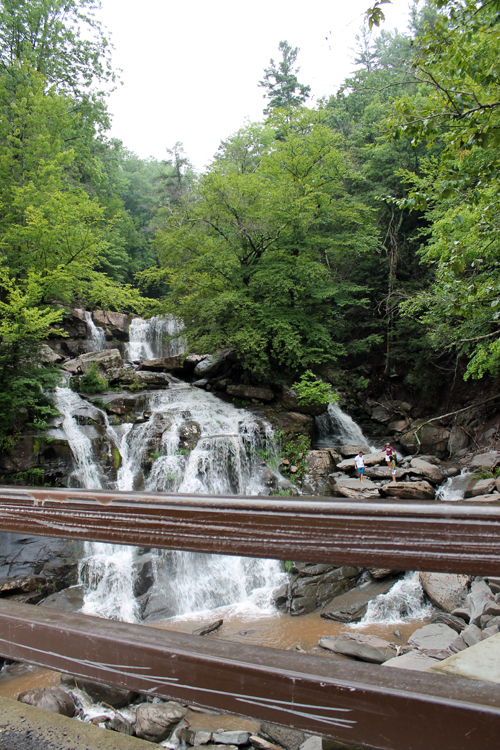
Source: http://www.kaatskillmtnclub.com – this area is where we had our bonfire!

I love the Catskills!

Yes, it was gorgeous! But wait, it gets better… we got to enjoy the resort but our accommodations were actually our own private 5 bedroom ski cottage called The Pine Cottage (or the Hadley House, depending on who you spoke with). It was so incredible! It slept 11 (perfect!) and had its own fully-equipped kitchen.
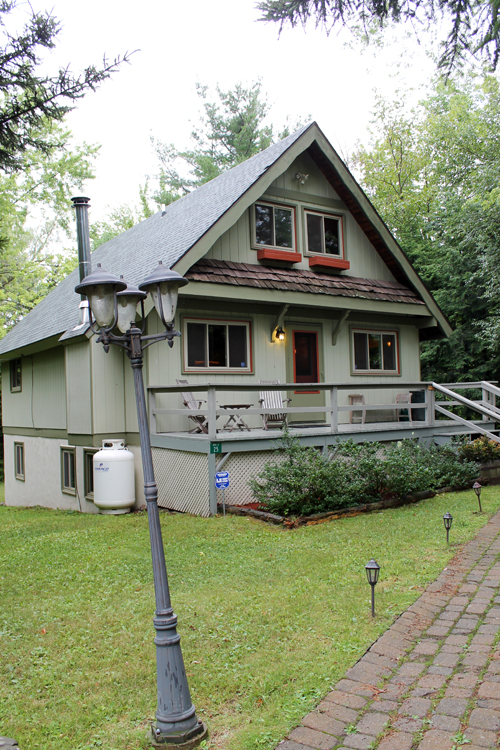
This was our little home for the night!

I didn’t get any pictures of the inside but you can see a little thumbnail of the living room on the website.

After checking into our cottage, we were shuttled back up to the hotel restaurant, Van Winkle’s, for a lovely dinner. Then the real fun began!  The restaurant’s manager, John, was our party host for the night and it was fantastic! We had a plentiful hour of open bar, a bonfire with smores, a sabred champagne bottle (wiki explanation), lots of laughs, and chauffeur service back to our cottage late in the evening!  They treated us like princesses and we milked it! ;)
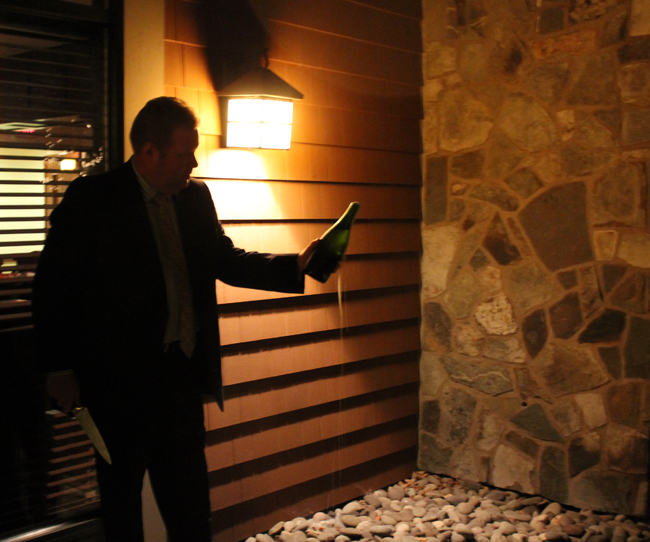
John sabred the crap out of that thing! I just wish he used an actual saber instead of a kitchen knife. Next time…

Although I will not go into much more detail about the happenings of the night, I will say that it involved a lot of 90’s music, some inappropriately-shaped straws, TONS of food, a strange t-shirt, homemade cupcakes & cookies (to stay with the theme!), and an adorable “Panty Parfait” (an amazing idea I got from here but tailored to Laura) for the final “Dessert in Bed” activity.

When we made our way out of bed in the morning, I cooked everyone bacon & eggs and put out all of the leftover bridal shower food that our moms made us bring! We devoured it.

The rest of the night will remain a mystery to all except those pretty ladies that were in attendance. The one downside of having a nice camera is that no one knows how to work it, so we only have blurry pics of the group from the night. Perhaps someone else got a nice picture? Regardless, it was an amazing time and I think Laura had a blast! :)
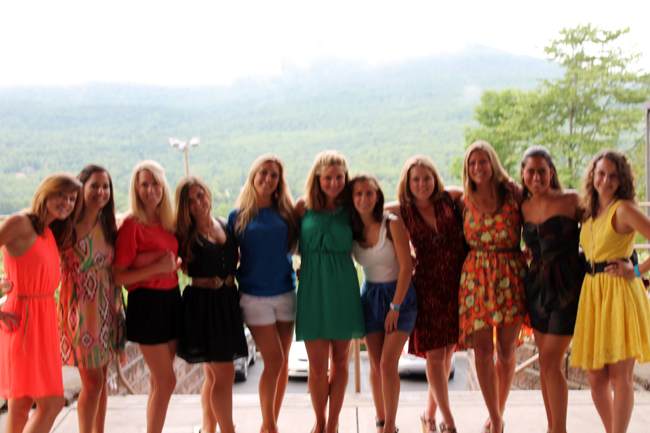
<3
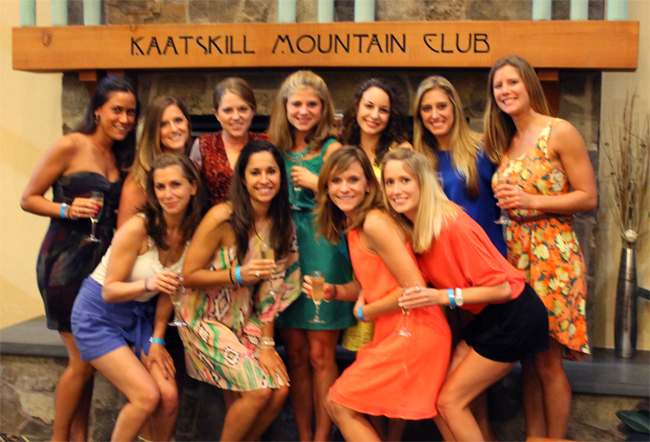
Cheers!

NY Recap Part 3: Laura’s Bridal Shower!

After a wonderful graduation party for Connor on Friday night, I was up bright and early to get ready for Laura’s “Breakfast in Bed” themed bridal shower! If you recall from the handmade invitations, guests were asked to bring gifts for either the bedroom or kitchen to fit the theme! DIY name hanger and nightgown in hand, I got their early to set everything up at an apartment complex’s community center room.

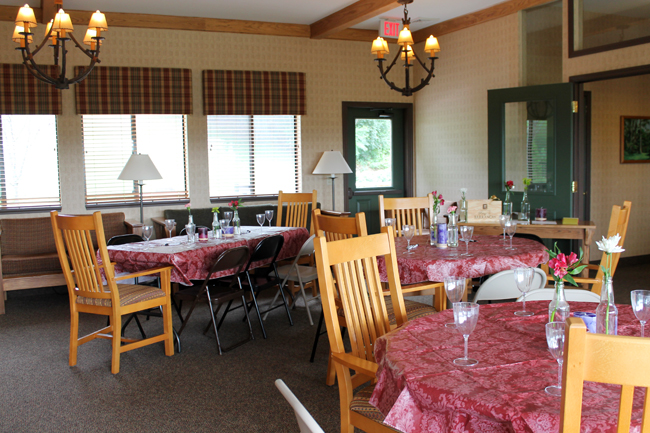
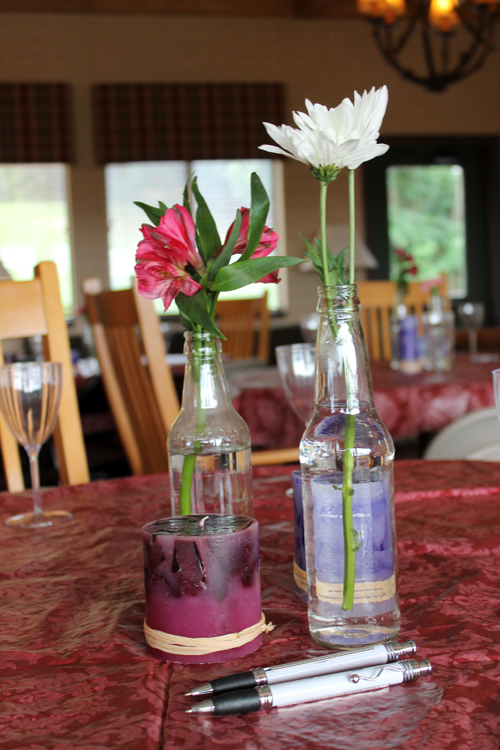
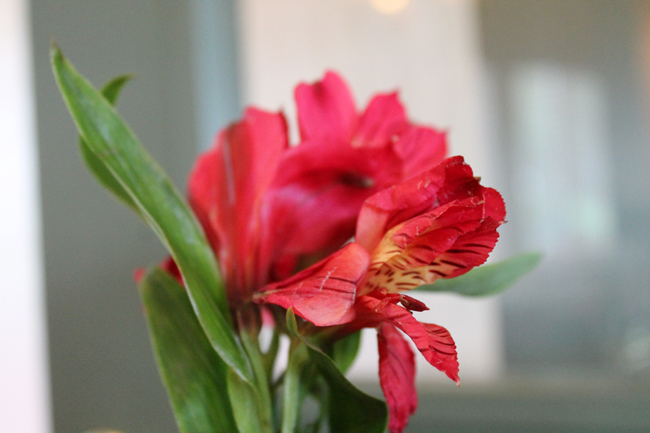
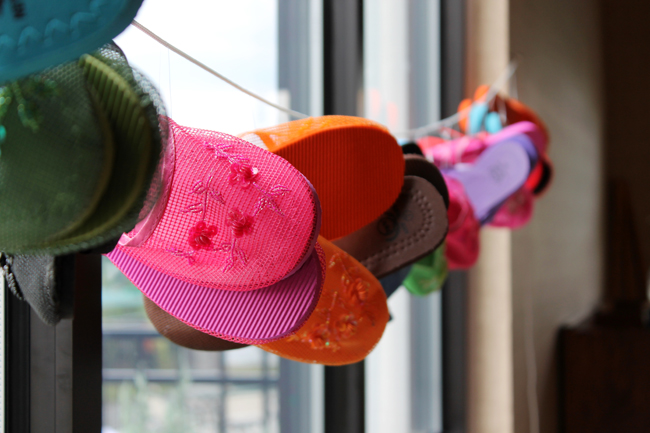
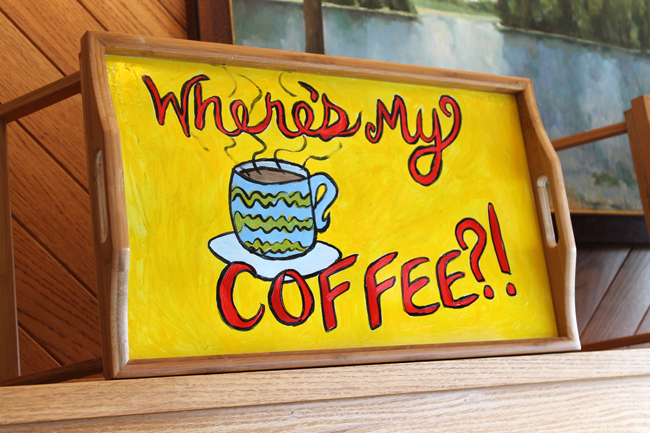
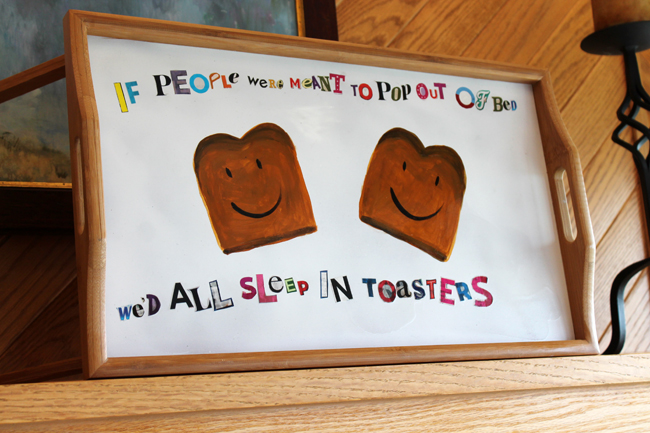
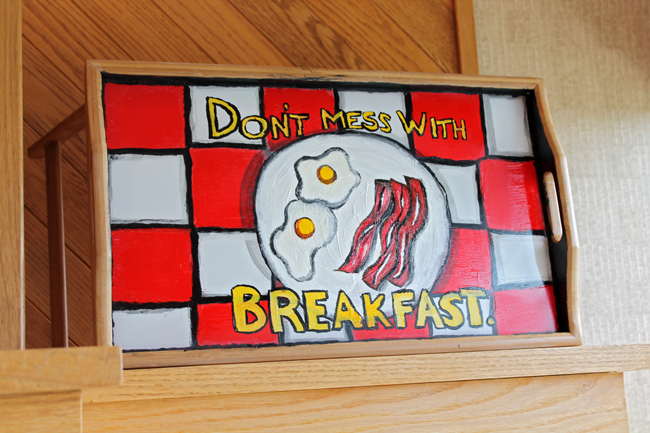
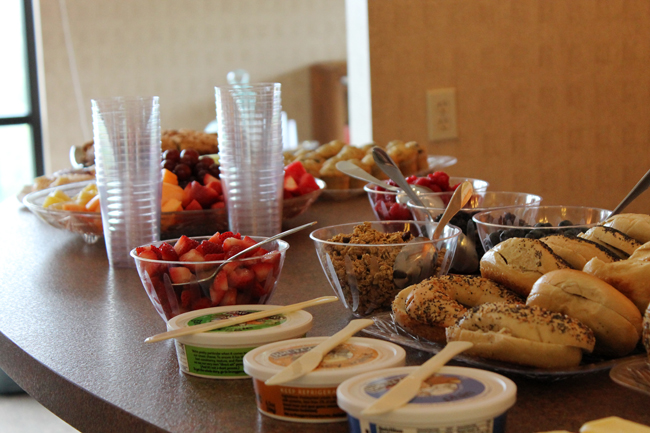
Not only did we have hand-painted (by Laura’s incredible sisters) breakfast in bed trays, we also had gorgeous slippers for every guest to take home (or wear if they wanted to get comfy!). On every table we put a glass with a single flower in it (remember when you used to do that for your mom with a dandelion?) as well as a few candles that were handmade by my coworker. Naturally, we served breakfast/brunch food including mimosas, a make-your-own parfait bar, and an amazing vegetable frittata made by the mother of the bride-to-be!  Here are a few photos of the setup before the madness began:

This was the perfect room for the shower!

Flowers and Handmade Candles!

<3

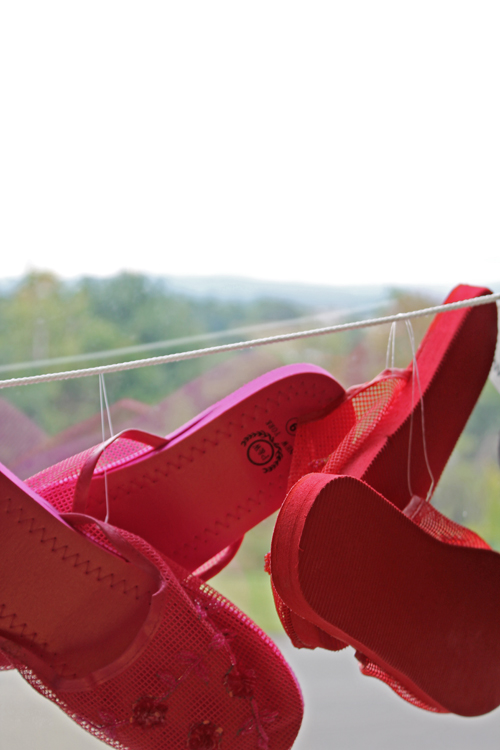
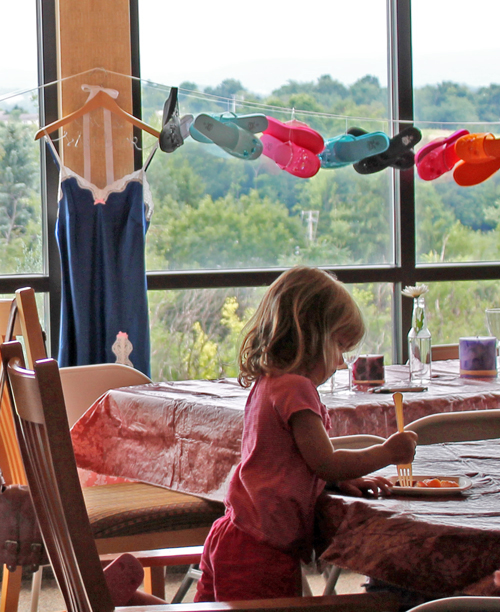
We had 36 pairs of colorful slippers as party favors! Let’s ditch the high heels! Who’s with me!?

Gorgeous mountain view behind the slippers! :)

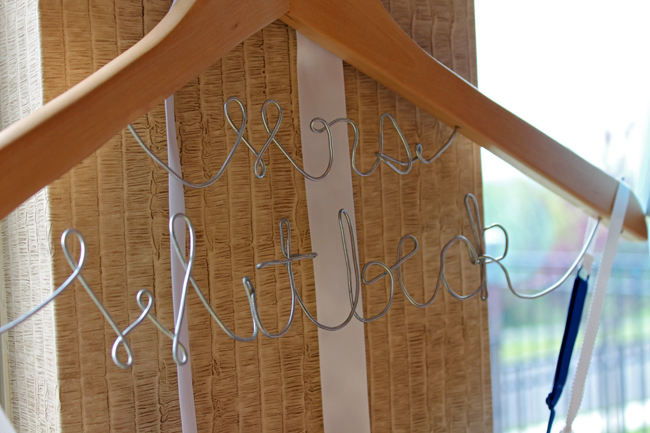
My DIY name hanger was hanging among the slippers in front of the window :)

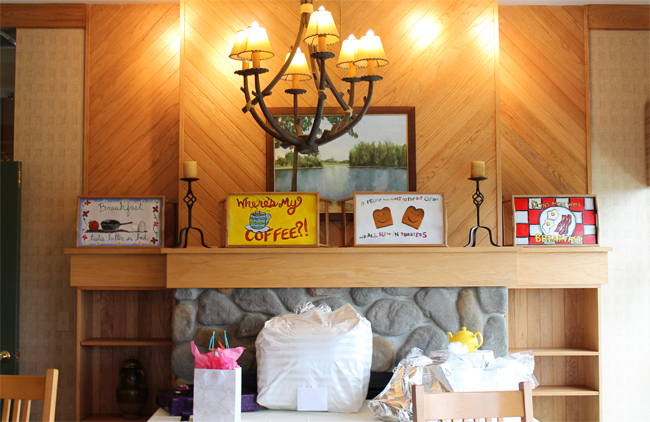
Gift Table and Trays!

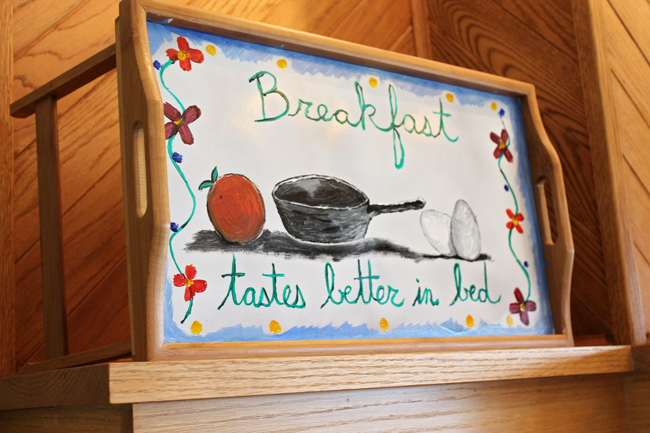
Breakfast tastes better in bed!

Where’s my coffee?!

If people were meant to pop out of bed we’d all live in toasters!

Don’t mess with breakfast!

Mmmmm… so yummy!

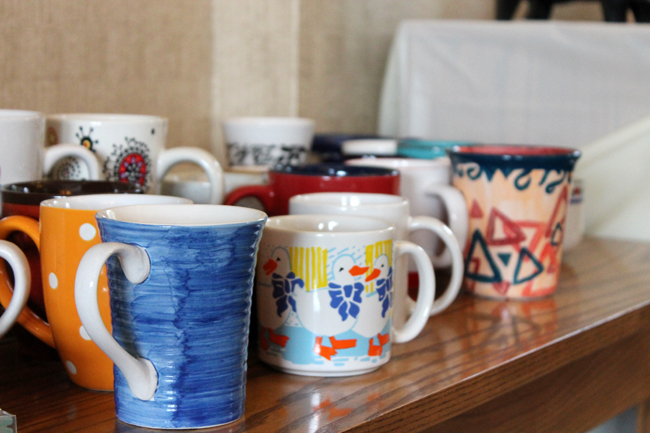
Laura LOVES mugs so all of the hostesses brought a few mugs from home for guests to use to drink coffee instead of Styrofoam cups. It was so adorable/homey to see everyone carrying around cute mugs! :)

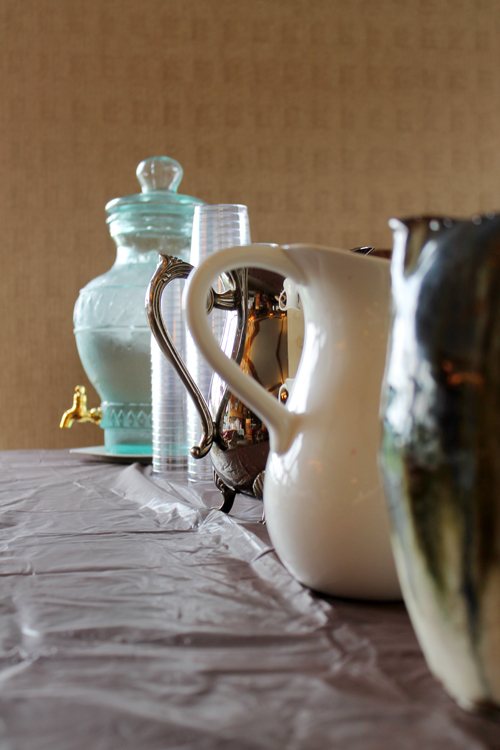
Love the pitchers for the juices! :)

When the guests arrived at 11am, we had them drop off gifts on a gift table and then make their way to a little entrance table.

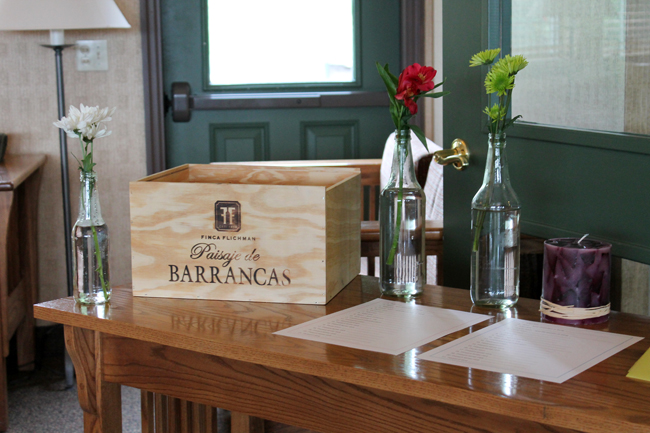
Entrance table for self-addressing envelopes and filling out MadLibs!

Here, we had them self-address an envelope for Laura’s thank you notes (an incredible idea from the groom’s family) and fill in a blank or two on a secret MadLibs sheet. The shower started with mingling and once all guests arrived, we popped some champagne and breakfast began! Once everyone got seconds and thirds (yes, we all pigged out!), we decided to move on to gifts.  Laura’s sister passed out handmade bridal bingo cards to each guest, which contained items from Laura’s registry.  As she opened each gift, guests would mark off the item’s square if it was on their cards.  We had a bunch of winners, three of whom won breakfast in bed trays and the rest got to bring home the handmade candles.

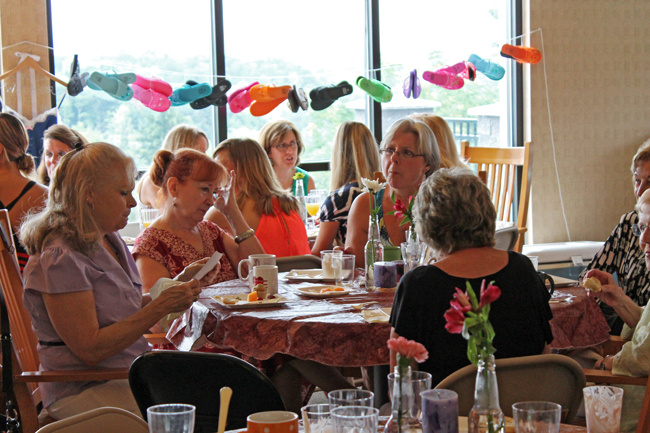
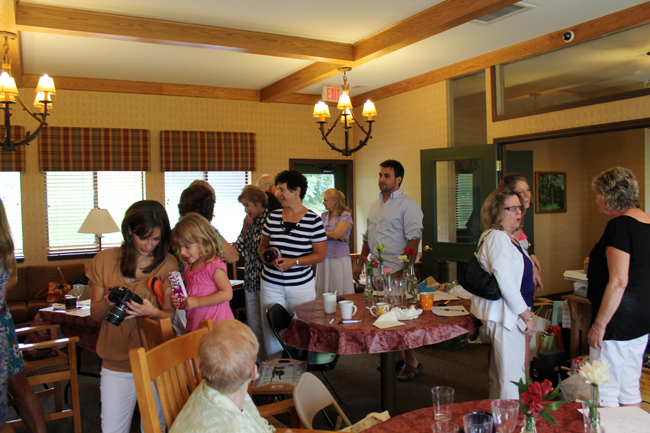
Guests enjoying the party!

With one hour to go in the shower, we brought Dave (the groom-to-be!) to the party for a modified version of The Newlywed Game.  Keeping things PG, we had prepared questions in advance and placed them into a bowl.  Passing the bowl around, we had guests take turns reading them out loud to the couple (like “Where was your first kiss?” and “Who is more likely to lose their keys?”).  Laura and Dave, who were sitting in chairs back-to-back would both write down their answers on a clipboard and would earn a point if they matched.  Simple and fun! They did a great job and won the fourth breakfast in bed tray (although we gave them first pick of course)!

Groom-to-be Dave surrounded by ladies! :)

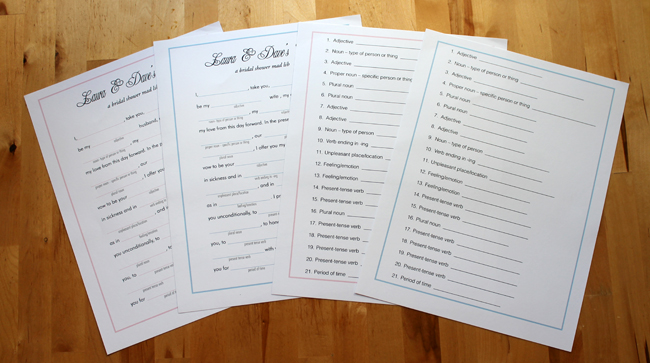
To finish off the shower, we had secretly written all of the MadLib words the guests had suggested into a cute template I got from Make Merry Events.  I downloaded the template, brought it into Photoshop, and created his & hers versions of their vows! Since each sheet was populated with different words, we had a good laugh listening to them read the vows out loud to each other to wrap up the morning. So perfect and so so hilarious!

His & Hers MadLib Bridal Shower Vows

After some more mingling and cleaning up, I kidnapped Laura and a few girls and headed out to her secret bachelorette party!  The final chapter tomorrow… ;)


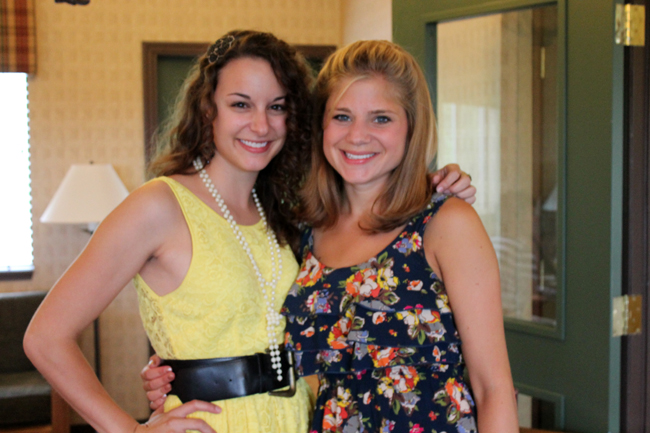
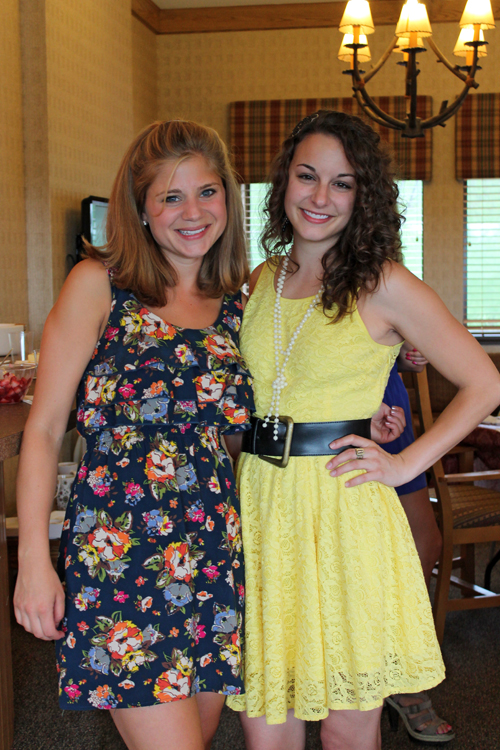
P.S. I love this girl.  A little history on the dynamic duo: Laura and I have been best friends since we were 2 years old.  Her mom was my babysitter all week and she spent weekends playing at my house! So we were literally raised like siblings. Throughout the years, we have always had separate interests and groups of friends but have managed to stay incredibly close regardless. I hate having her 3000 miles away but better that than not at all! I wanted this day to be so special for her because is truly a beautiful person (inside and out) and has done so much for me over the years. You’d better take good care of her, Dave! I love you guys and congrats on your bridal shower. :)

Laura & Erika <3

Laura & Erika <3

NY Recap Part 2: DIY Name Hanger

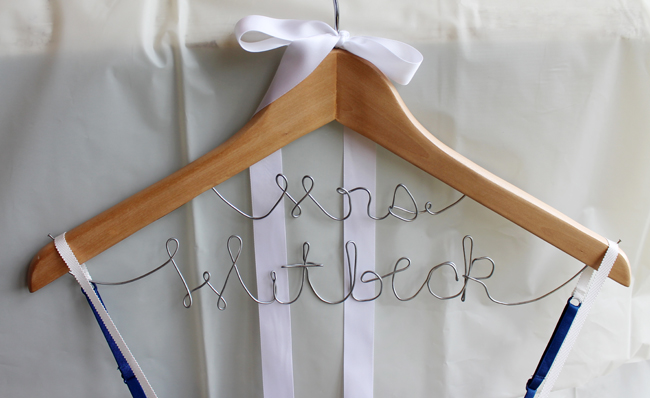
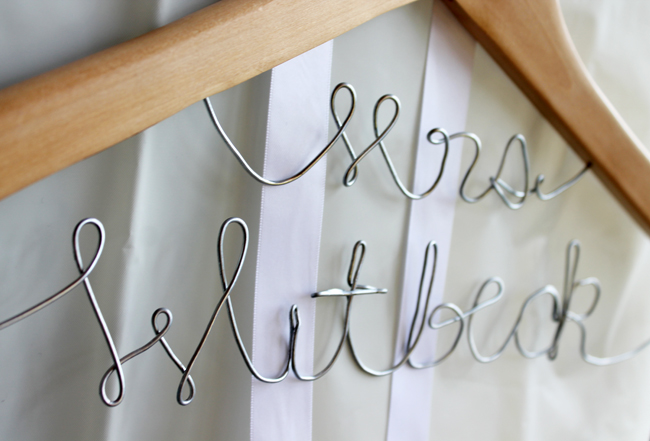
When it came to getting a gift for Laura’s bridal shower, I didn’t want to get something off of the registry. I wanted to make her something personal. I have seen DIY name hangers EVERYWHERE (Pinterest, Etsy, etc.) and decided that since the shower theme was “Breakfast in Bed” that I would give it a go so that it could double as a wall decoration for the shower. So I had my mind made up ages ago that a DIY “Mrs. Witbeck” hanger with a pretty silk nightgown would be my gift to Laura.

That being said, in usual Erika fashion, I left the project for the week leading up to the shower, which was sheer madness. So I didn’t take any of “blog tutorial” photos since I was just trying to get it done in time. Instead, here are the basic steps and some tips. Perhaps I will add photos to the tutorial someday but feel free to email me with any questions in the meantime.

DIY Name Hanger

1. Gather your supplies! You will want to use 14 or 16 gauge galvanized wire for creating the name, which you can buy at any hardware store for less than 5 bones. You will also need a wooden hanger, a pair of needle nose pliers (with duct tape around each nose to protect your wire from marks), wire cutters (my pliers have one of these built in so I used only one tool), a drill with a tiny drill bit, and some superglue.

2. Remove the bottom bar/wire from your hanger and use a pen and paper to sketch out the size of your letters. You want to make sure they will fit in the space. I used Etsy religiously to figure out how I would form each letter, since it is tougher than you think! There are many letter variations though, so keep trying out various combinations until you are happy with the look.

3. Once you feel comfortable with the size and shape of each letter, now comes the fun part. I have read other tutorials that wrote out their letters on a piece of paper and basically traced them with the wire. I decided to take the more free-formed approach and just went for it. Using my duct-tape-covered pliers, I began bending the letters. Make sure you leave yourself PLENTY of wire. In my case, I actually kept everything attached to the roll of wire so I never ran out. It was kind of a pain to deal with but I would rather put up with it than run out of wire one letter short. Another tip- give yourself plenty of wire on either side of the name as well so you can attach it to the hanger without any issues.

4. Your first attempt will come out like crap. If you don’t break the wire from over-manipulation, it will look like a third grader wrote it. Not to worry- practice makes perfect! My second and third attempts weren’t great either. The more you do it, the more confident you will be making each letter so the result will look better (and smoother!).

5. Once you finally have an attempt you are happy with, you will need to attach it to the hanger. In my case, I made two layers of writing, so I had to drill 4 holes into the hanger for inserting the ends of the wire. Use a drill bit that is about the size of the wire and only drill about halfway through the hanger. I then experimented with trimming the ends of the wire down so the letters were level and evenly spaced. Be careful not to trim them too short or you will have to start over!

6. Okay, so your wire is trimmed and you have made holes in your hanger. The next step is easy for most, but very challenging for me since it involves superglue. I have a history of getting it all over my fingers and then trying to clean it off with a paper towel, therefore simply gluing paper towels to my fingers. However, I managed to avoid that this time around for the first time ever! Place a dot of superglue at the tip of one piece of wire and insert it into the hole. Press and hold for a second and then move on to the other free ends. It is that simple!

7. Since my wood hanger didn’t have little notches for holding up straps, I added two small nails to the top of the hanger to prevent straps from slipping.

TA DA! Name hanger! Woo! I bought a pretty little nightgown from Victoria’s Secret and hung it on the hanger as her gift. We hung it on the wall at the bridal shower for all to see and it was a big hit! Hopefully she will be able to use it for her wedding dress in her wedding photos in the fall.

Forgive the color in this picture but it is the only one I got of the nightgown that was remotely accurate! It was hard to see in front of the window so none of my pictures came out great. I was more focused on hosting than taking nice blog photos! ;)

Now that we have the gift ready, I will be back with photos of the actual shower tomorrow!