Shelf Help
Once upon a time I moved into a very bare apartment and had no money to fill it. I did my best to get the basics but it was very slow progress at first. A few months after moving in, I visited my best friend’s new apartment and was immediately jealous of how home-y and personal it felt. My favorite part of her apartment was her mantel covered in photos of her friends and family. Lacking a fireplace, I decided to replicate the idea and got a floating shelf to bring some life into my place. Here is a picture of when I first put it up (sad and lonely, I know):Fast forward 2.5 years and the shelf is still there but has managed to lean downward at roughly a 15 degree angle due to all of our trinkets it has acquired. I didn’t take a before photo… I was to horrified to show you all how bad I had let it get. With Christmas coming, I wanted to decorate my faux-mantel with stockings so the time has come to fix the shelf.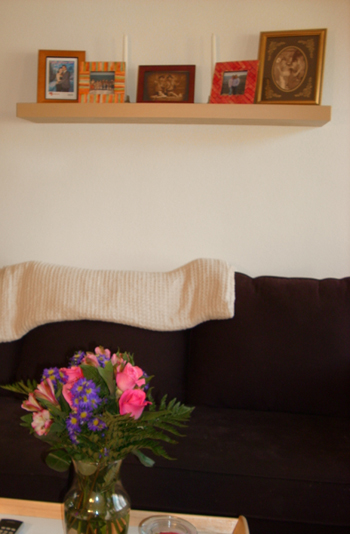
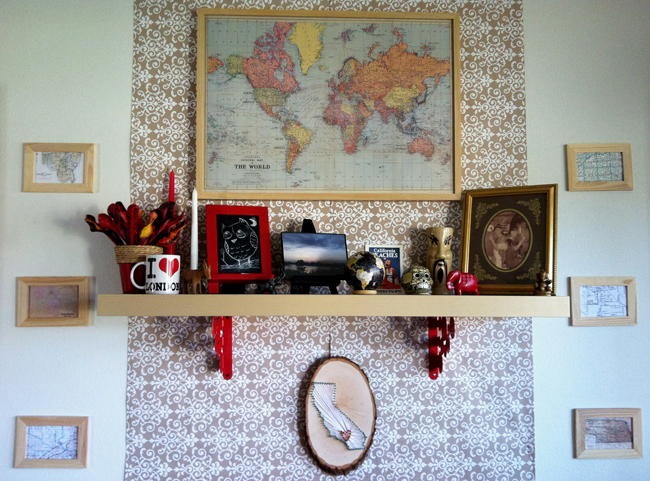
Easy solution: brackets! We decided to go with some funky red ones from Ikea so they would make a statement instead of blend into the wall (plus they were only $5 for the pair!). With a few simple steps, we made our leaning shelf level again.
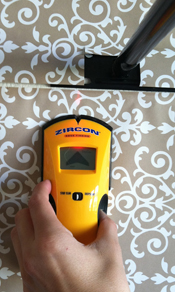 First, we found the studs so that at least one bracket could be screwed right into a stud (we already owned our stud finder from Lowe’s).
Using the level on the shelf as a guide, we placed and marked the holes for the first bracket. We removed the shelf and screwed the bracket into the wall.
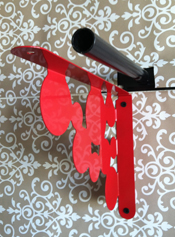 Once the first bracket was in, we used the shelf and level as a guide to mark the holes for our second bracket. Since it sadly did not work out that this bracket would be on a stud, we used molly bolts instead of regular screws to make sure the weight from the shelf would be supported (great picture of using molly bolts here).


 It’s a shadow box with a a copy (duh) of our apartment key. Hopefully someday it will be joined by others. It sounds silly but it reminds us that this apartment may be small, but it’s ours! Welcome to our home.

